 |
|
|
I can be contacted at: rebel_heart@sasktel.net |
|
|
|
|
I can be contacted at: rebel_heart@sasktel.net |
|
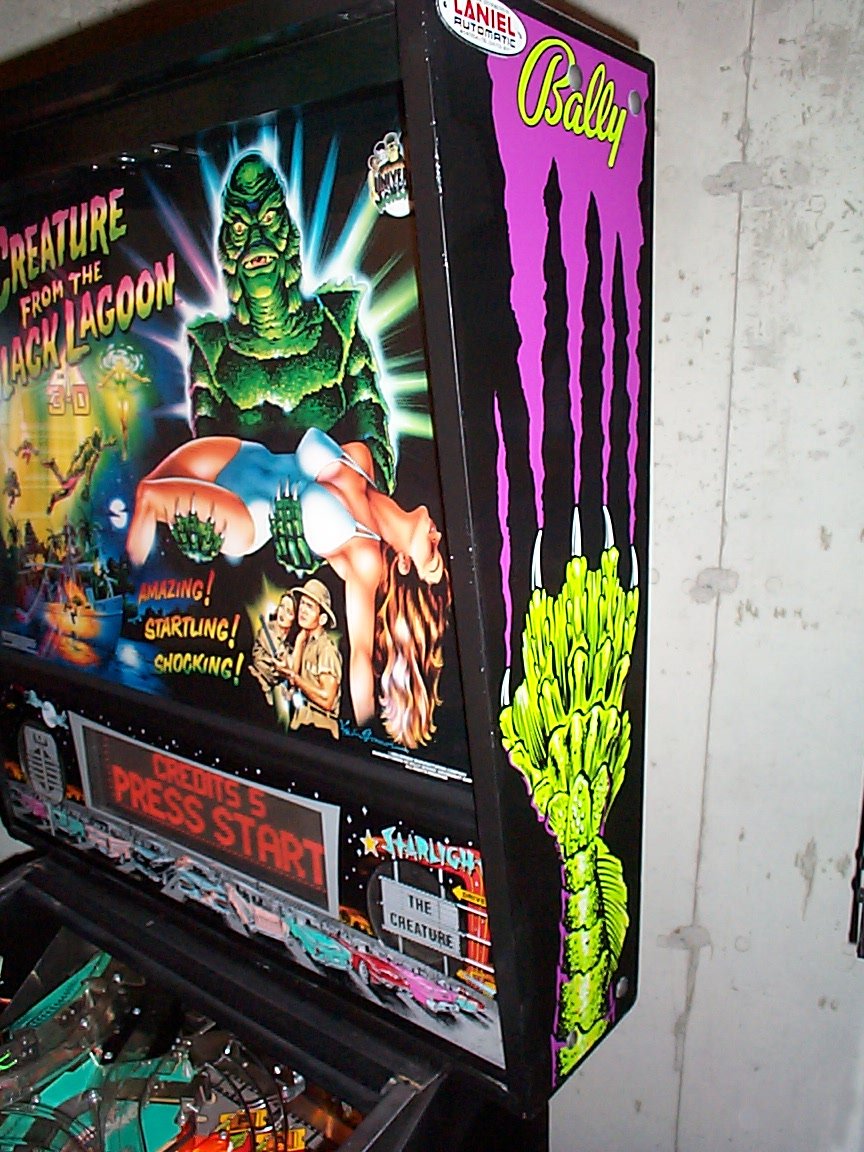
My original 3 Games
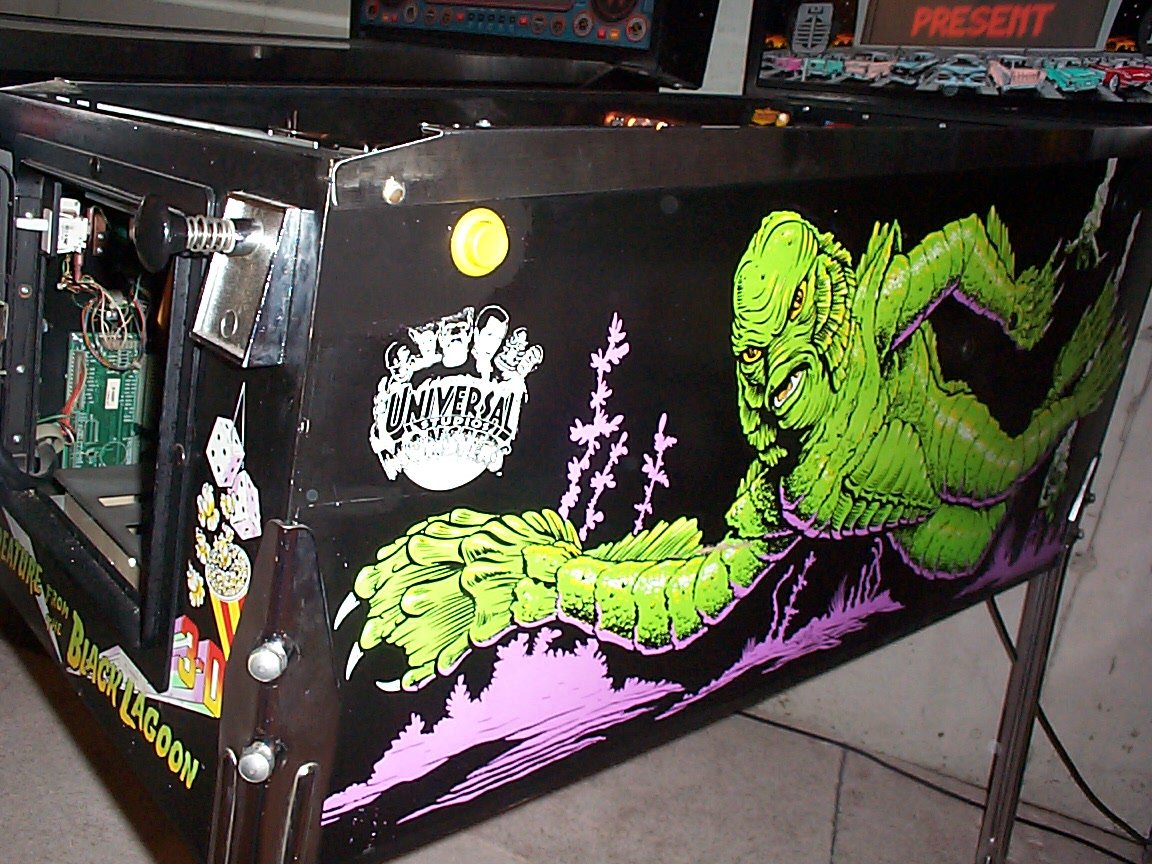
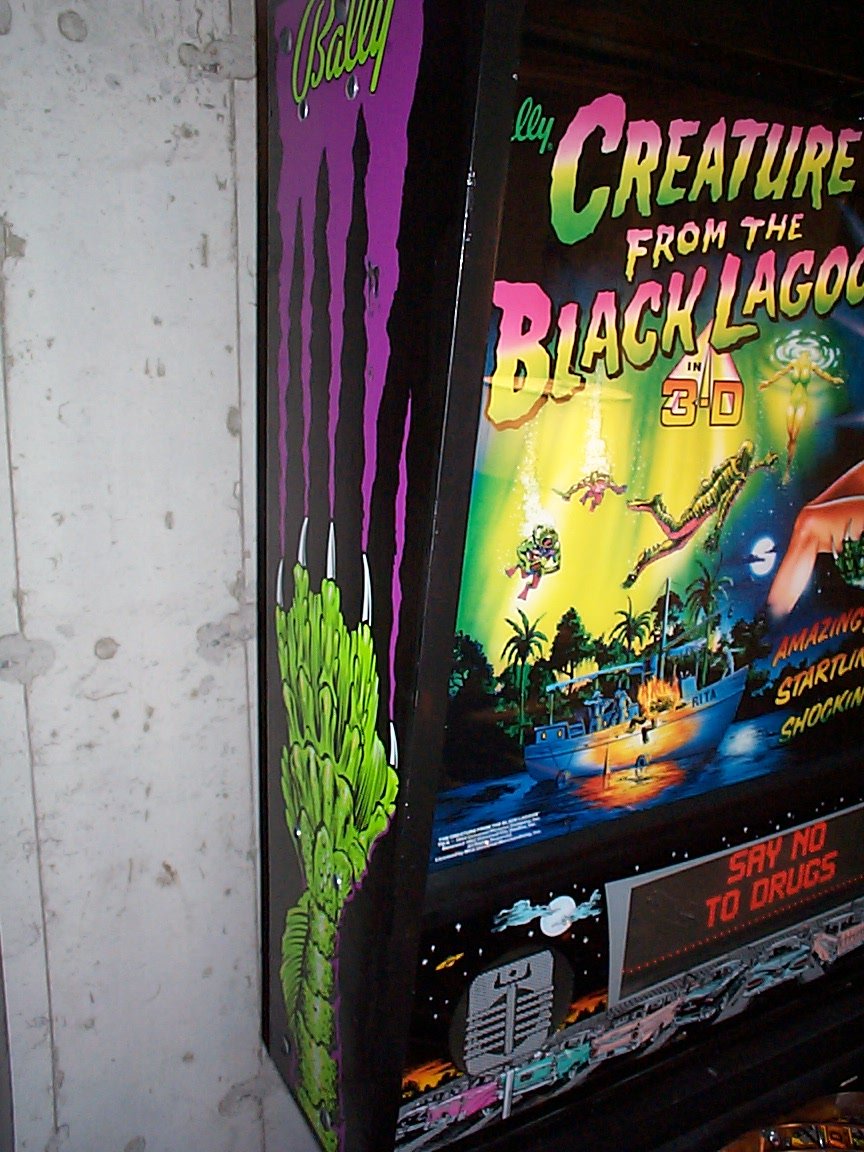
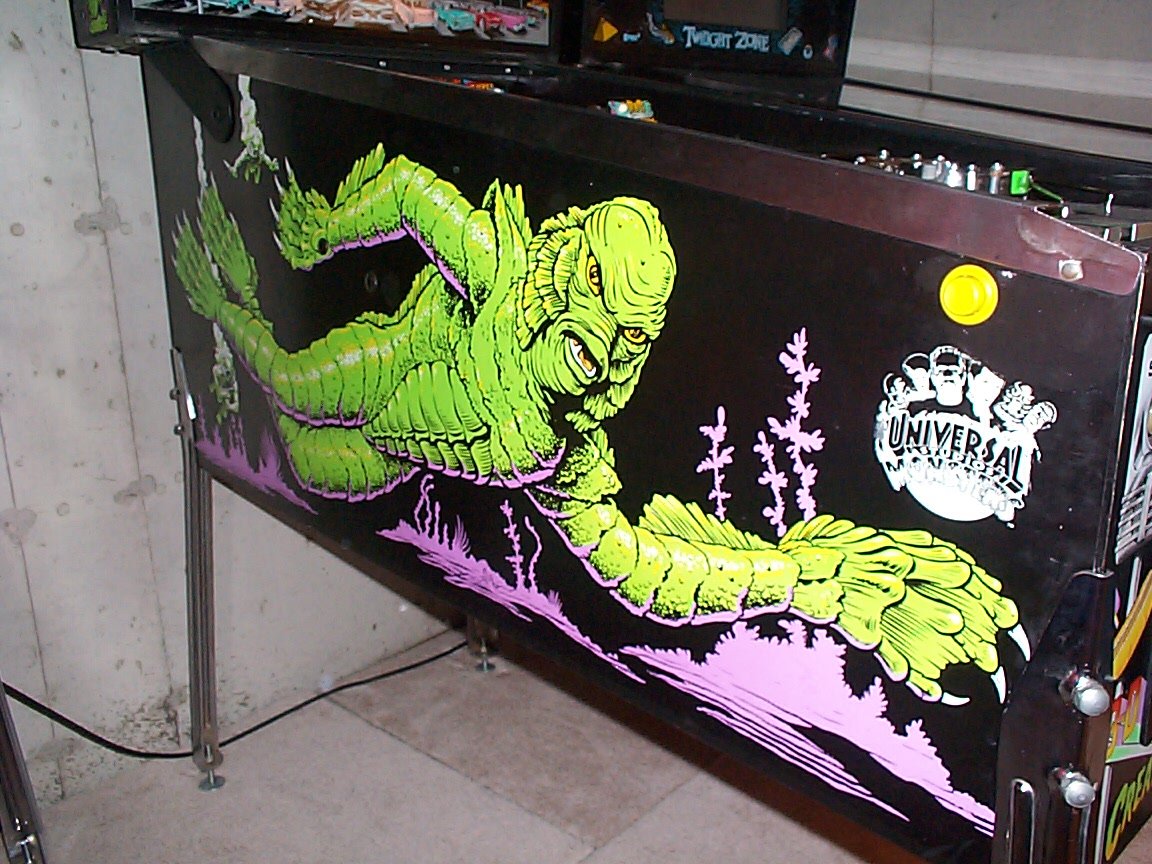
CFTBL is now gone, replaced by WCS94 and recently
The Shadow was added too!
I have been working on
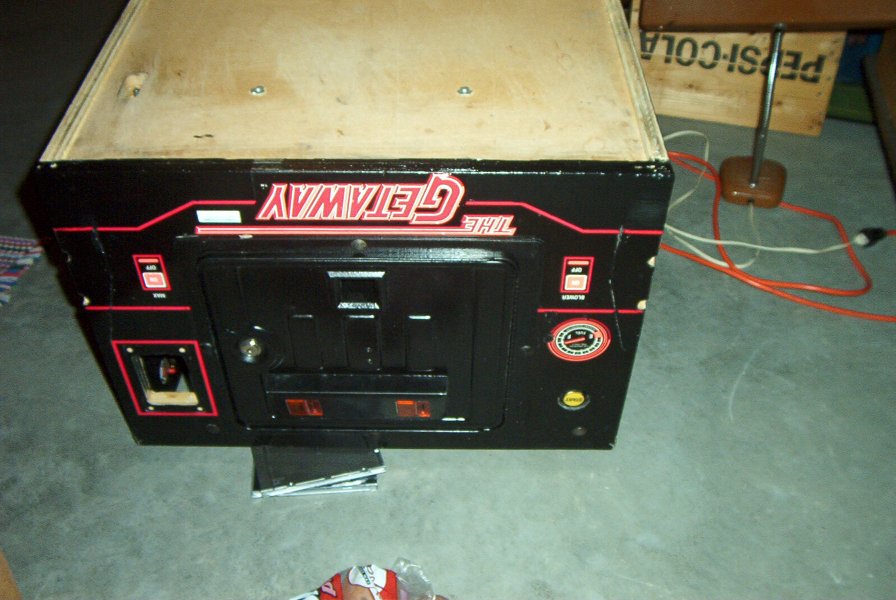
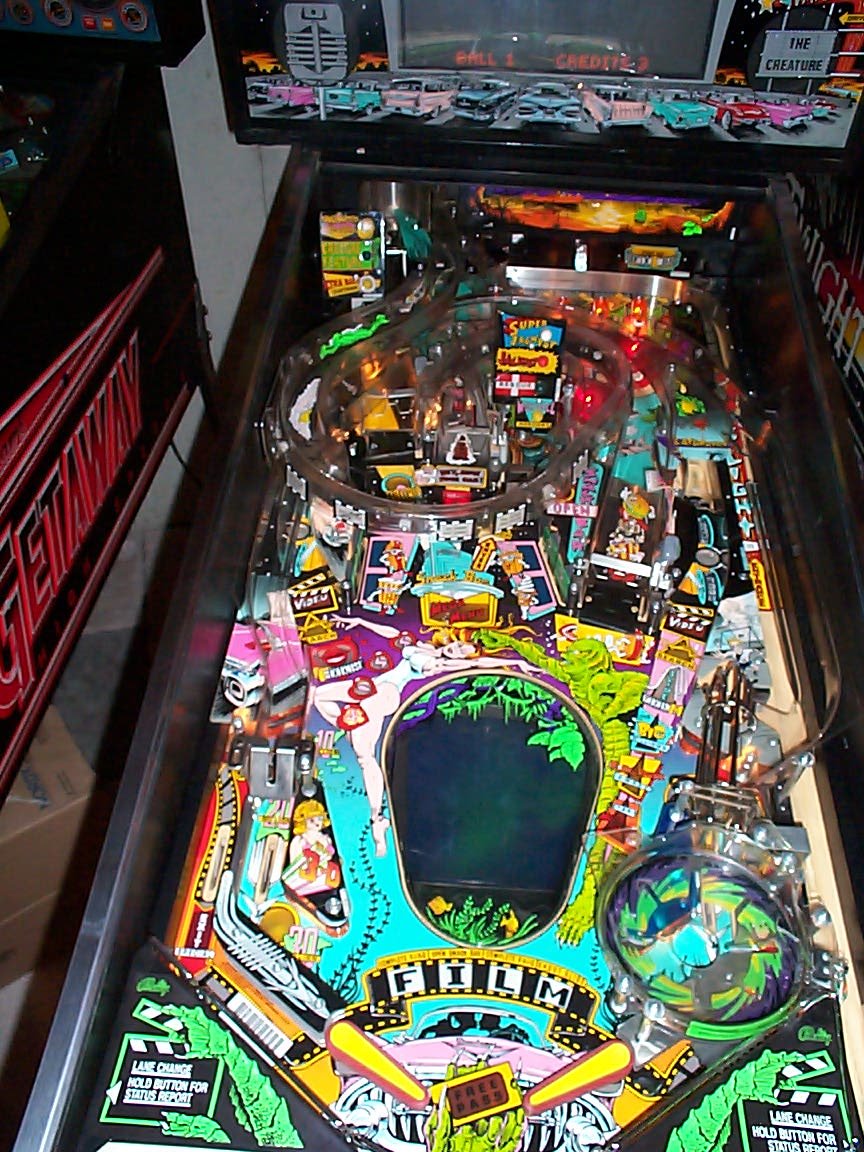
my fixing up my High Speed 2: The Getaway |
|
|
This High Speed 2: Getaway plastic I need: Image
|
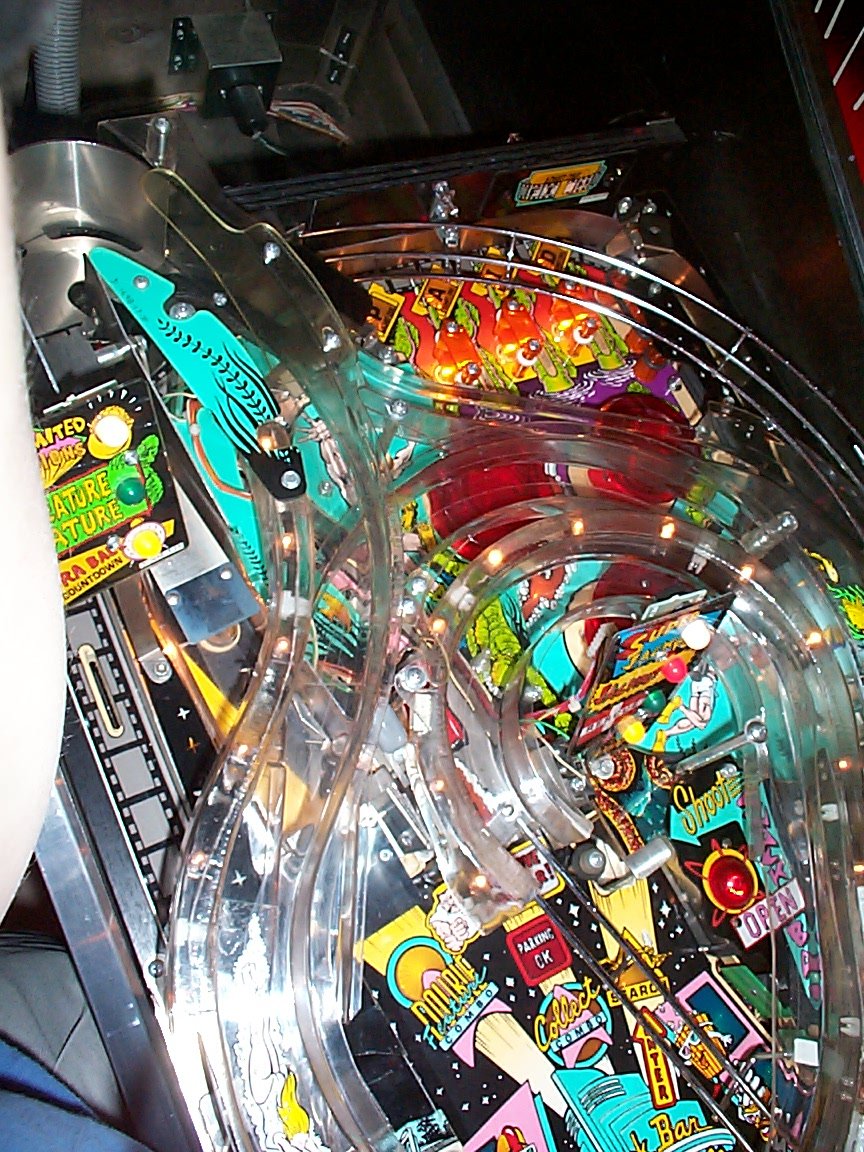
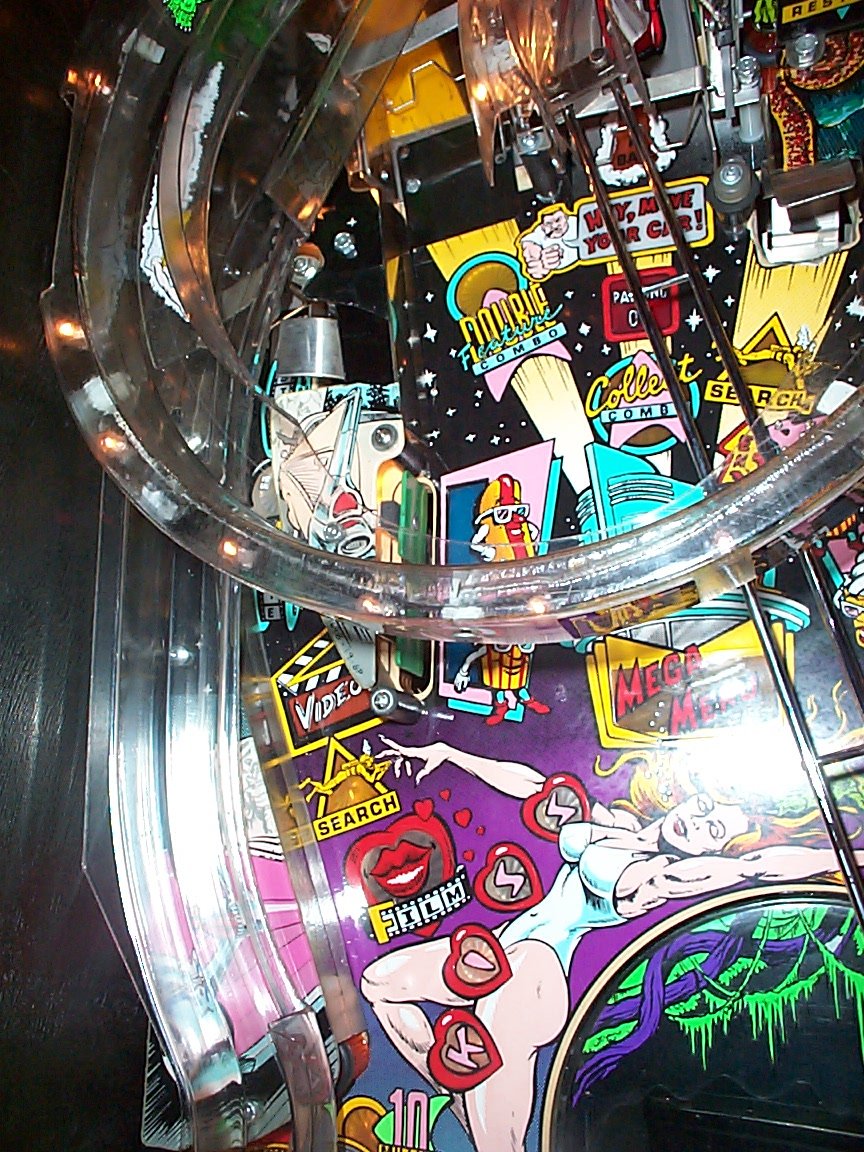
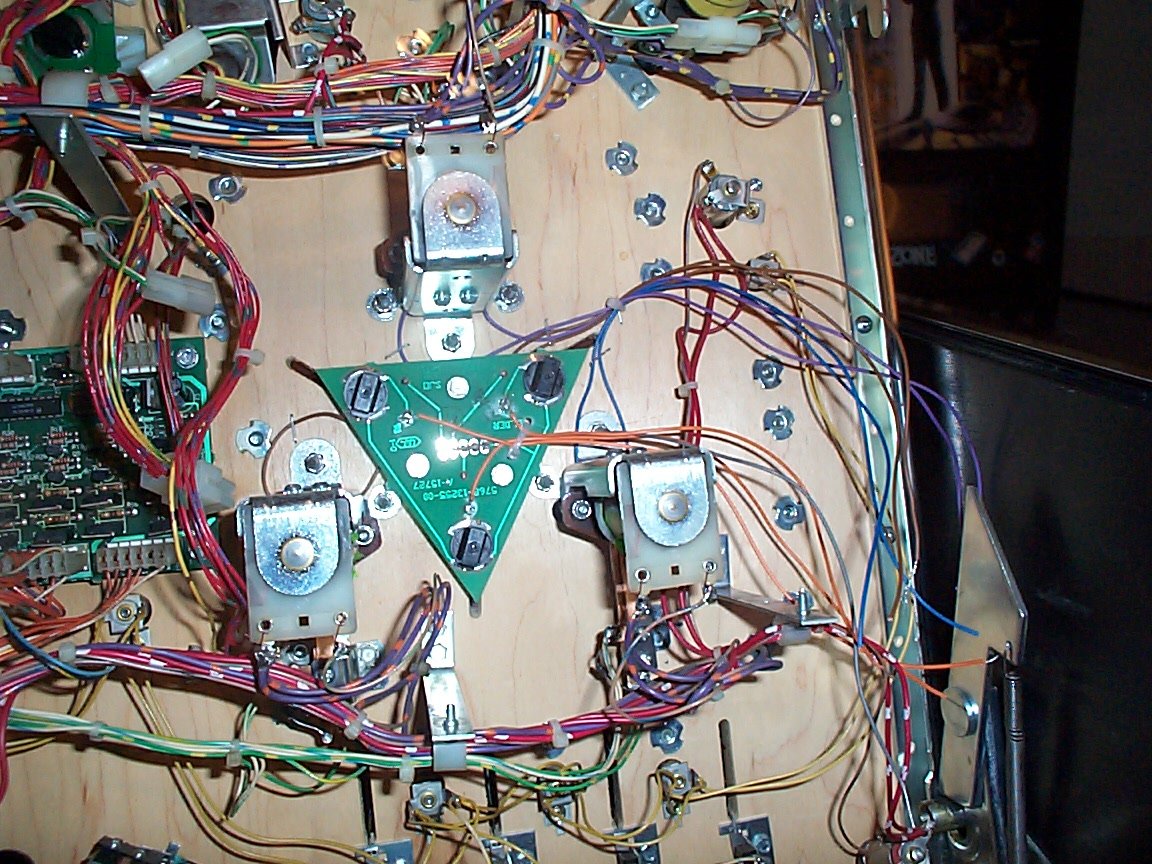
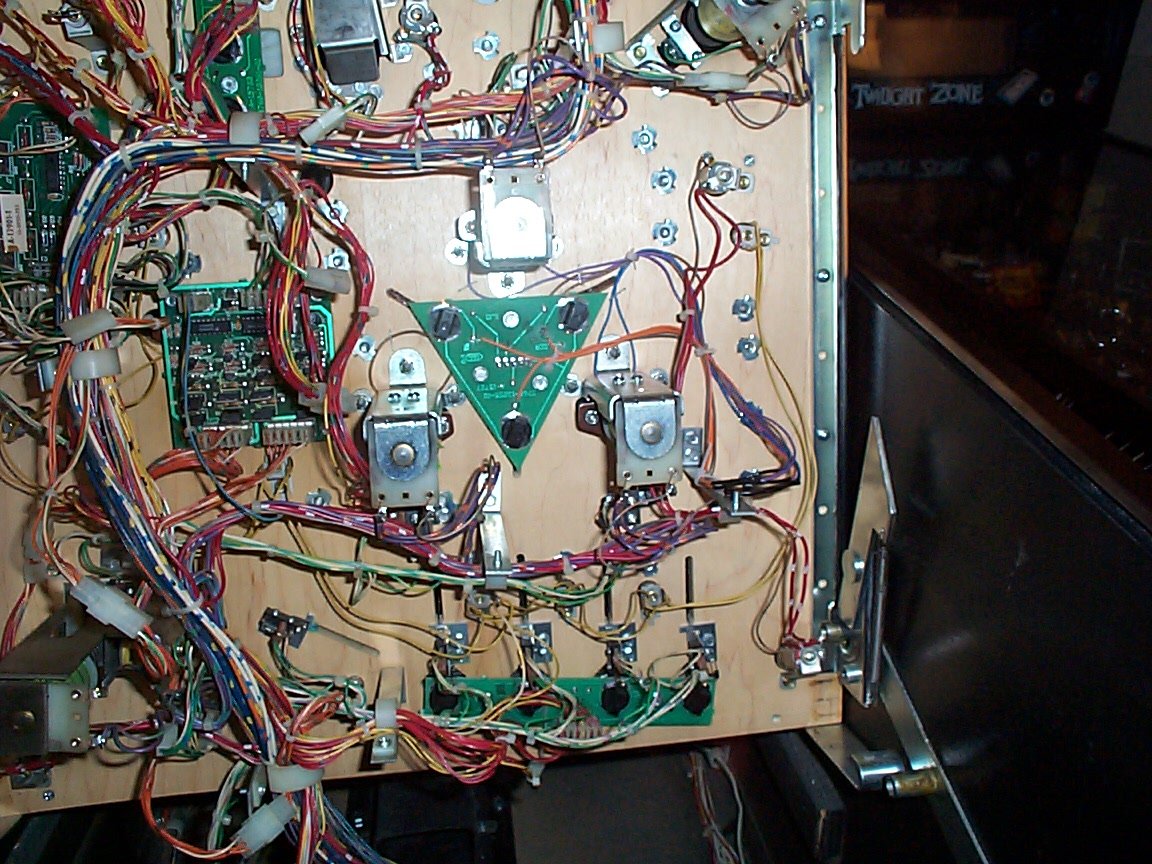
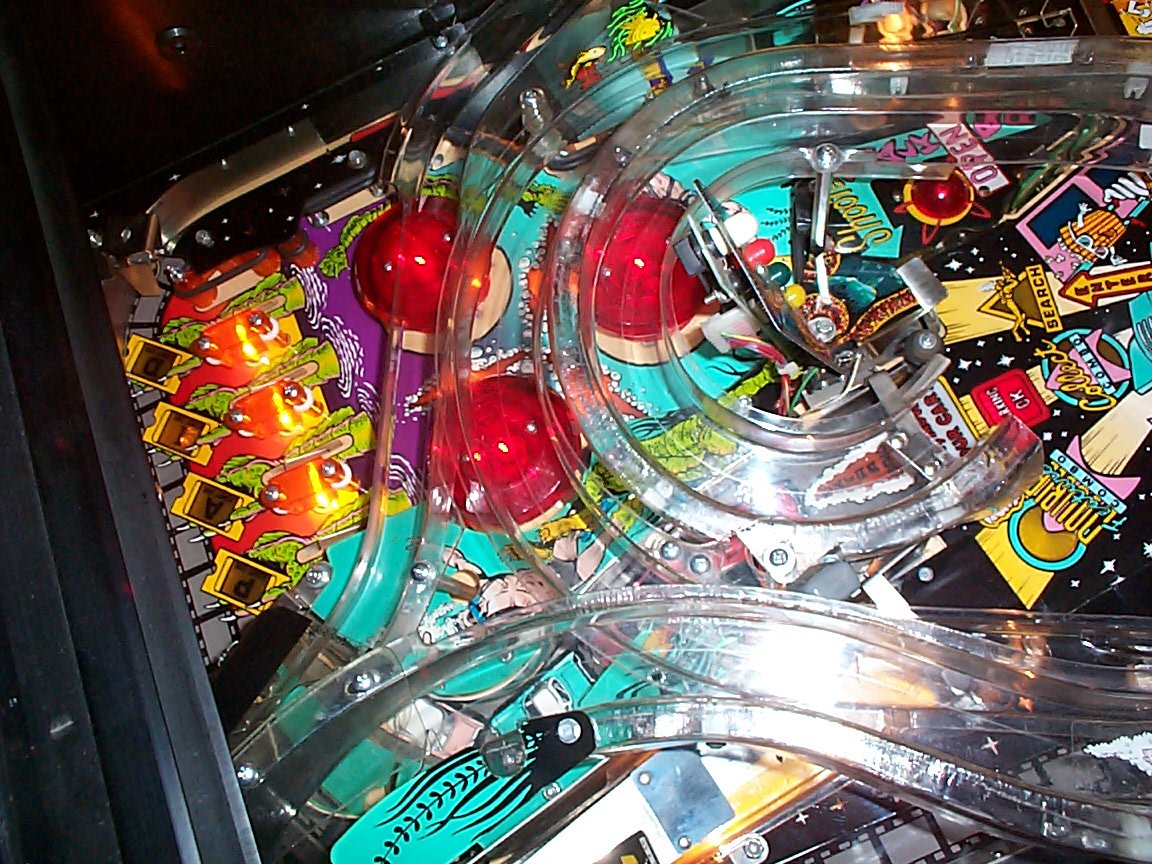
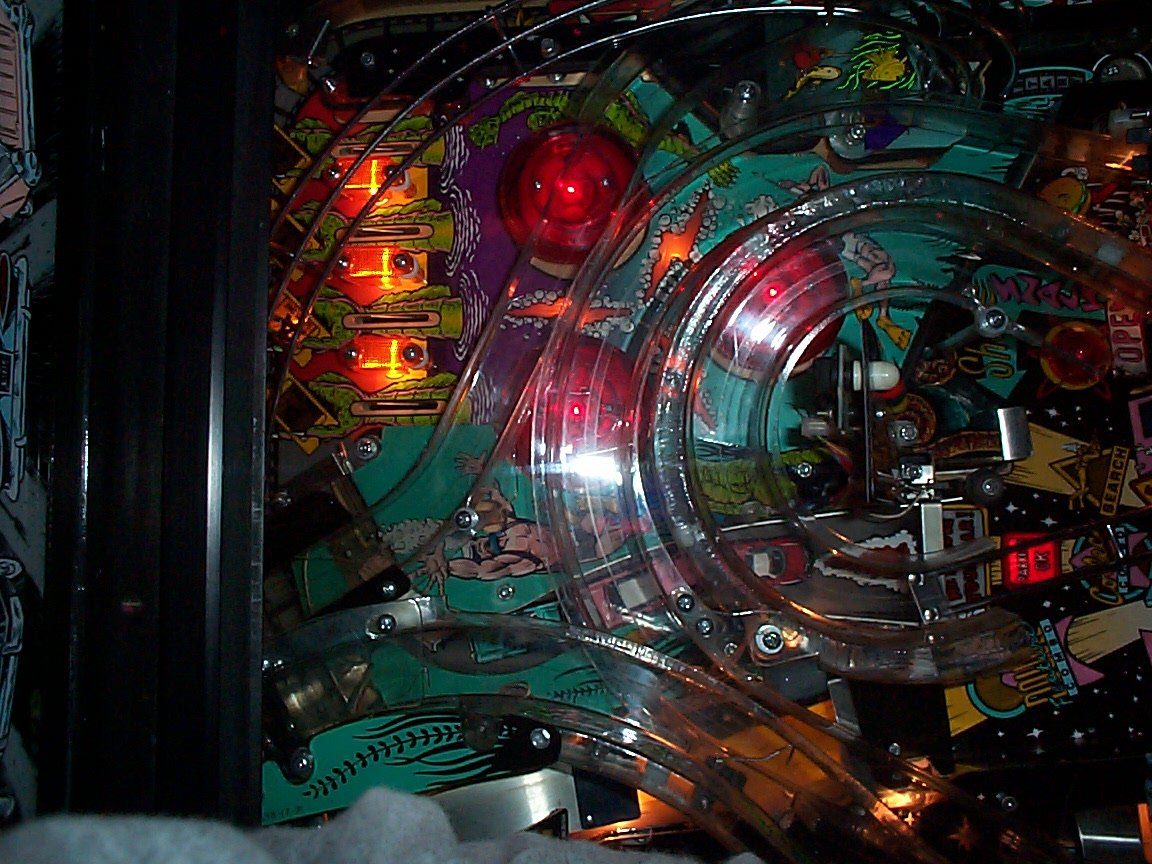
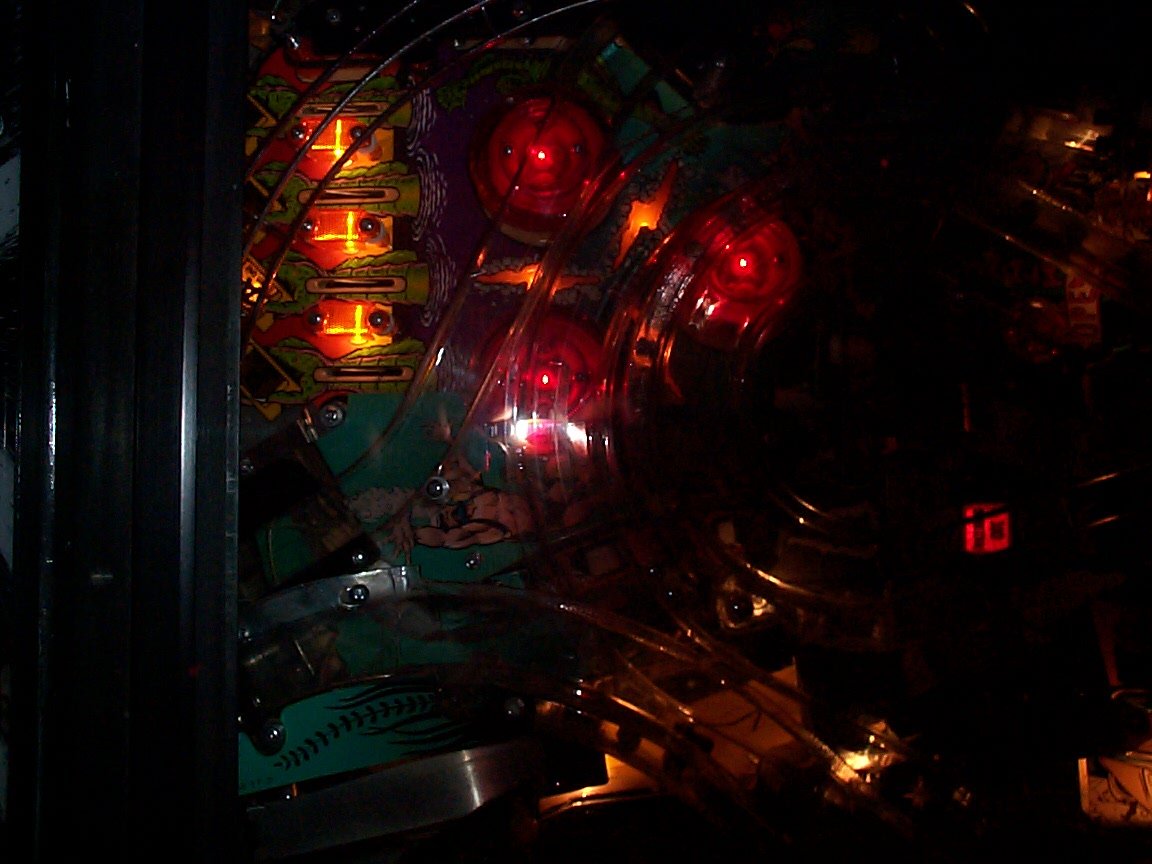
'The Shadow'
Pictures
Picture 1
Picture 2
Picture 3 |
'The Shadow' Pictures |
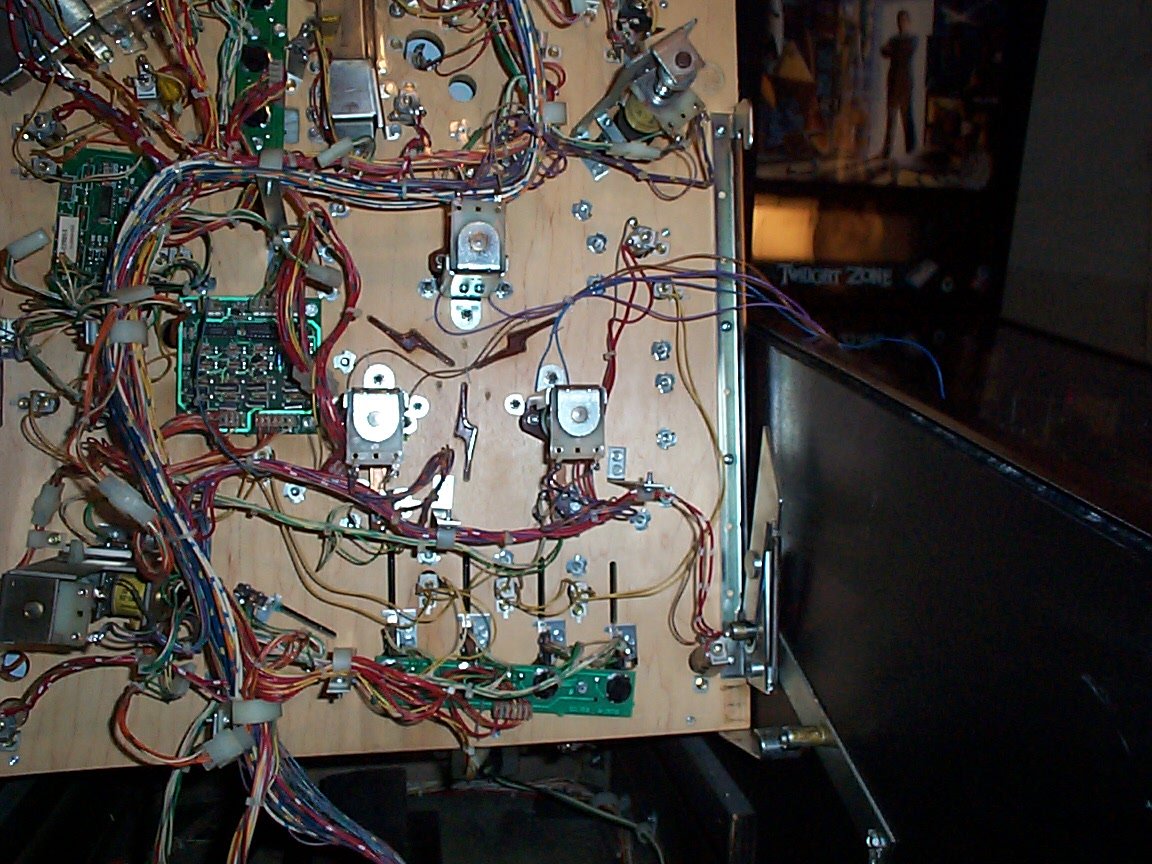
The following repairs were done:
Replace leg levelers, replace balls,
replace 3 yellow narrow push targets, replace all
playfield lights with #47, replace general illumination connectors (j120, j121),
weld right
phurba ramp, replace burnt pins on transformer molex connector, unbend and paint
coin
door, replace all major flipper components, repair inner sanctum playfield wear,
replace
black rubbers with white, hand clean every single playfield part including ball
guides, hand
clean legs, replace phurba springs, replace 1 phurba coil, replace battlefield
kicker coil,
weaken VUK lower spring, replace wall target spring, repair worn lever on wall
target
assembly, rebuild battlefield drop target assembly, re-align shooter lane coil
bracket, repair
left slingshot chip at top, repair plastics under battlefield including custom
creation of new
lexan parts, rebuild yellow drop target assembly, replace foam on lockdown bar,
vacuum
and clean cabinet inside with damp rag, repair and paint wood chip on backbox
edge, minor
other cabinet touchups, lubricate slingshot hinges, replace leg bolts,
straighten bent battlefield
lower right post, repair factory(?) cross-threaded tnut at back corner of
playfield, filled gouges
and repainted inside cabinet walls, clean and wax playfield, replace mylar
patches under
battlefield (2), mylar under blue ramp flaps, replace left and right ramp clear
lexan shields,
replace switch on left phurba ramp (right exit) with long arm switch........
probably more, I
just don't remember right now. Now you know why I needed 5 weeks to do
this.
|
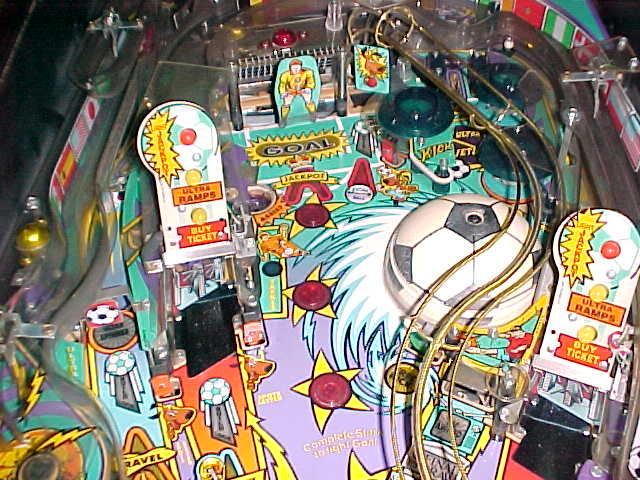
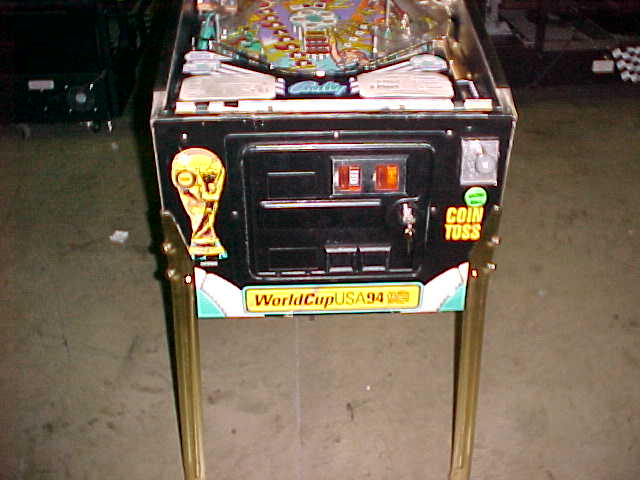
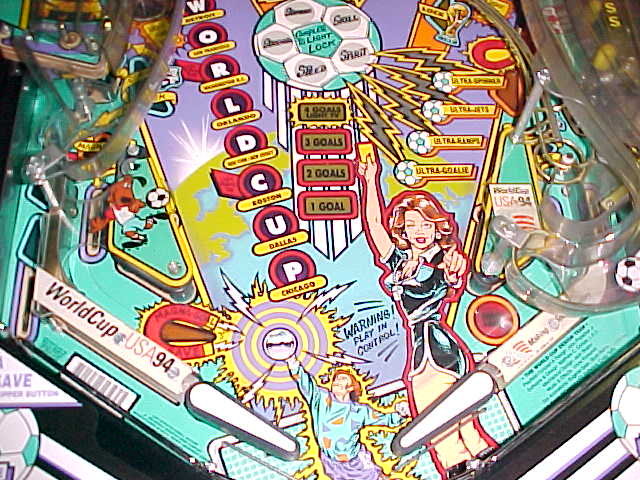
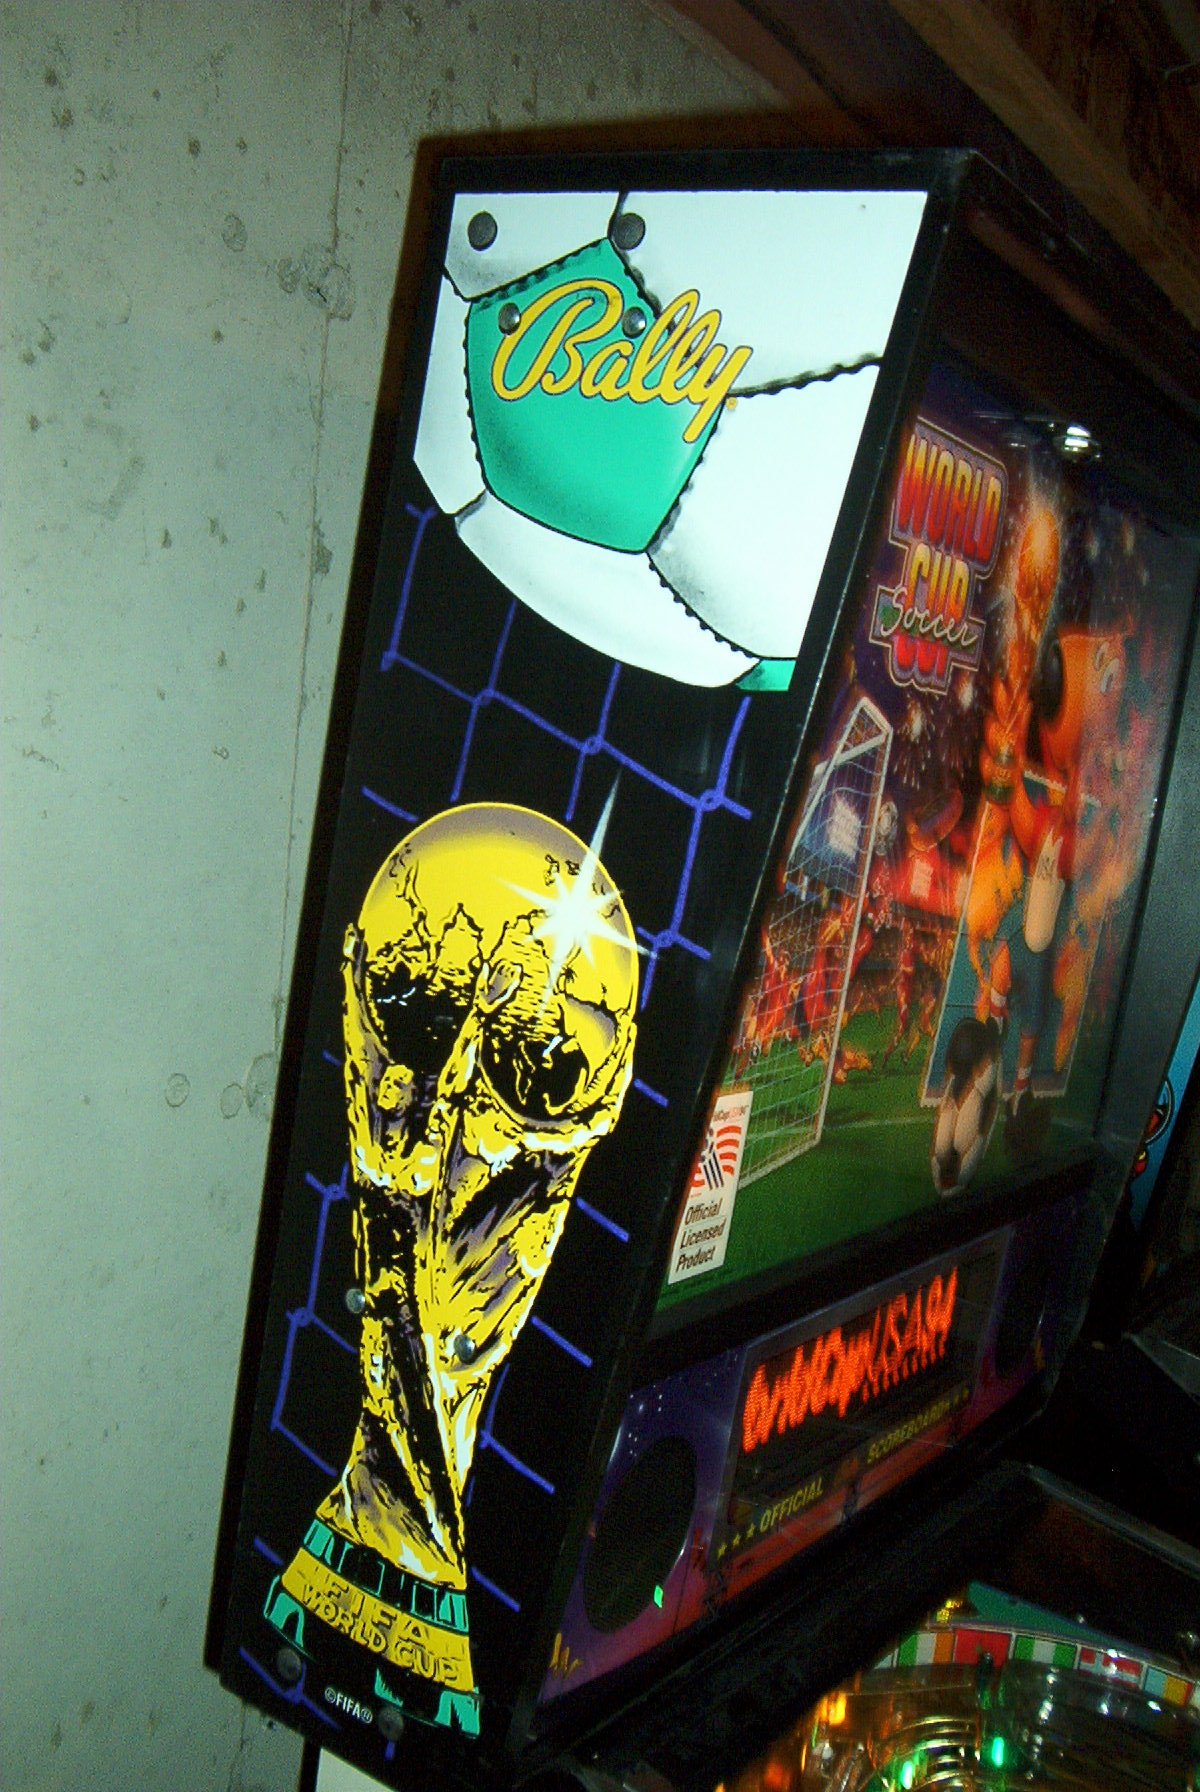
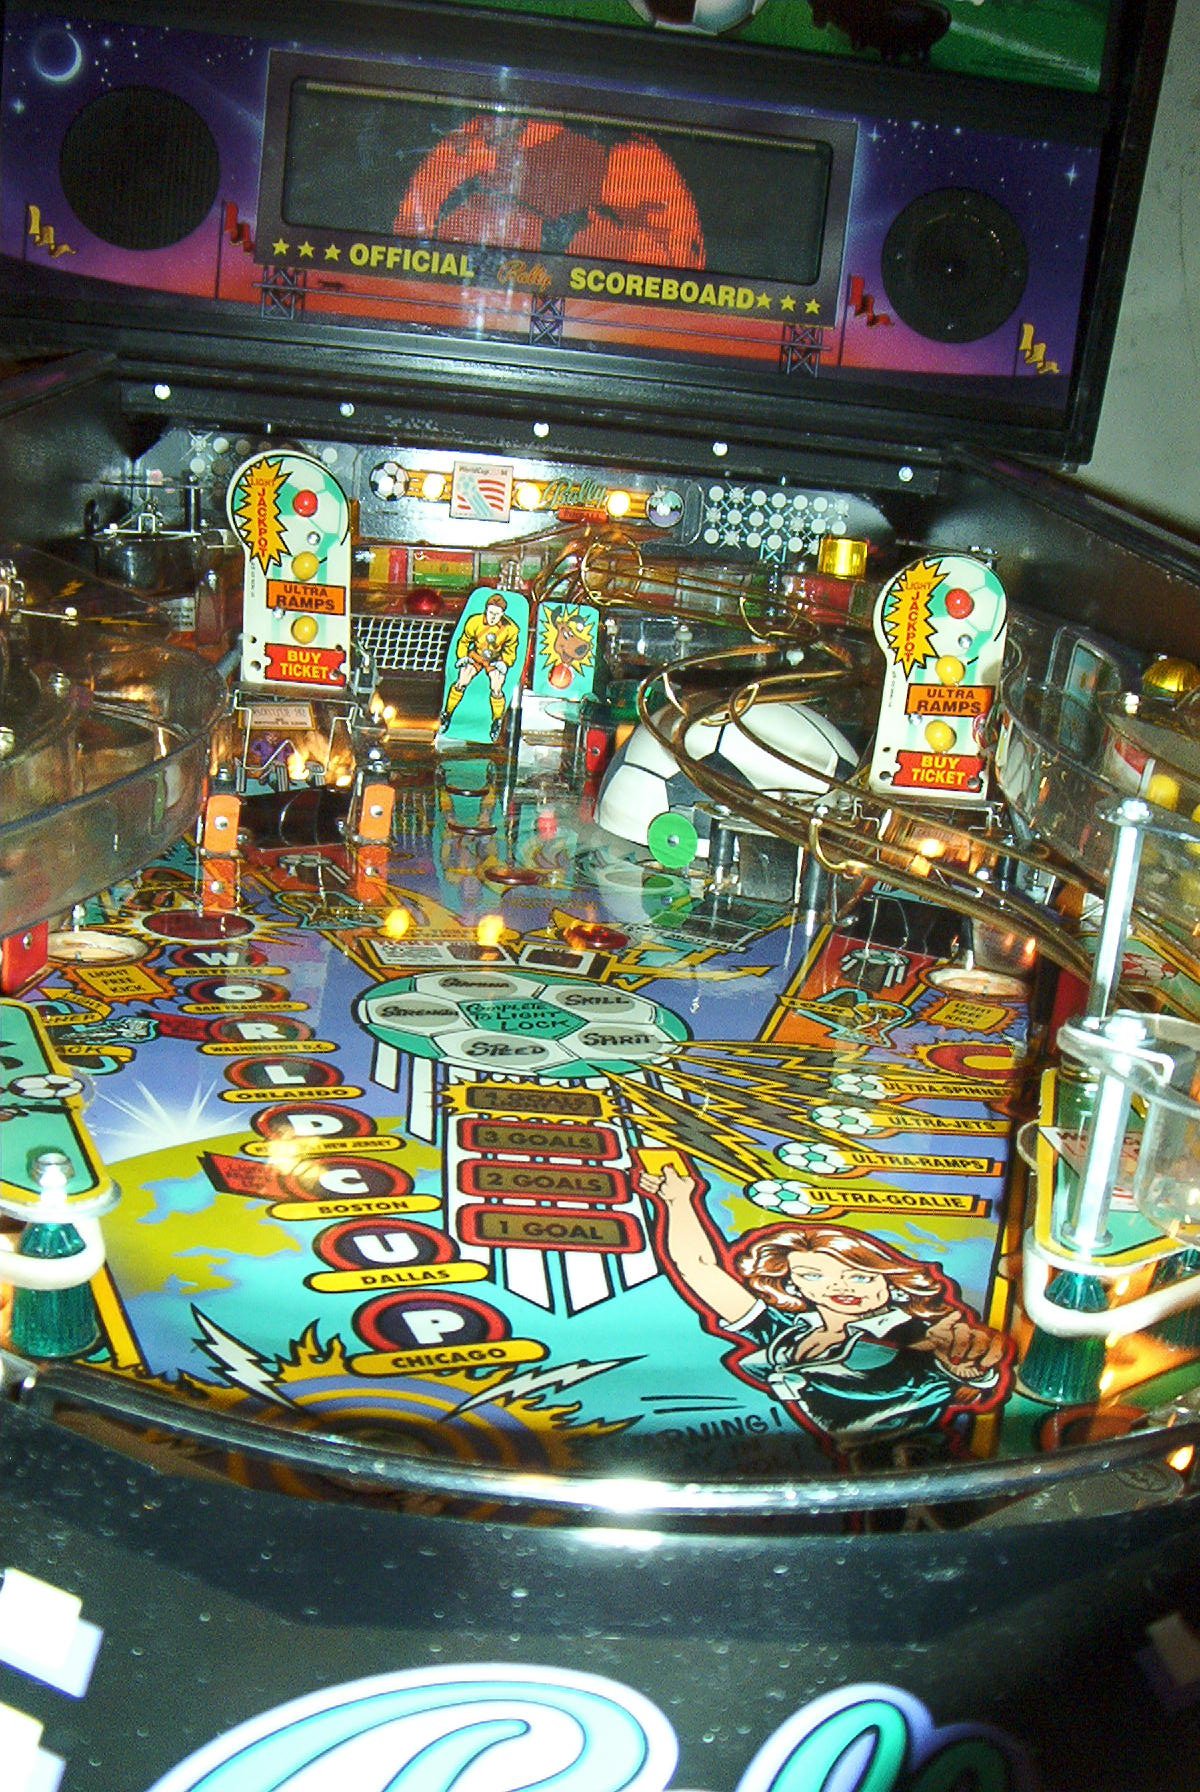
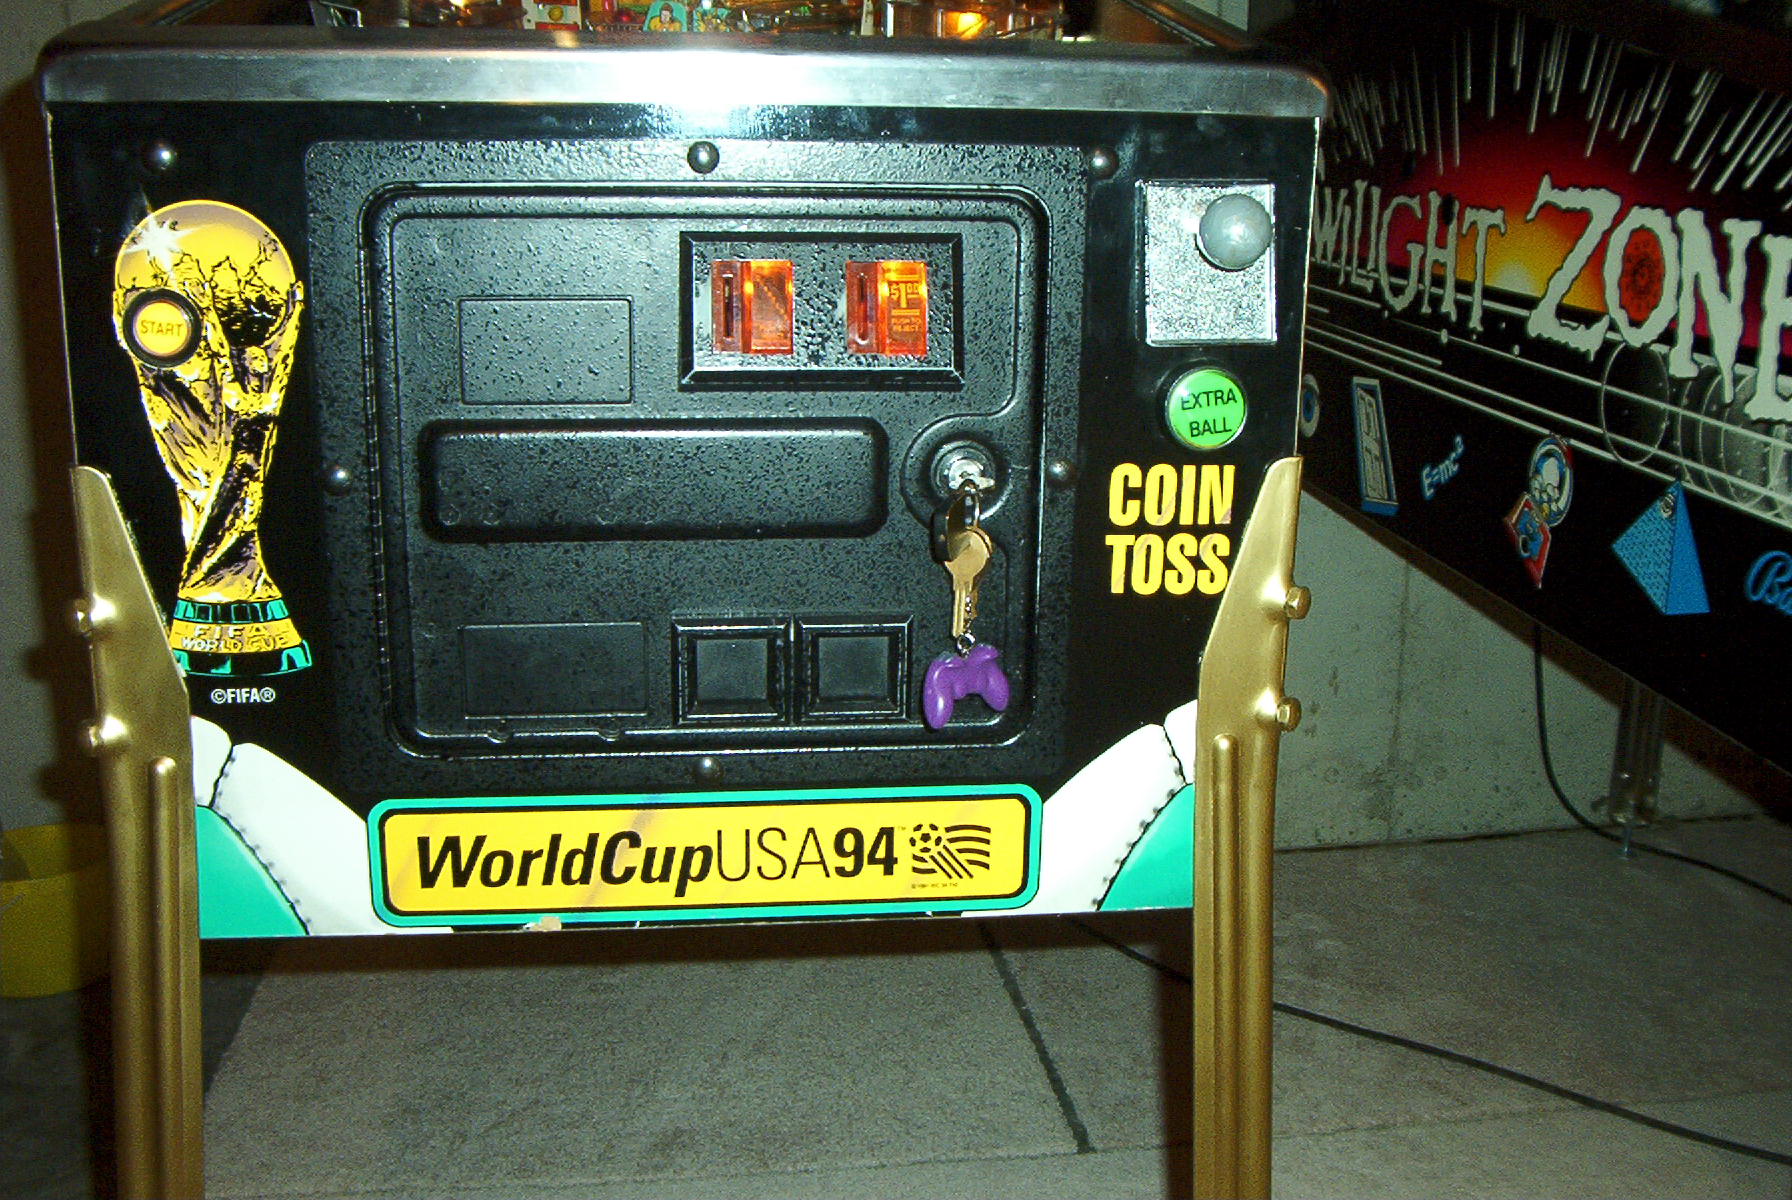
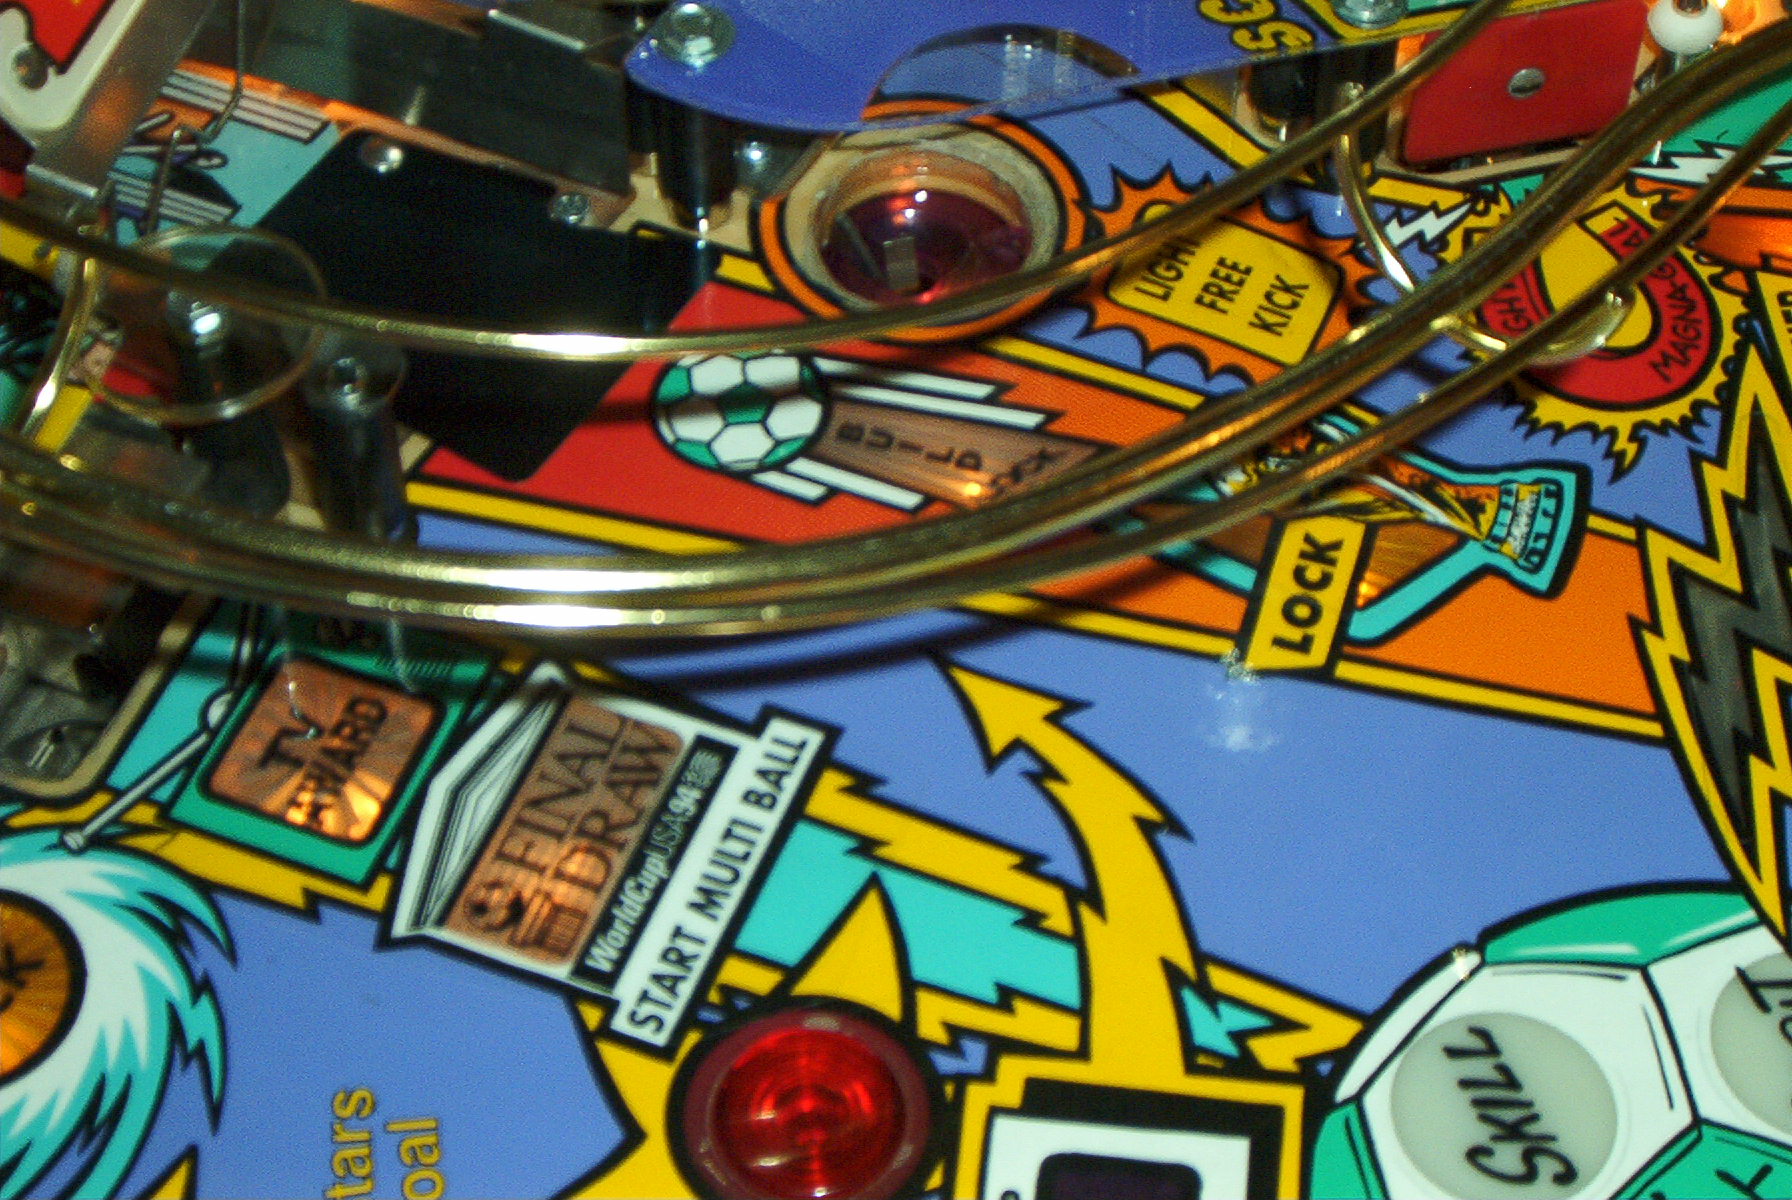
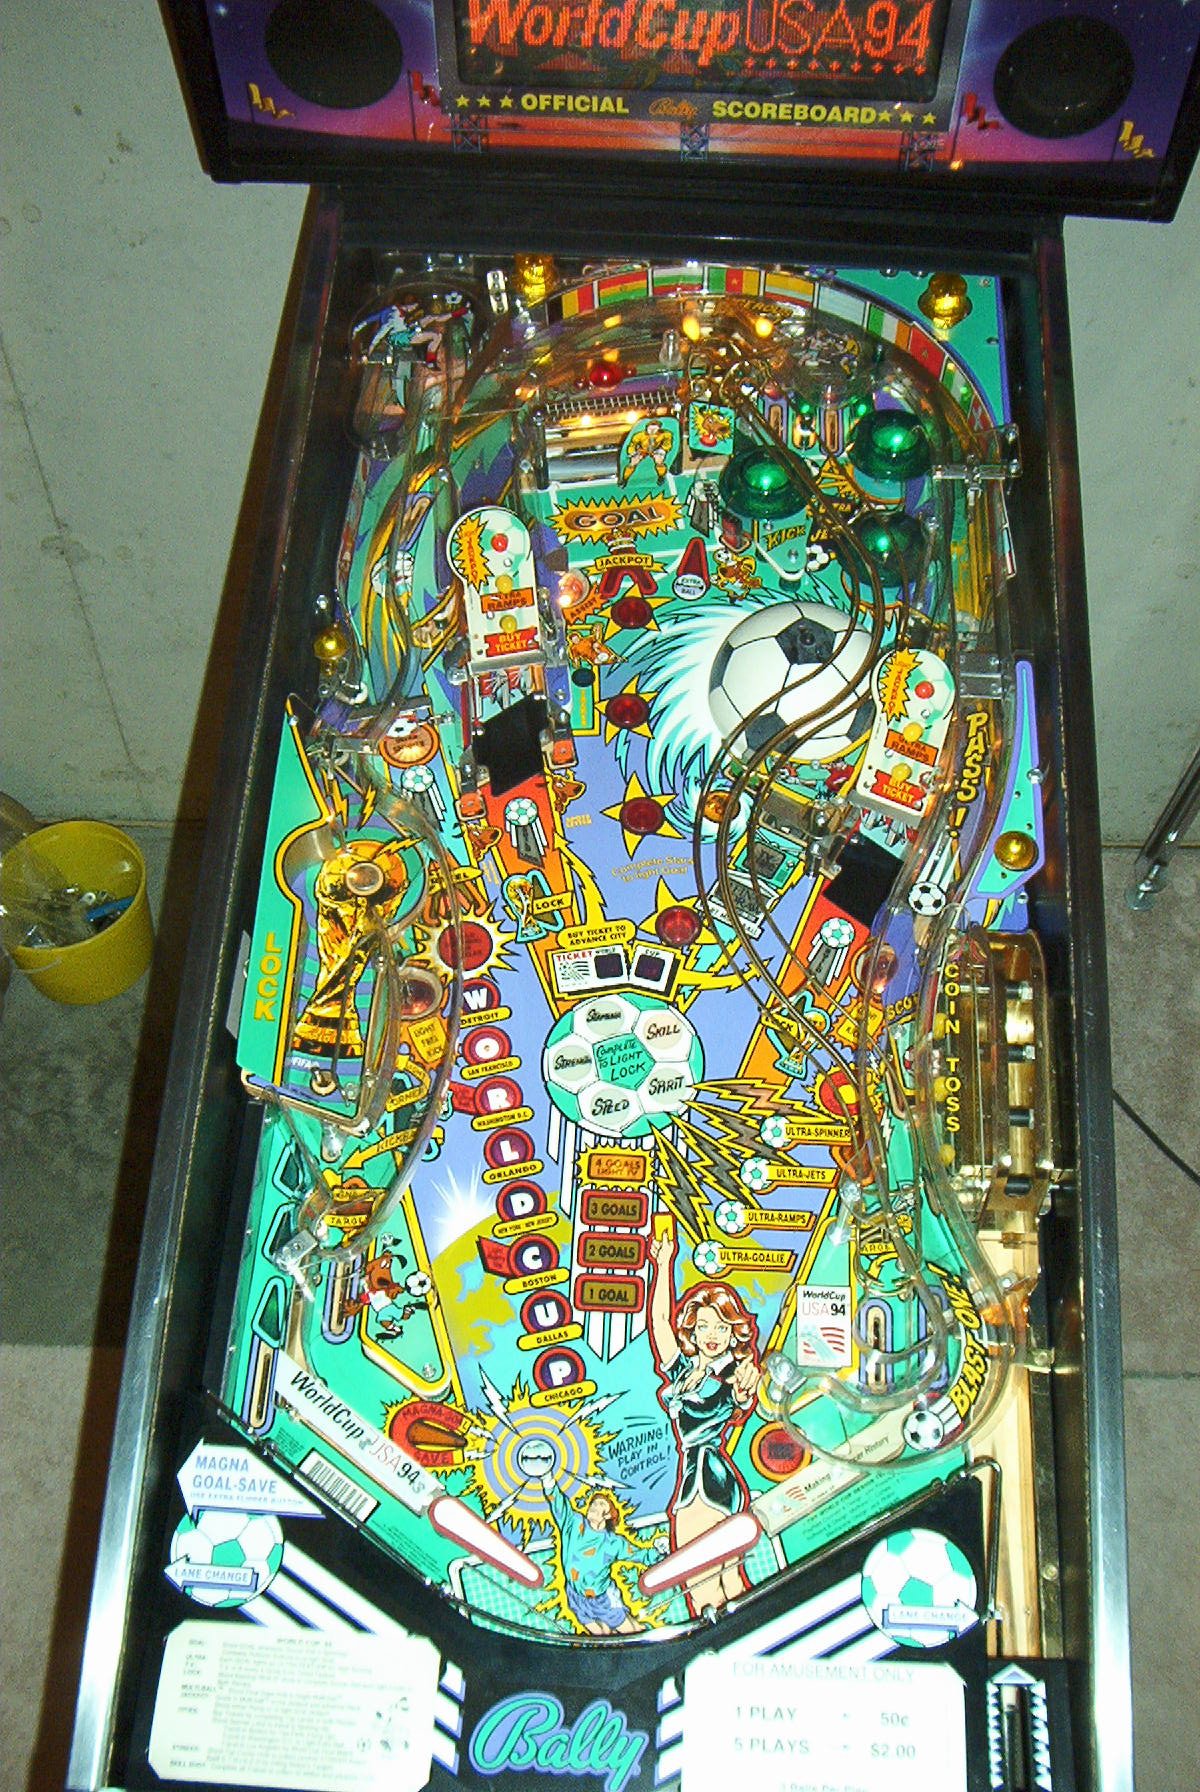
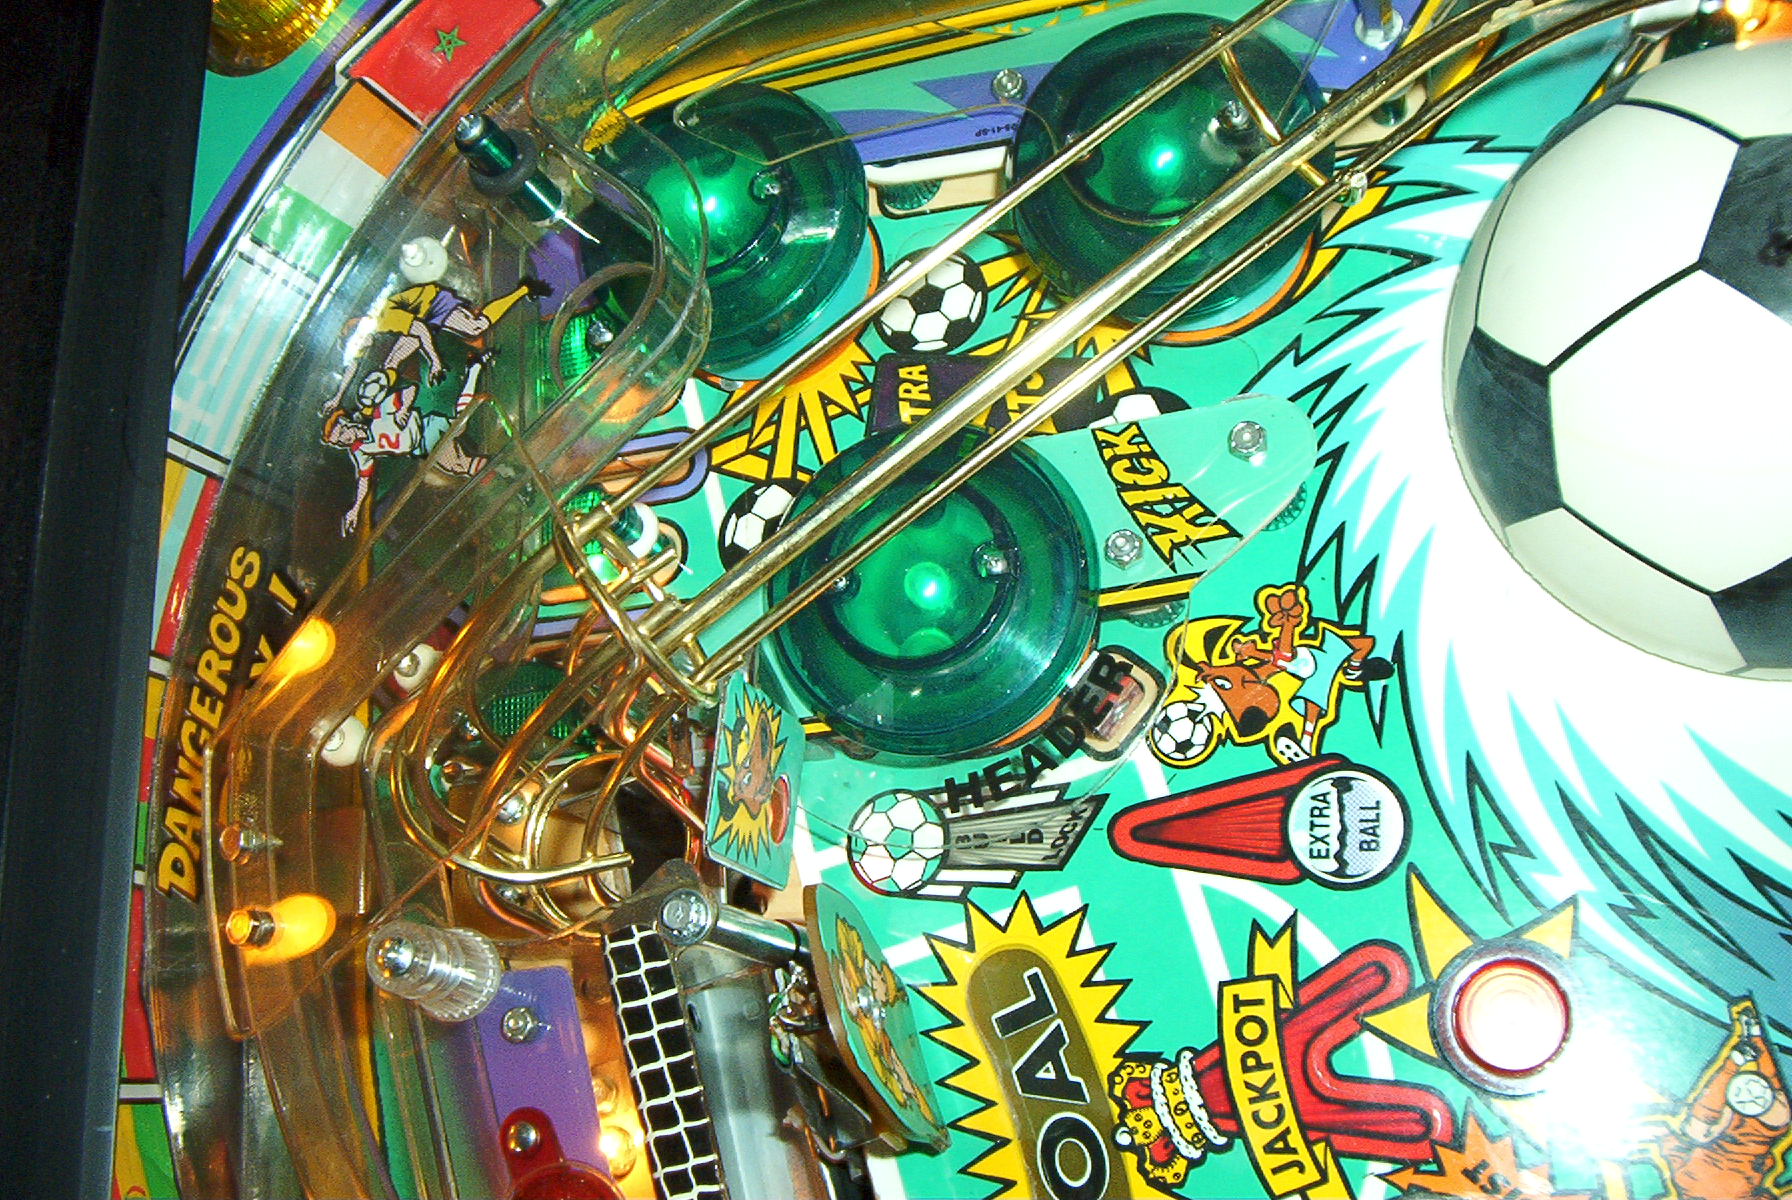
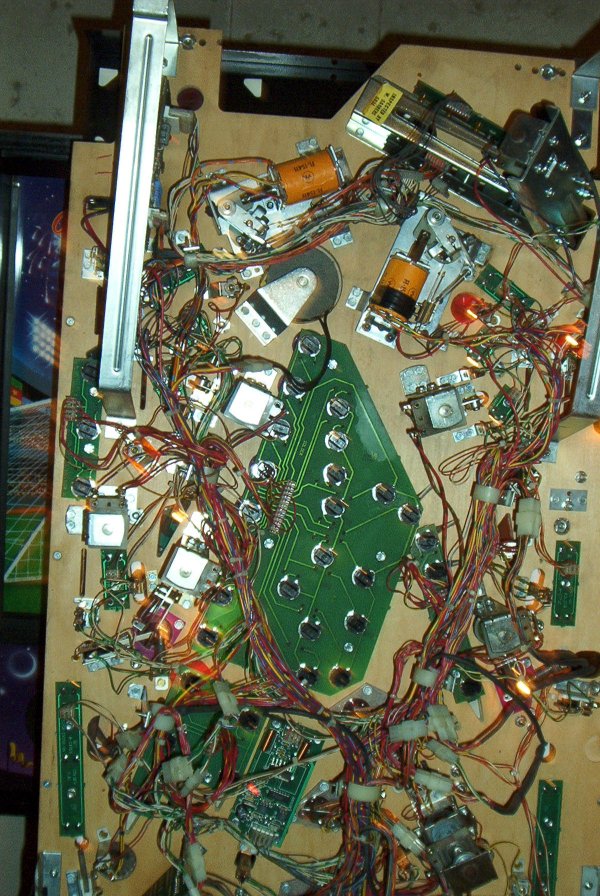
WCS94 Pictures |
WCS94 Pictures |
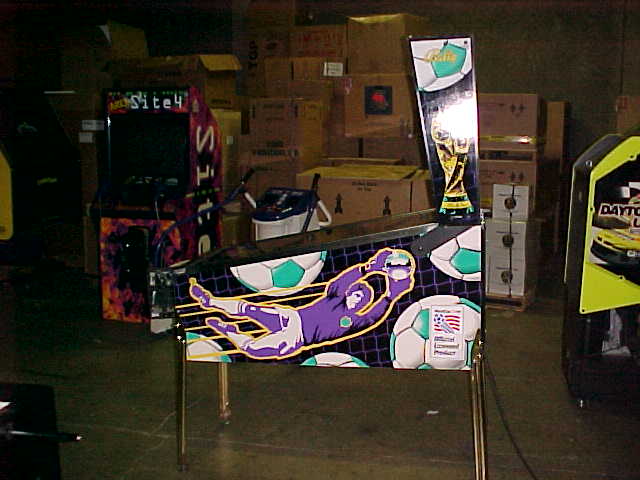
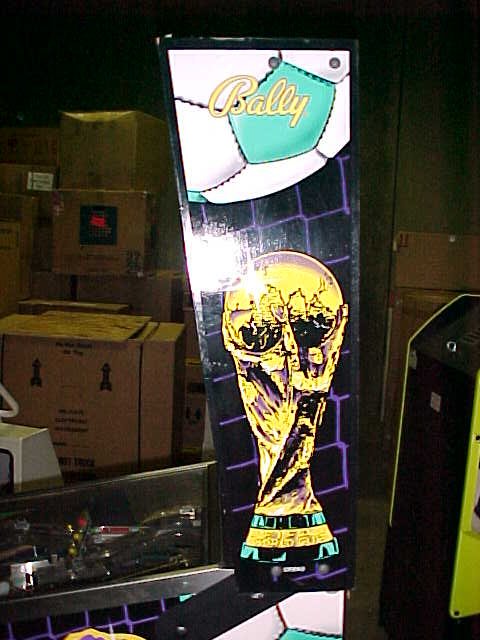
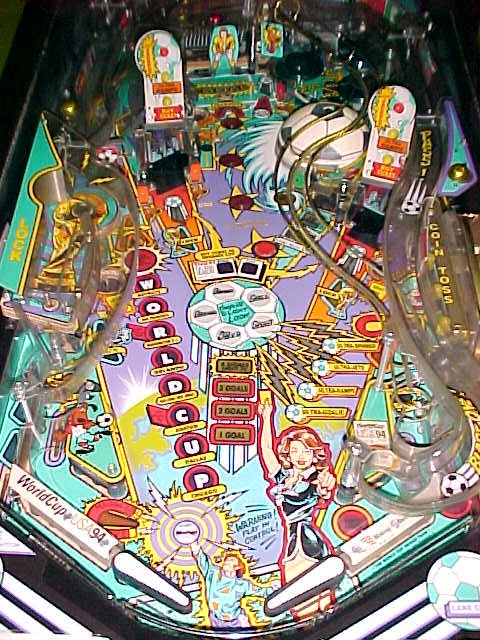
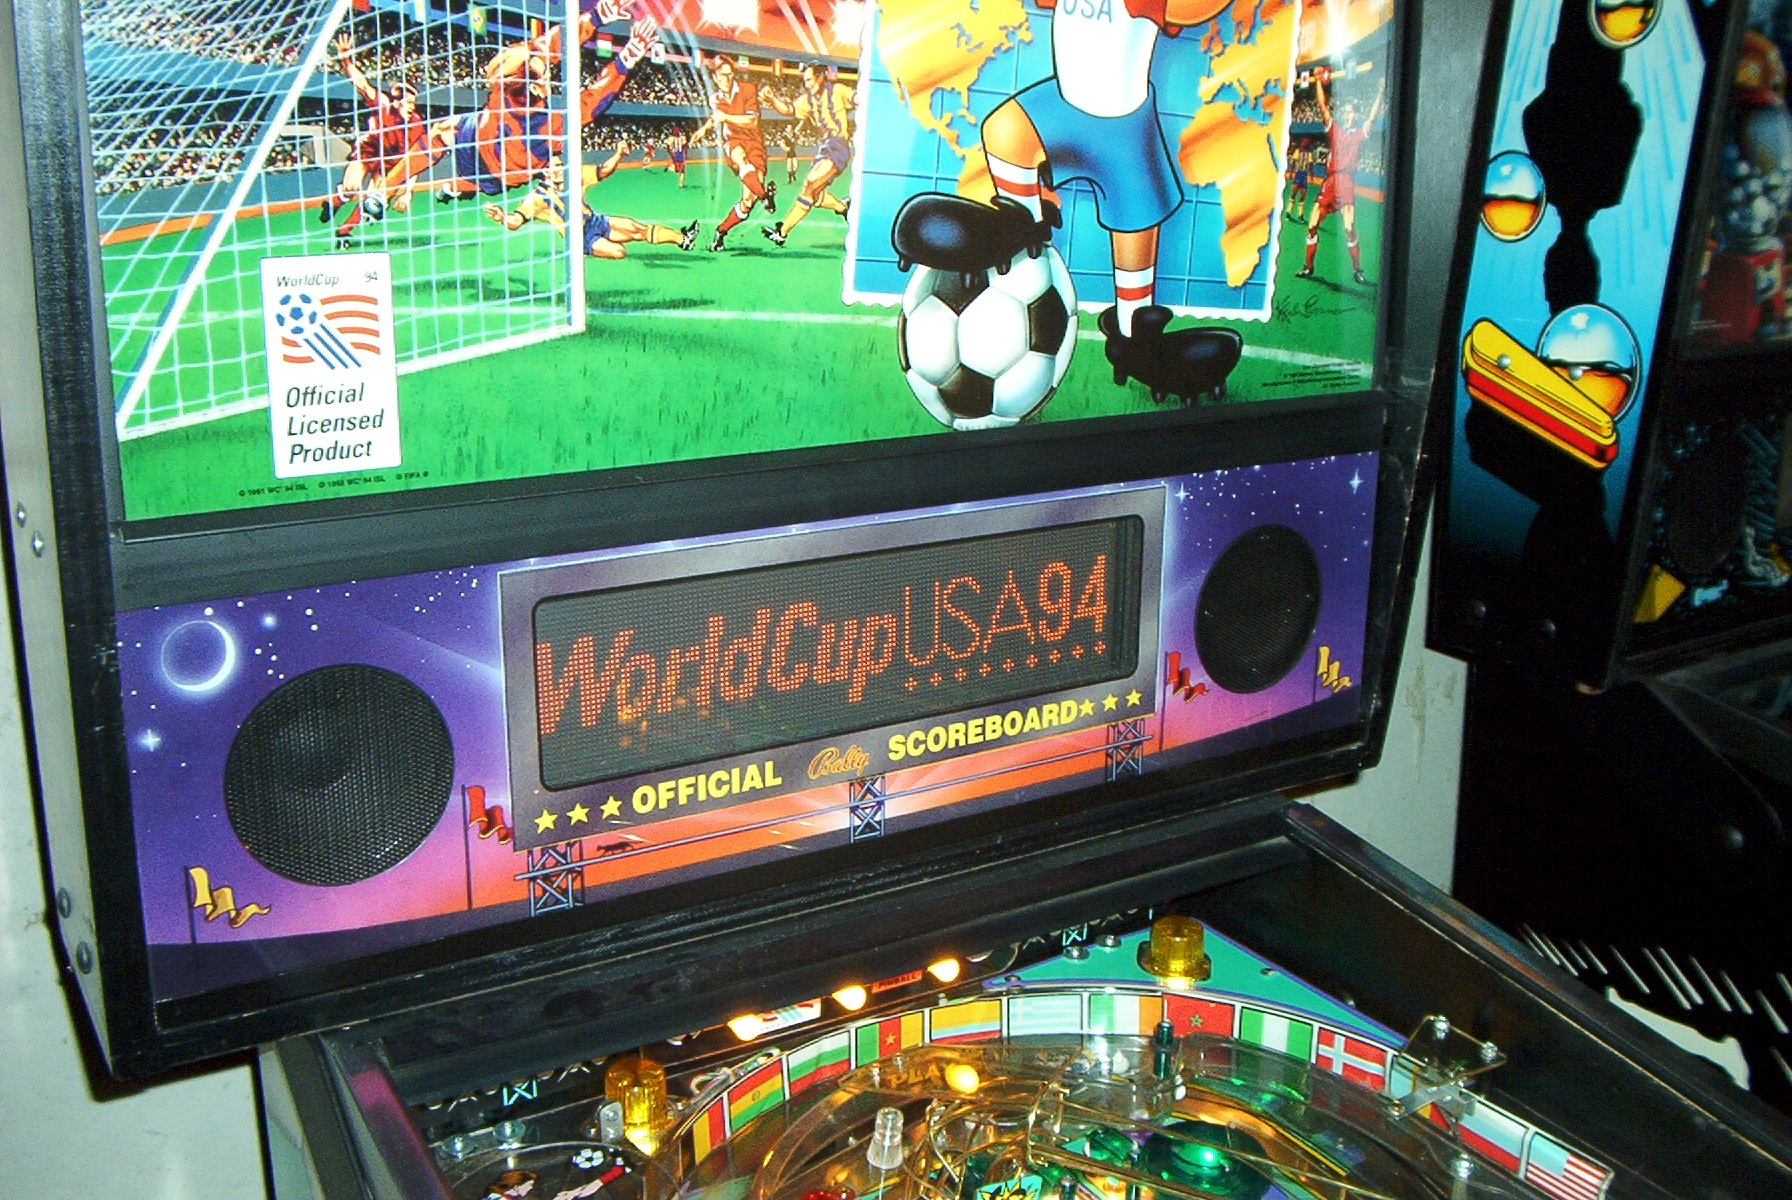
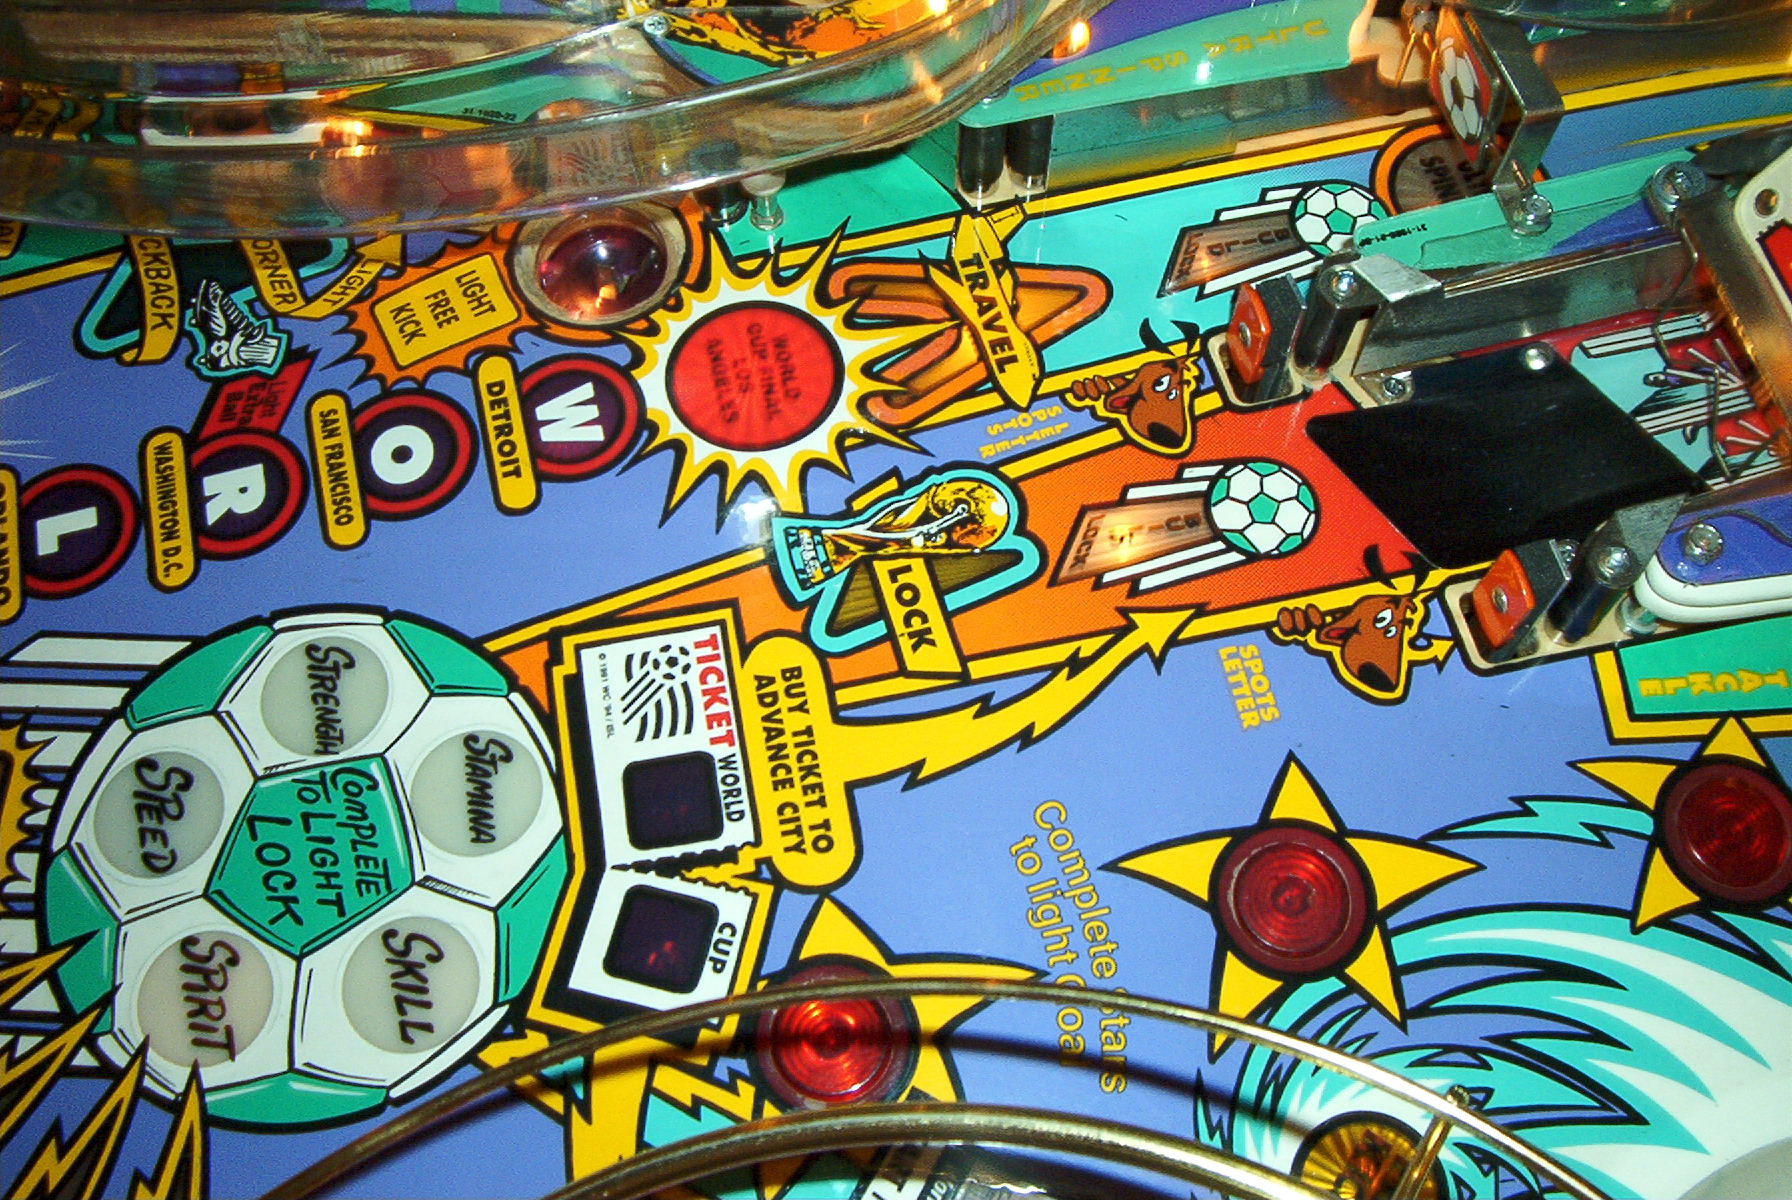
| WCS94
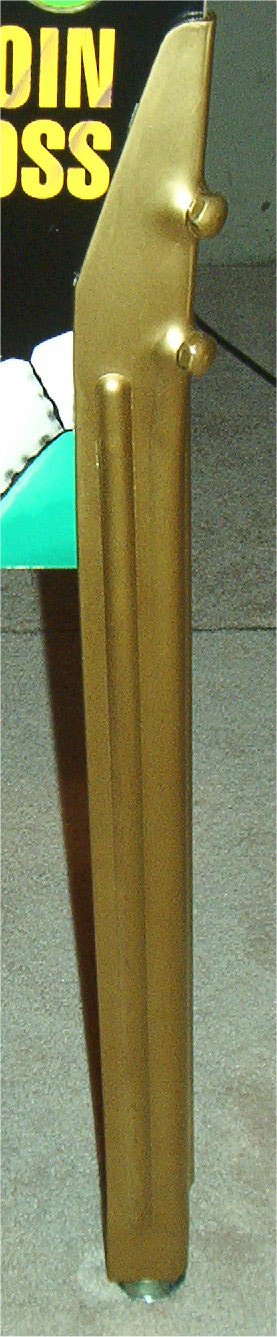
Purchased from Canadian Coin Machines in Burnaby BC, worse shape than expected Side of cabinet Seems to be in good shape Side of head Looks ok to me Playfield picture Dirty, soccer ball is gouged Upper playfield Many broken plastics, chipped crease Front cabinet The legs look worse in real life Lower playfield Both slings broken Original display Lots of burn in Display test Faded, looks better than before. |
|
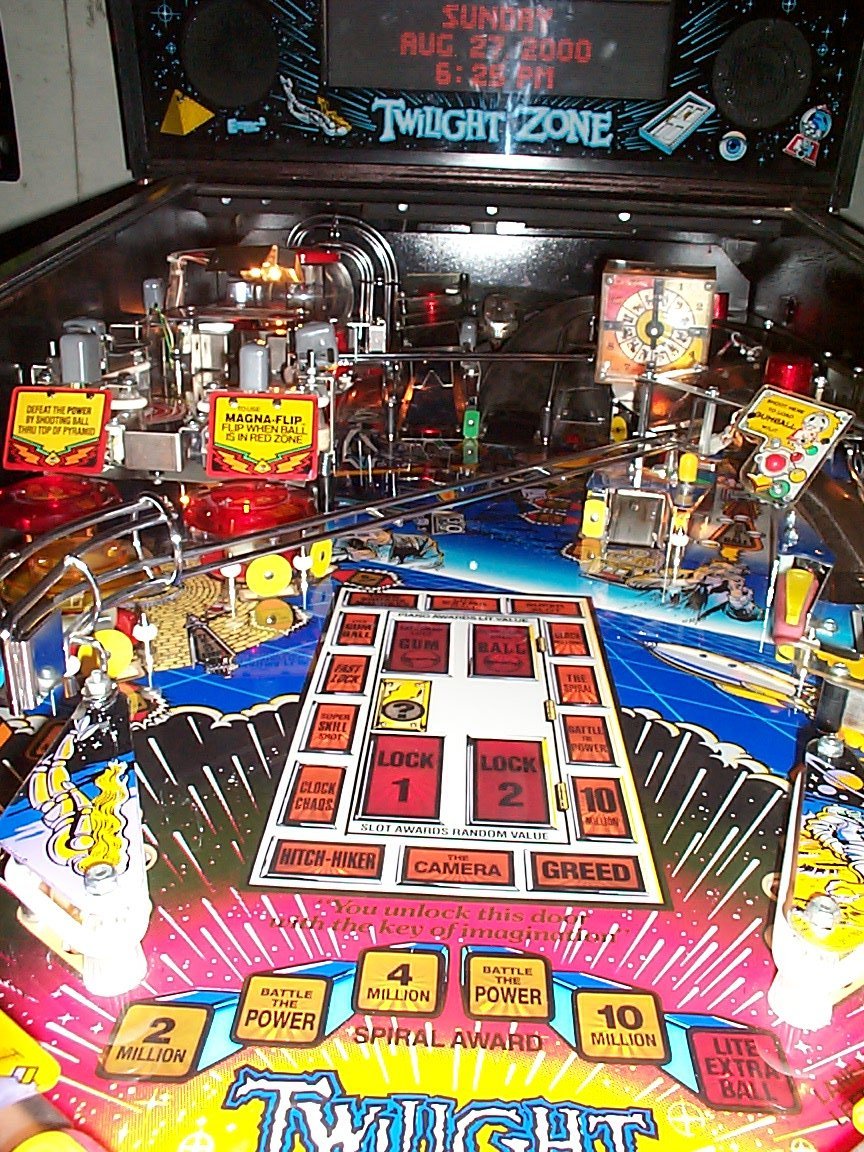
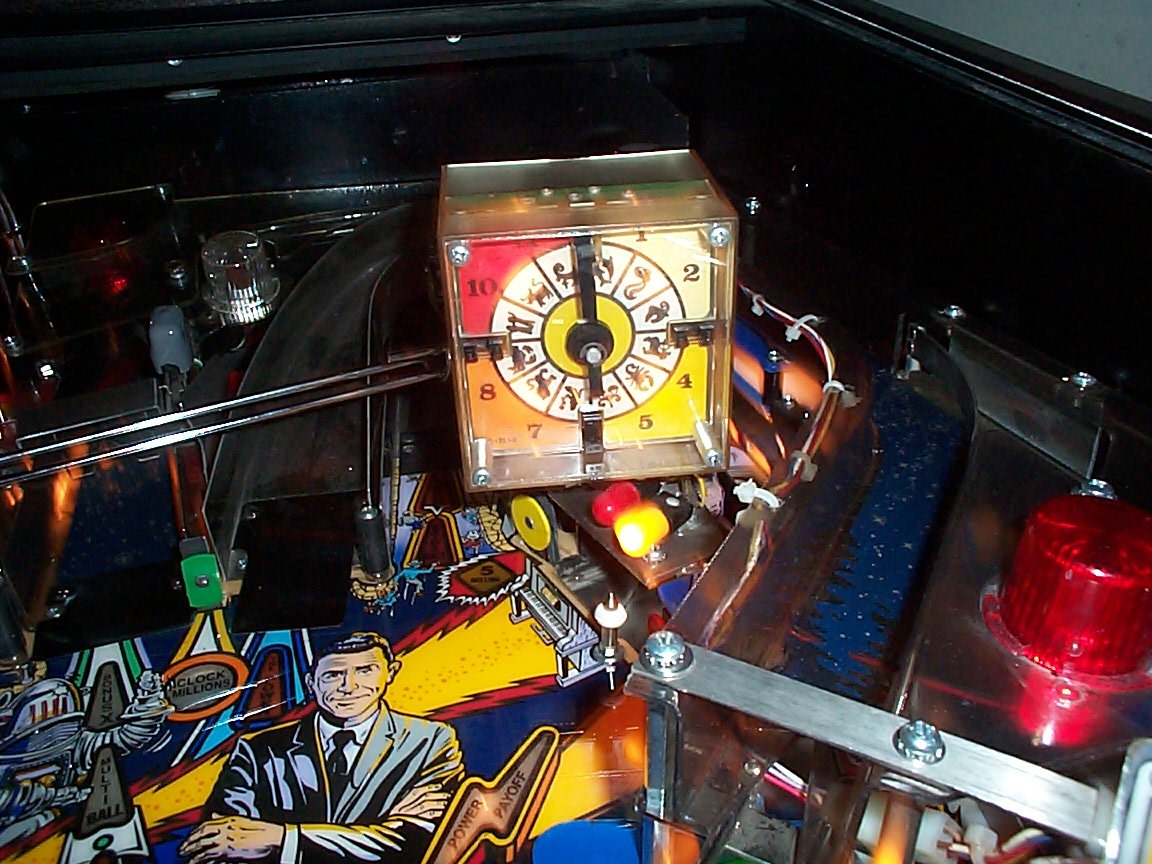
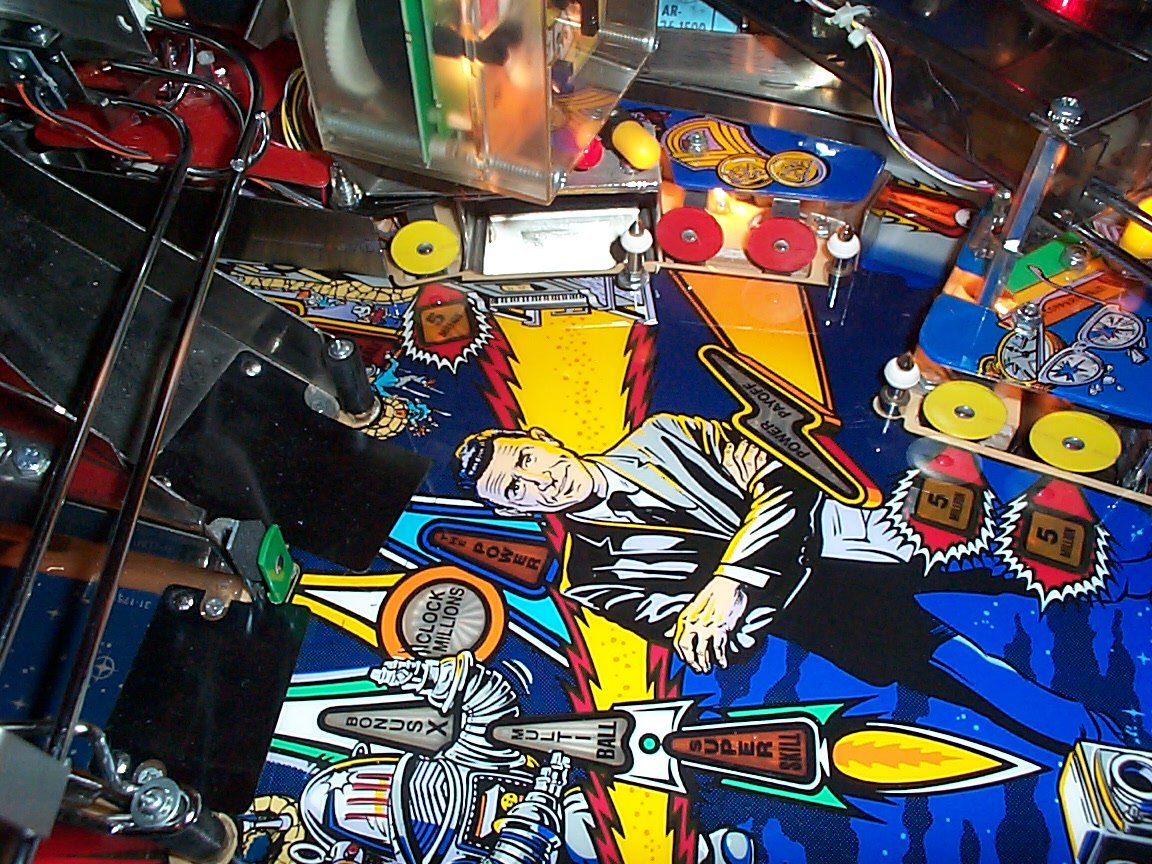
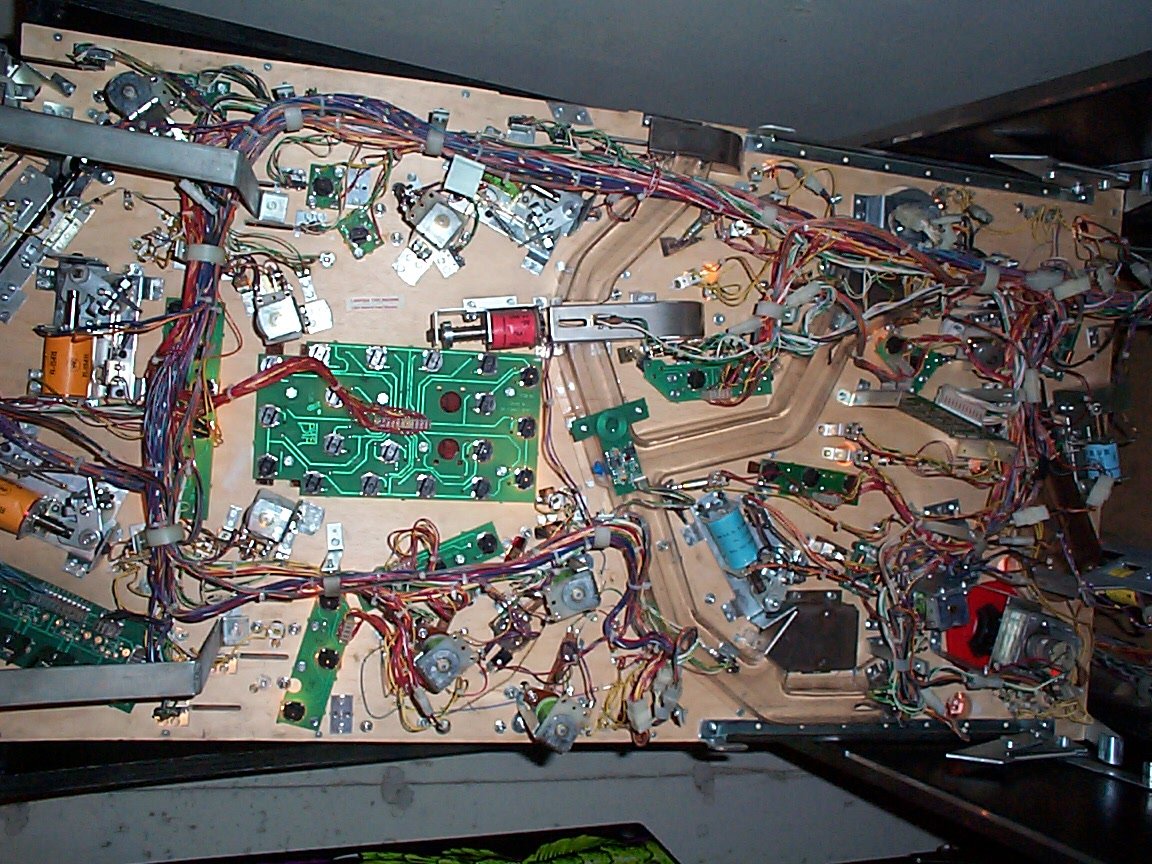
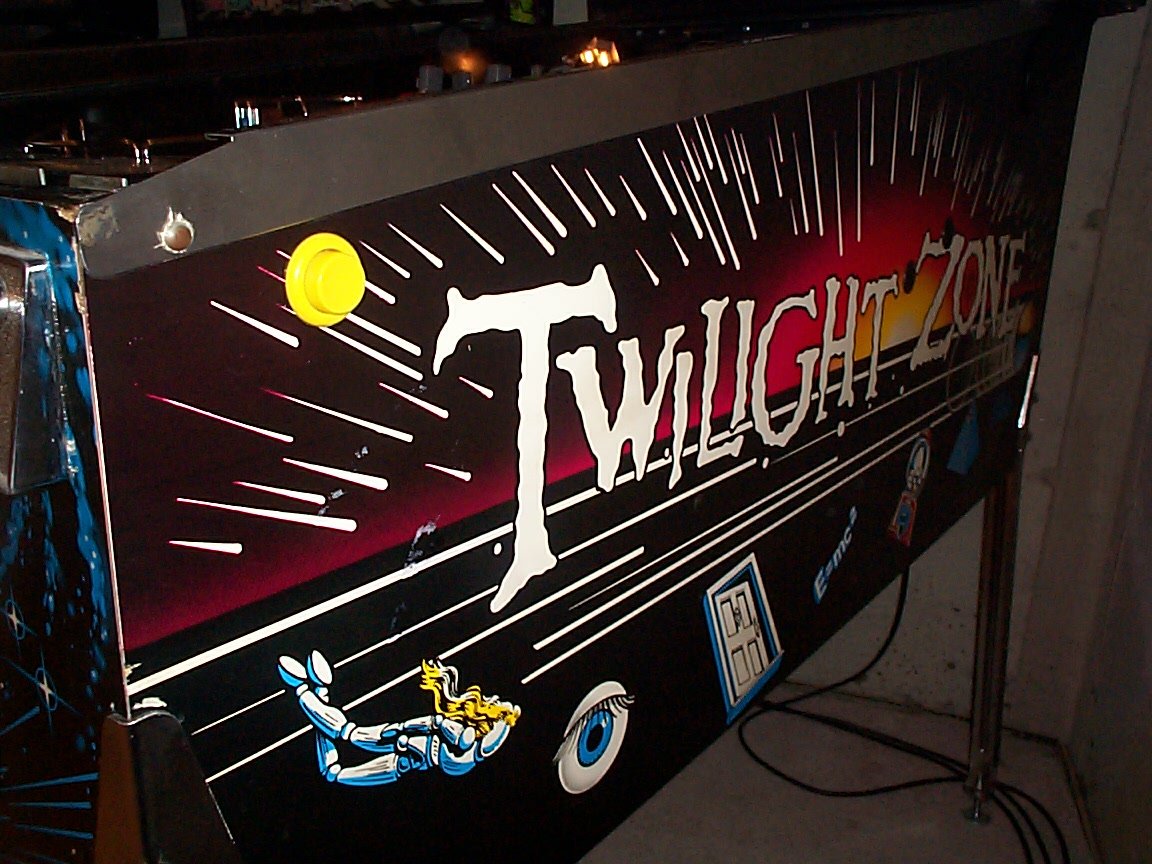
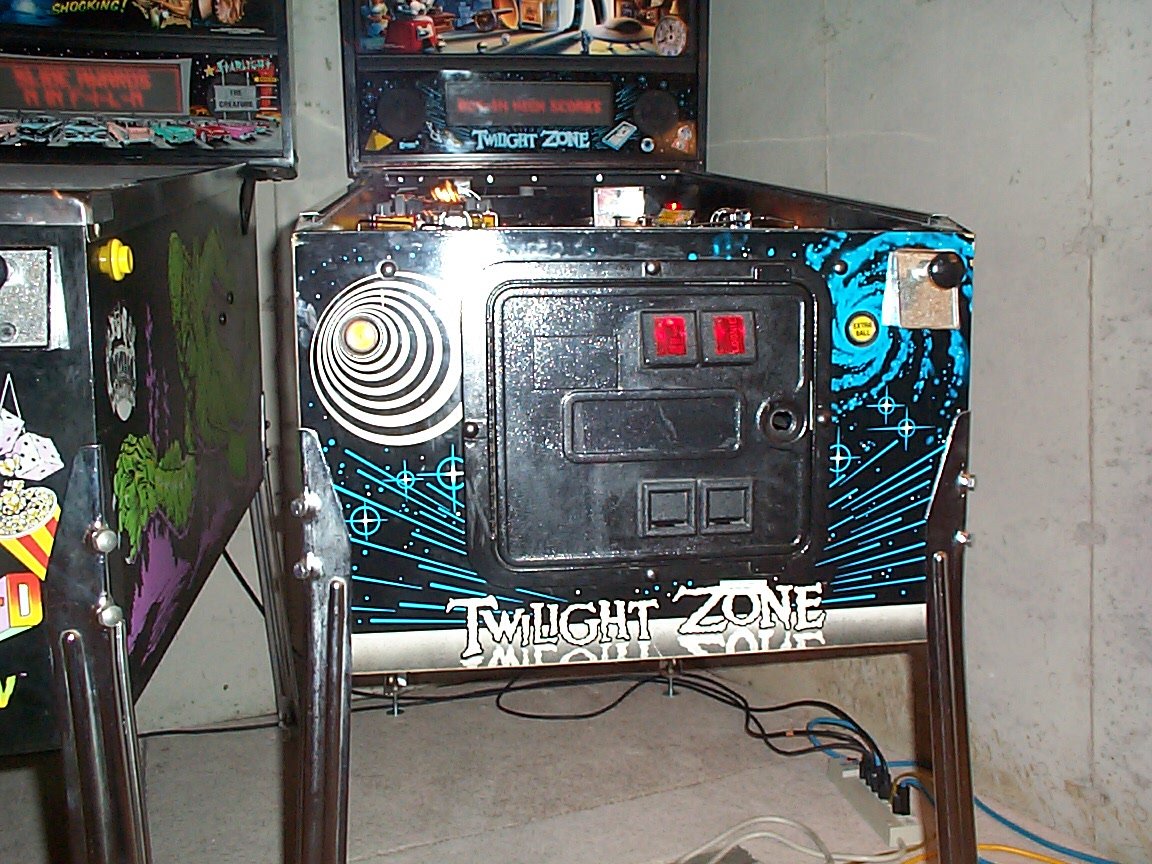
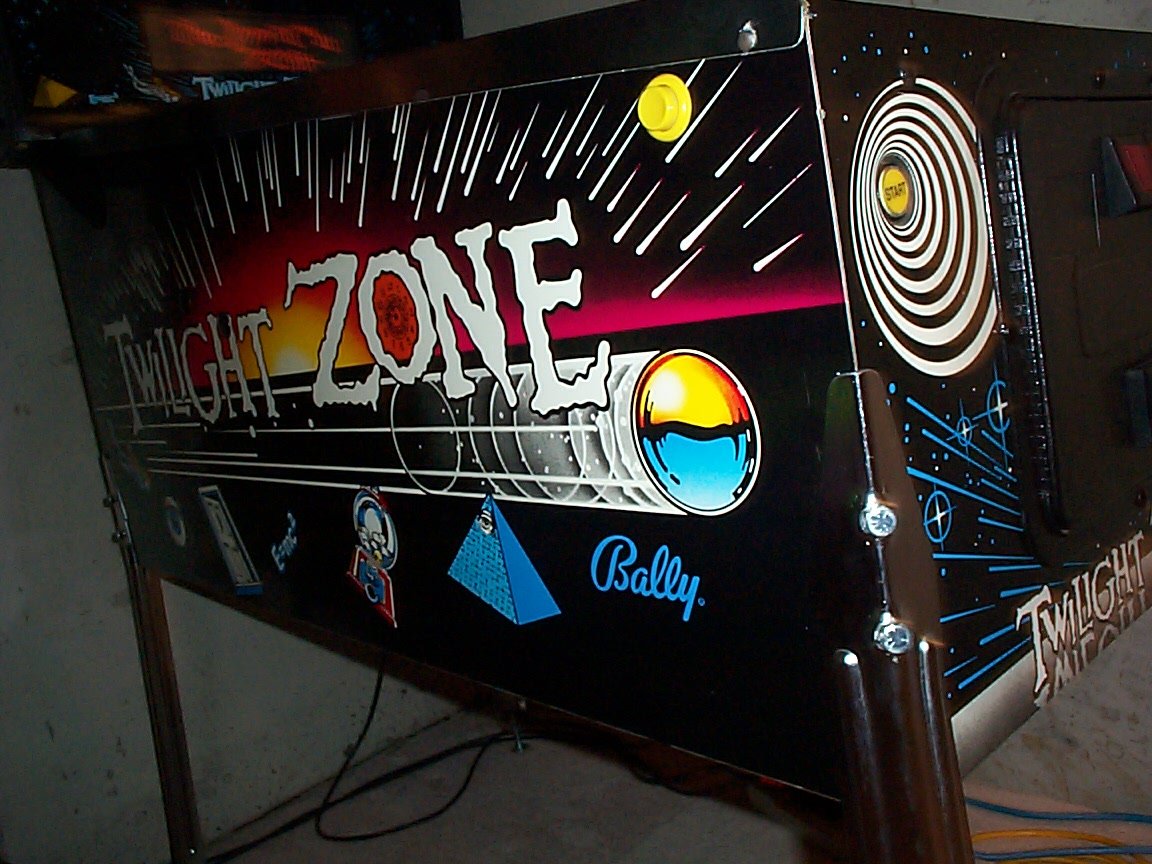
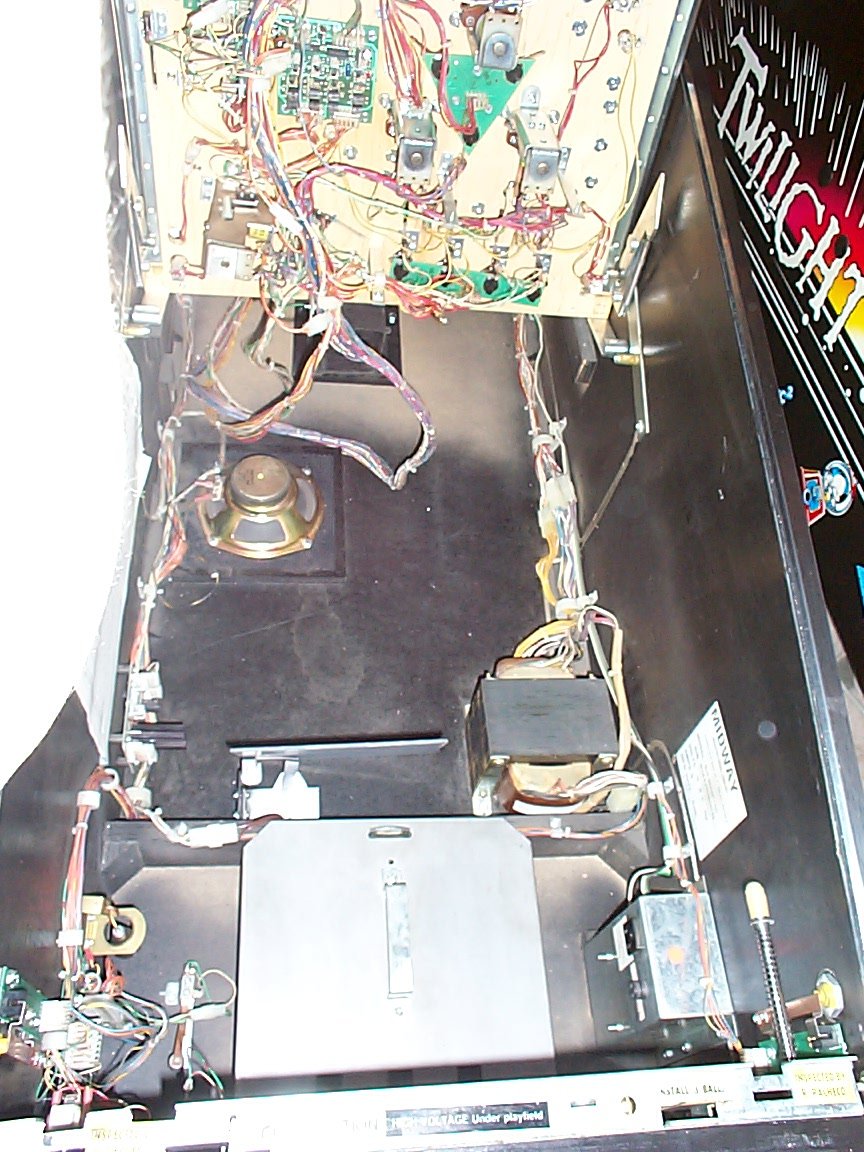
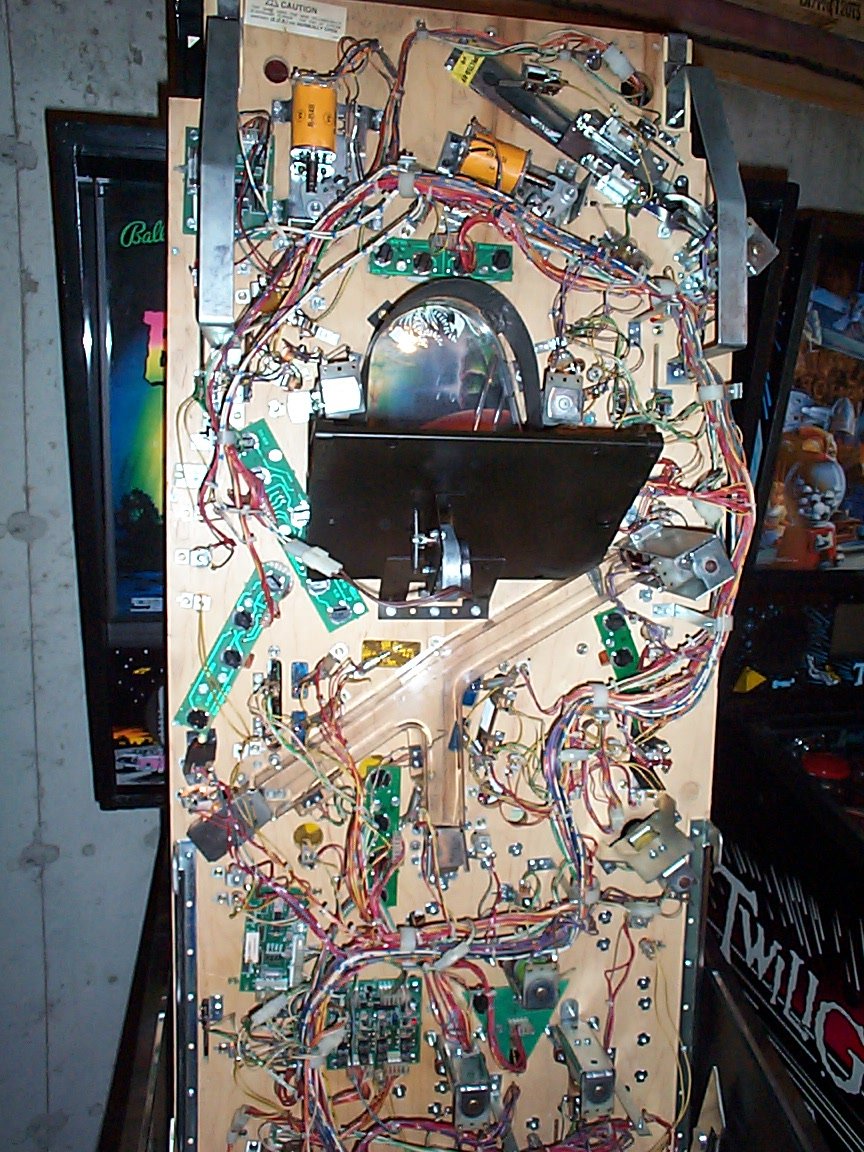
Twilight Zone Pictures
The playfield was clear coated by Bill Davis
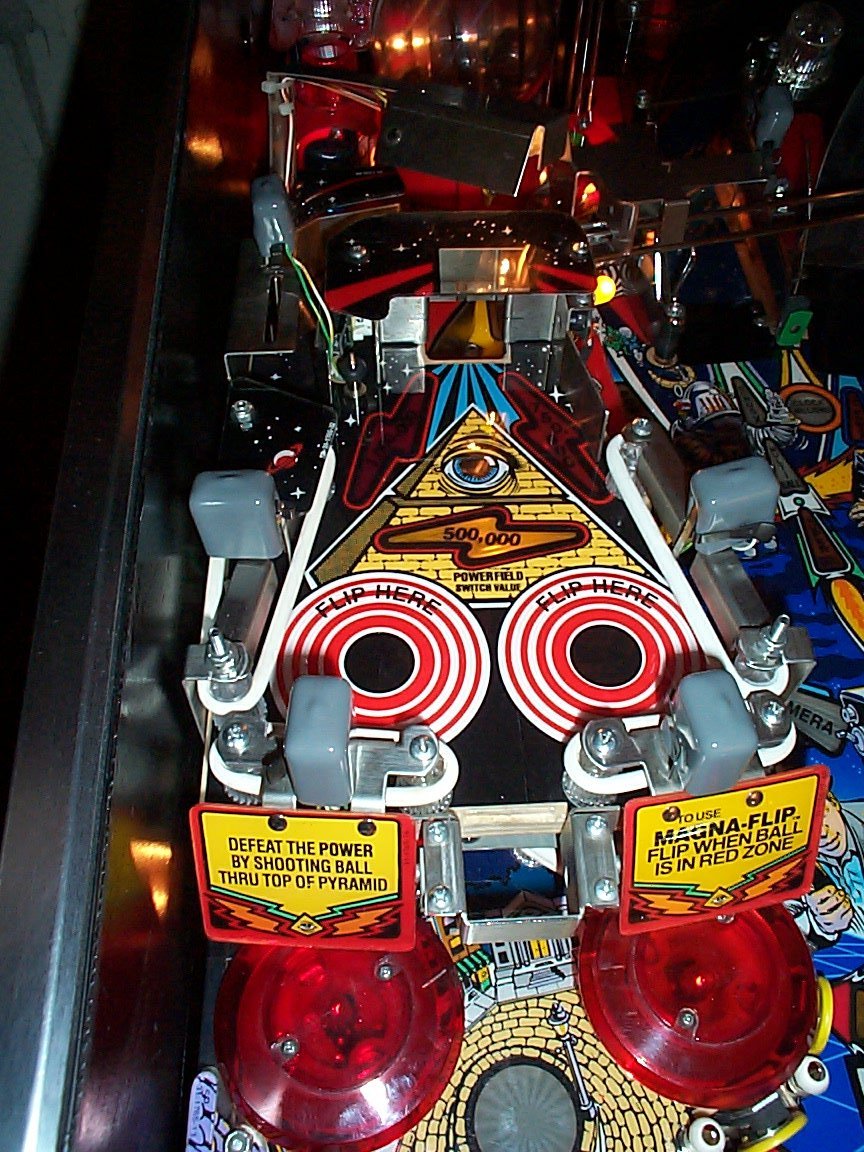
TZ playfield view
Another TZ playfield view
The clock
Another picture of the clock
Piano entrance
The gumball machine
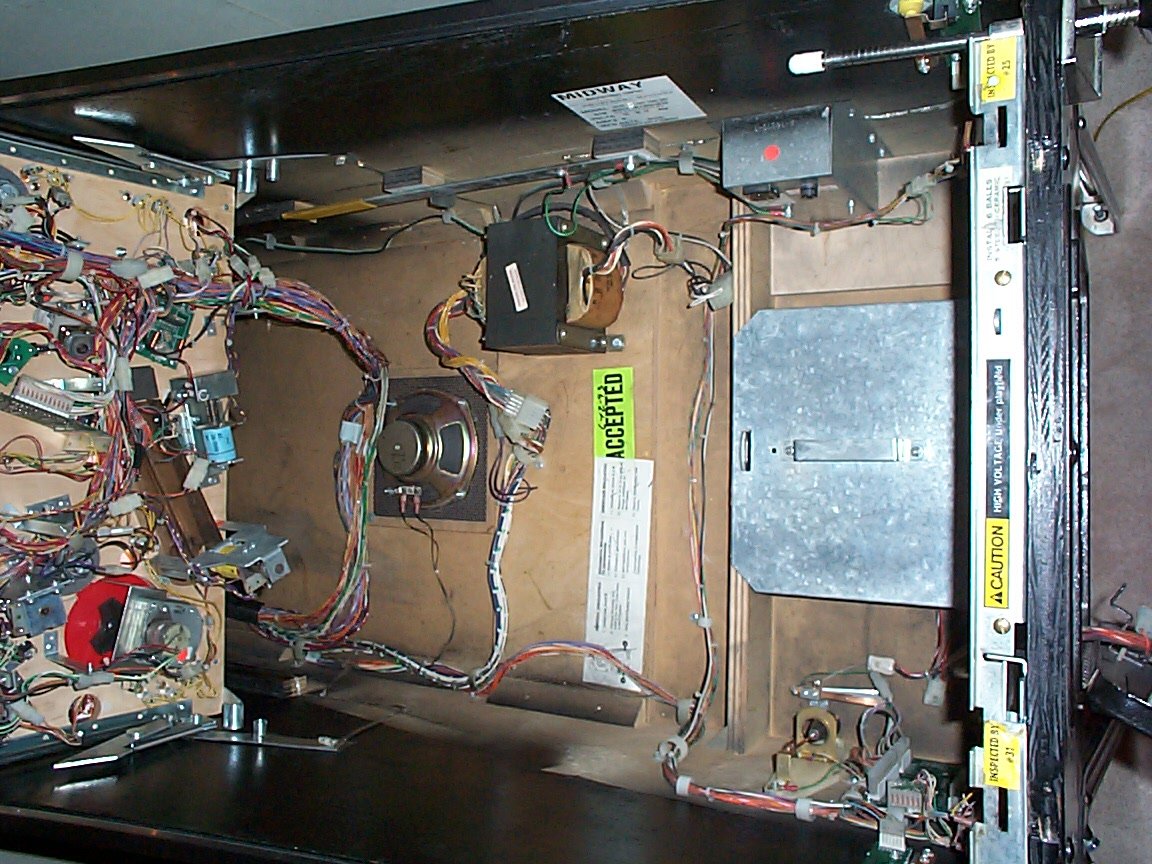
Under the playfield
In the cabinet
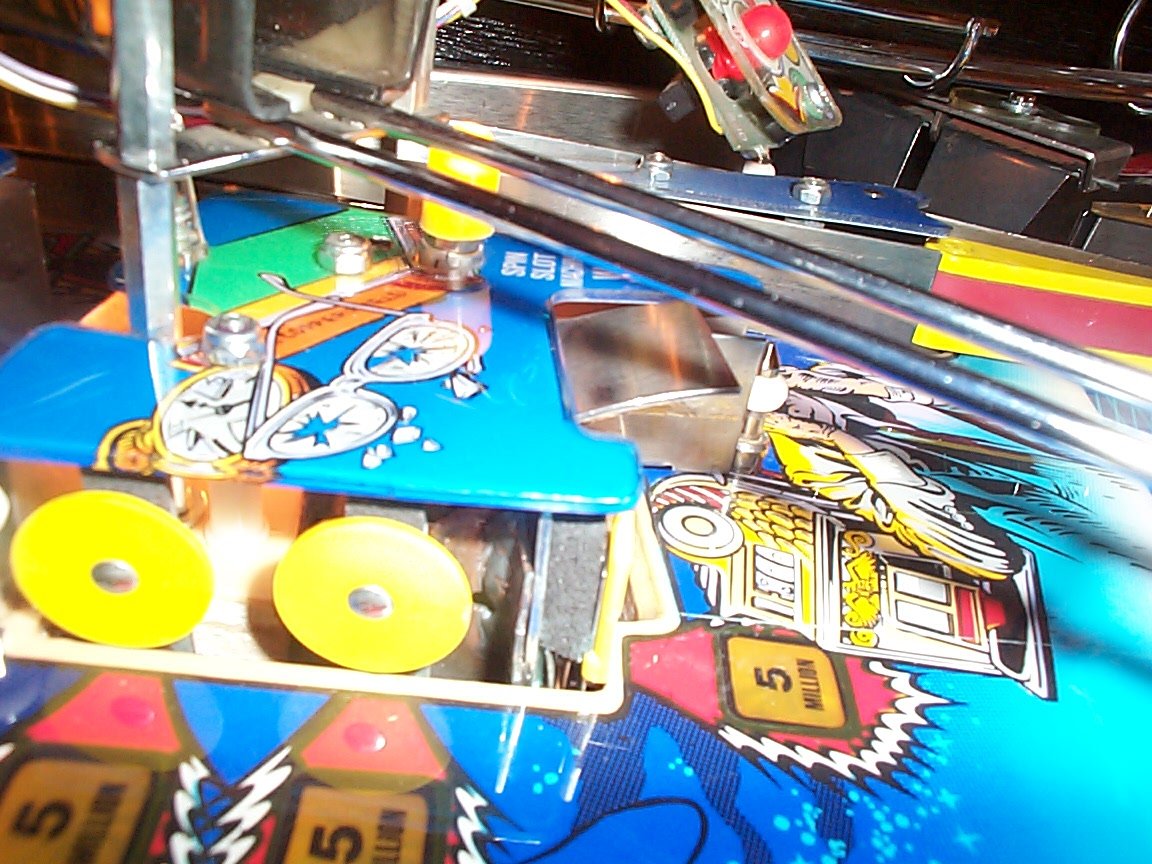
Mini playfield
Braced greed target
Right head
Right cabinet
Coin door, lock not installed
Left cabinet
|
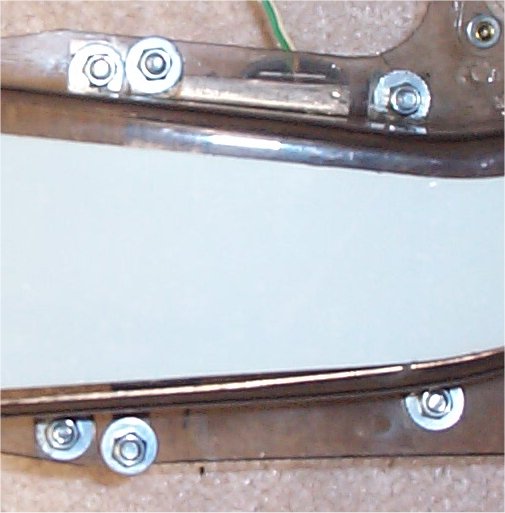
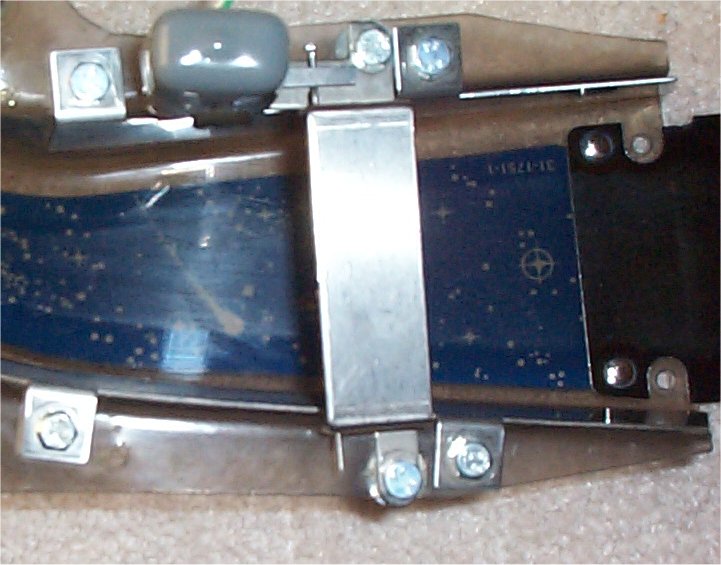
I read a post on RGP today about a fellow pinhead who bought a WCS94 ramp assembly from Not good! However this doesn't have to be a problem. I
bought a sheet of
stainless steel several weeks ago Here is a picture of the vertical crack It maybe took 20 minutes to get it to the point where I was satisfied
enough with
the fit to install it. Installation just finished The leading edge of the guard sits behind the diverter, but |
|
Twilight Zone Ramp Reinforcement
|
Click BACK on your browser to return after viewing any picture