This High Speed 2: Getaway plastic I need:
Picture of piece (50k size)
My original 3 Games
CFTBL is now gone, replaced by WCS94
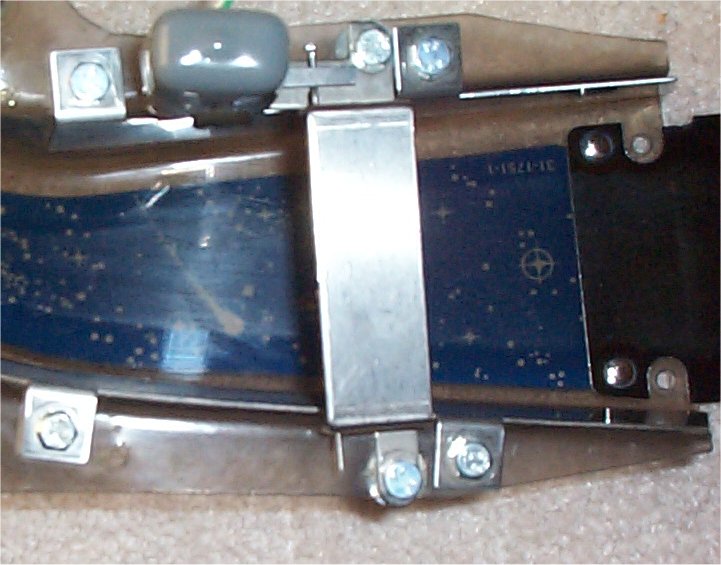
NEW -WCS94 ramp guard installation.
I read a post on RGP today about a fellow pinhead who bought a WCS94 ramp
assembly from ebay. I read the ad and the seller claimed there were no
breaks or
chips, but indeed there were. Just above the left ramp diverter, there is
a U-bend
in the ramp and it had a rather large hole in it. Out of curiousity, I
checked my ramp
and found it to be cracked in that same spot! It certainly wasn't cracked
several
months ago when I shopped the game.
Here is a picture of the vertical crack
Not good! However this doesn't have to be a problem. I
bought a sheet of
stainless steel several weeks ago just in case I needed to fix something like
this.
I cut a strip of stainless steel using tin snips, which is difficult, but not
impossible
to do. This strip was then shaped to fit the outside part of the U-bend.
Hand cut and hand shaped stainless steel
It maybe took 20 minutes to get it to the point where I was satisfied
enough with
the fit to install it. Installation was done using double sided adhesive
rubber tape.
It is thinner than adhesive foam tape and VERY sticky. Here are 2 pictures
of
the installed guard.
Installation just finished
Installation with diverter in place
The leading edge of the guard sits behind the diverter, but does not
interfere with
its operation at all.
New Arrival - Shadow Pictures
Decapitated, dirty and in need of some love
Picture 1
Picture 2
Picture 3
Picture 4
Picture 5
Picture 6
Picture 7
Picture 8
Picture 9
Picture 10
Picture 11
Picture 12
Picture 13
Picture 14
Picture 15
Picture 16
Shadow pictures after 5 weeks, 100 hours and some new parts.
Bag in the cabinet is a NOS plastic set. I repaired the existing
plastics and decided to use them for now.
Picture 1
Picture 2
Picture 3
Picture 4
Picture 5
Picture 6
Picture 7
Picture 8
Picture 9
Picture 10
Picture 11
Picture 12
Picture 13
Picture 14
The following repairs were done:
Replace leg levelers, replace balls,
replace 3 yellow narrow push targets, replace all
playfield lights with #47, replace general illumination connectors (j120, j121),
weld right
phurba ramp, replace burnt pins on transformer molex connector, unbend and paint
coin
door, replace all major flipper components, repair inner sanctum playfield wear,
replace
black rubbers with white, hand clean every single playfield part including ball
guides, hand
clean legs, replace phurba springs, replace 1 phurba coil, replace battlefield
kicker coil,
weaken VUK lower spring, replace wall target spring, repair worn lever on wall
target
assembly, rebuild battlefield drop target assembly, re-align shooter lane coil
bracket, repair
left slingshot chip at top, repair plastics under battlefield including custom
creation of new
lexan parts, rebuild yellow drop target assembly, replace foam on lockdown bar,
vacuum
and clean cabinet inside with damp rag, repair and paint wood chip on backbox
edge, minor
other cabinet touchups, lubricate slingshot hinges, replace leg bolts,
straighten bent battlefield
lower right post, repair factory(?) cross-threaded tnut at back corner of
playfield, filled gouges
and repainted inside cabinet walls, clean and wax playfield, replace mylar
patches under
battlefield (2), mylar under blue ramp flaps, replace left and right ramp clear
lexan shields,
replace switch on left phurba ramp (right exit) with long arm switch........
probably more, I
just don't remember right now. Now you know why I needed 5 weeks to do
this.
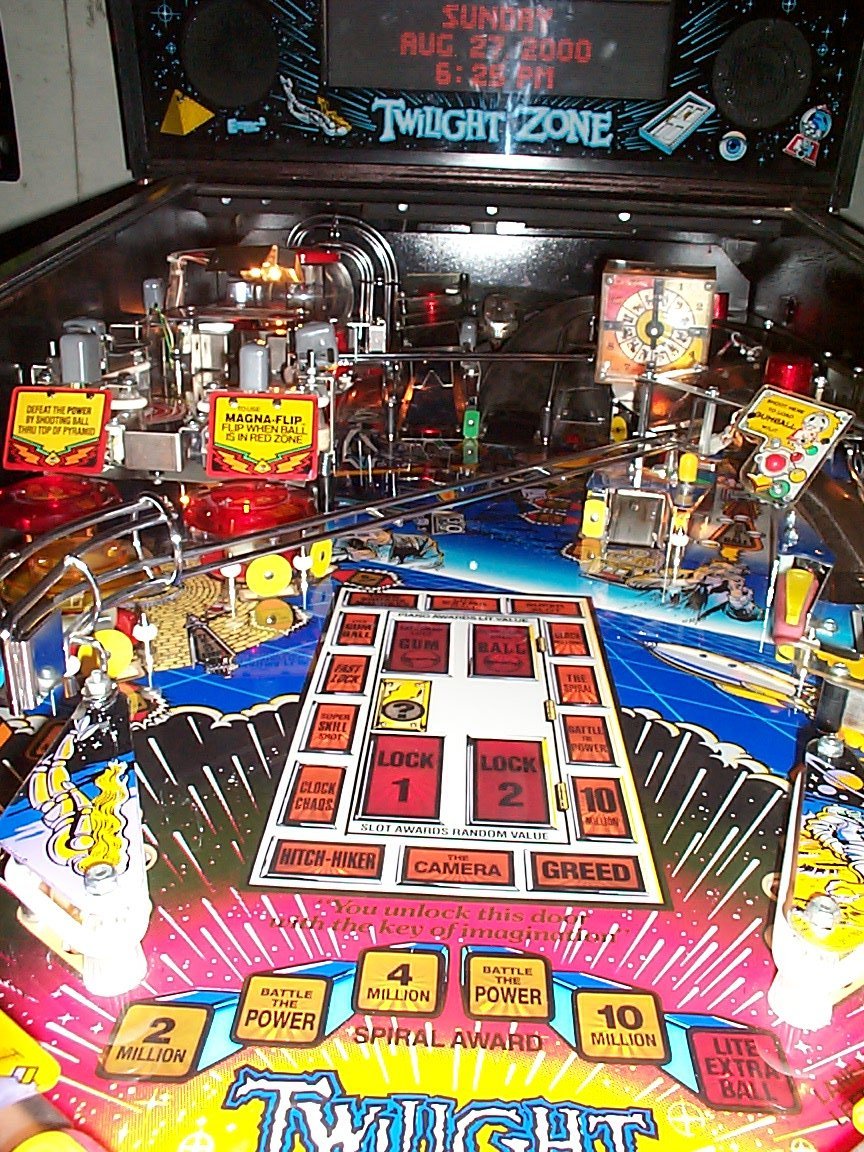
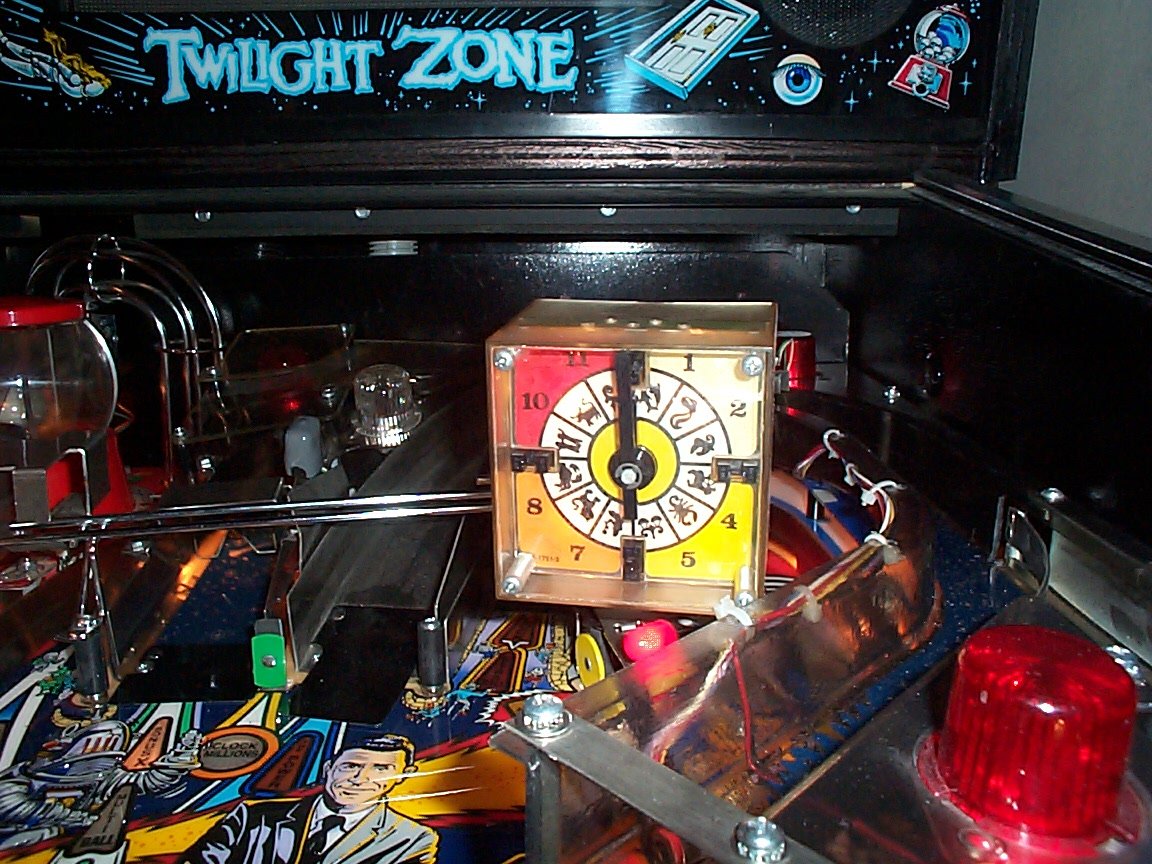
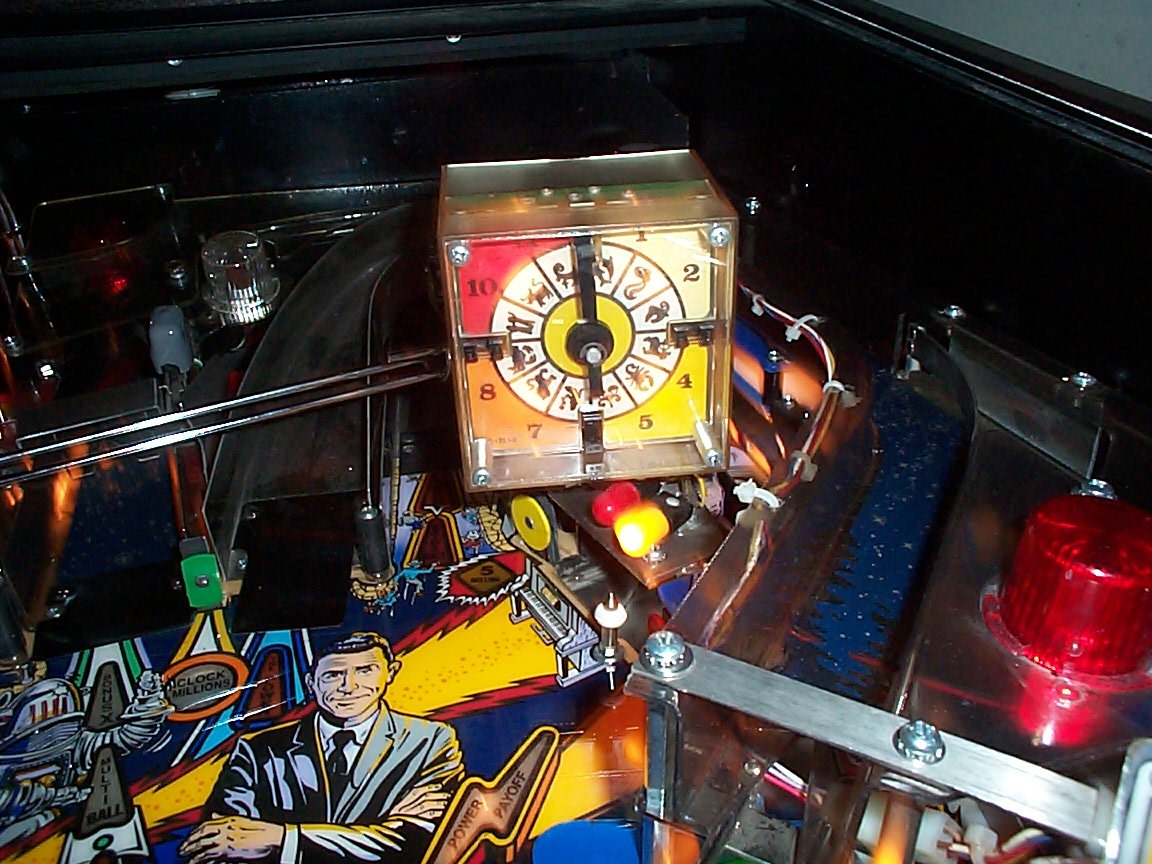
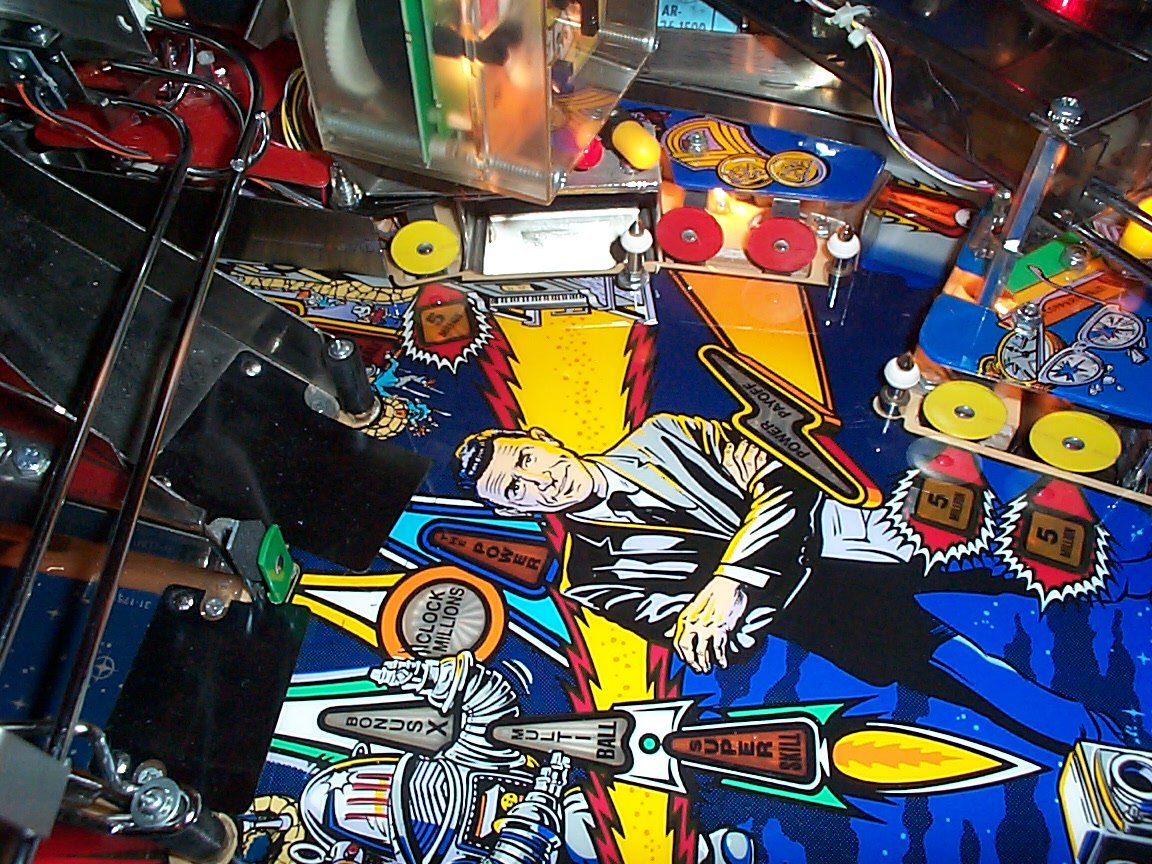
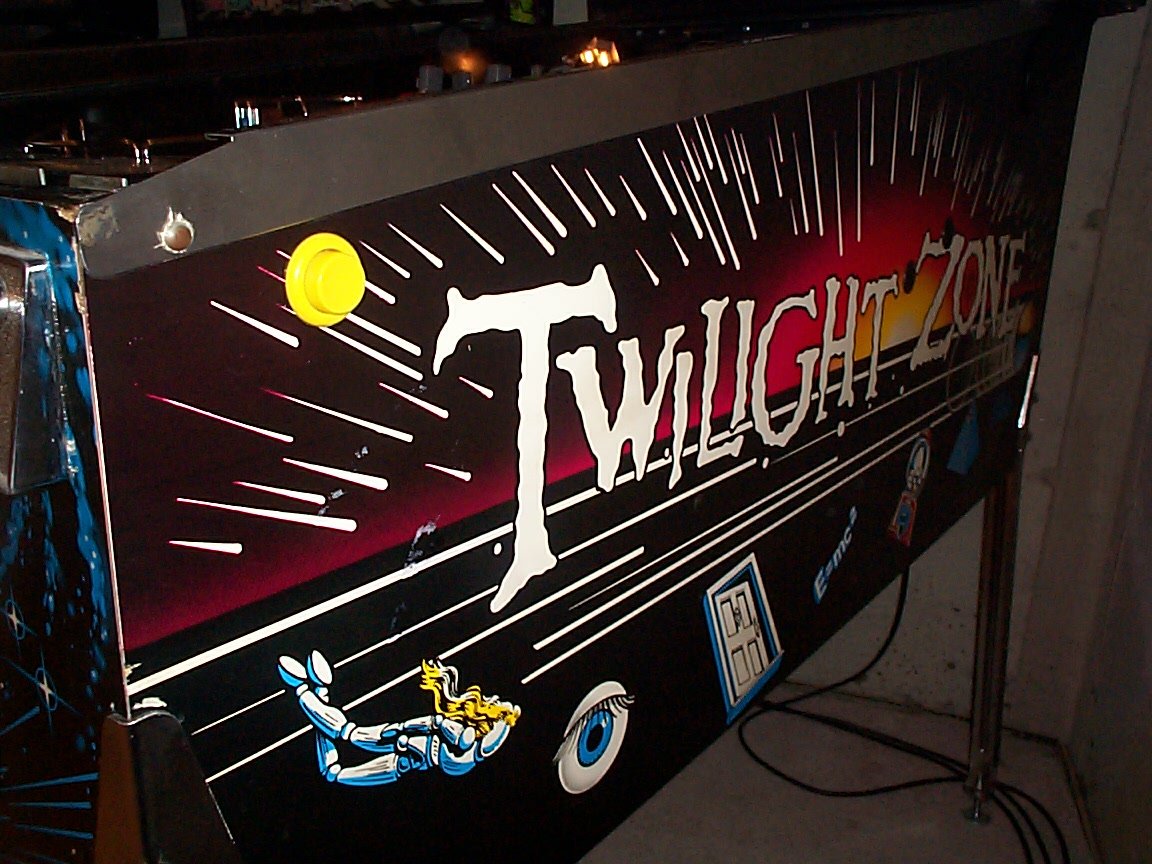
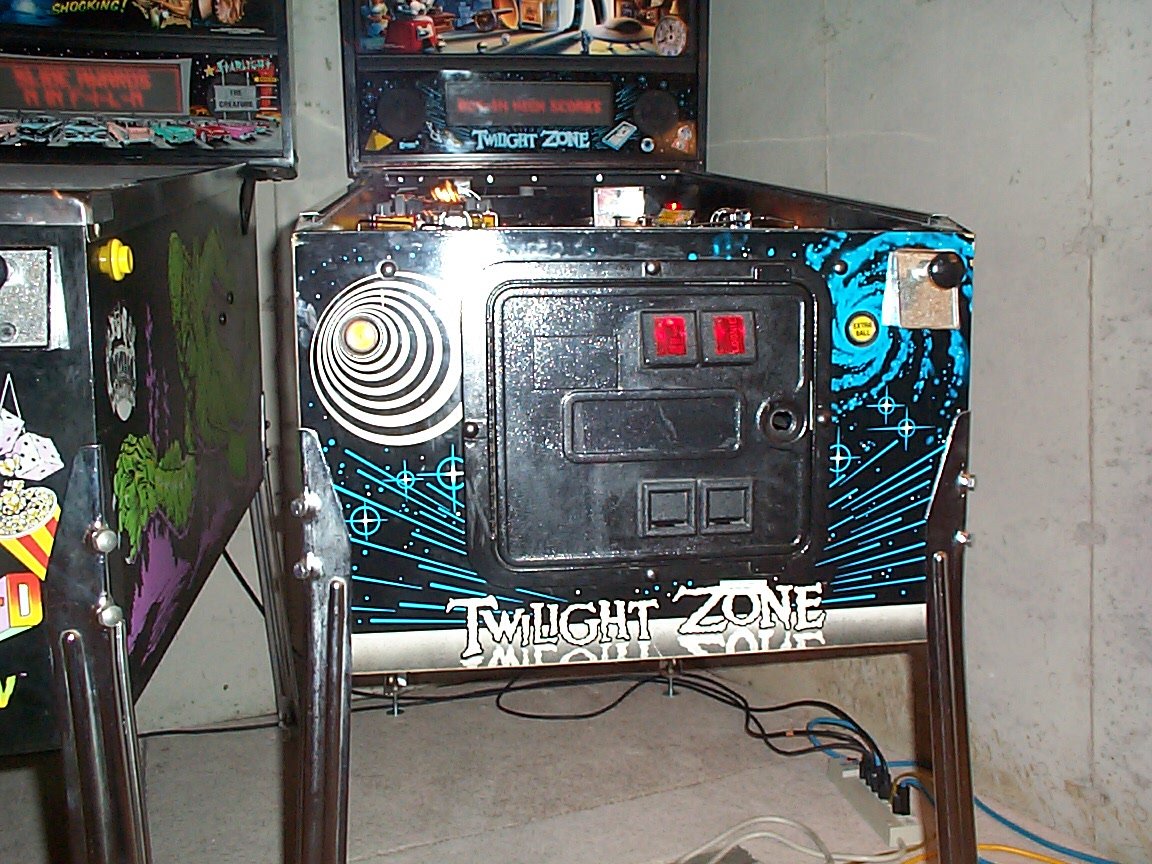
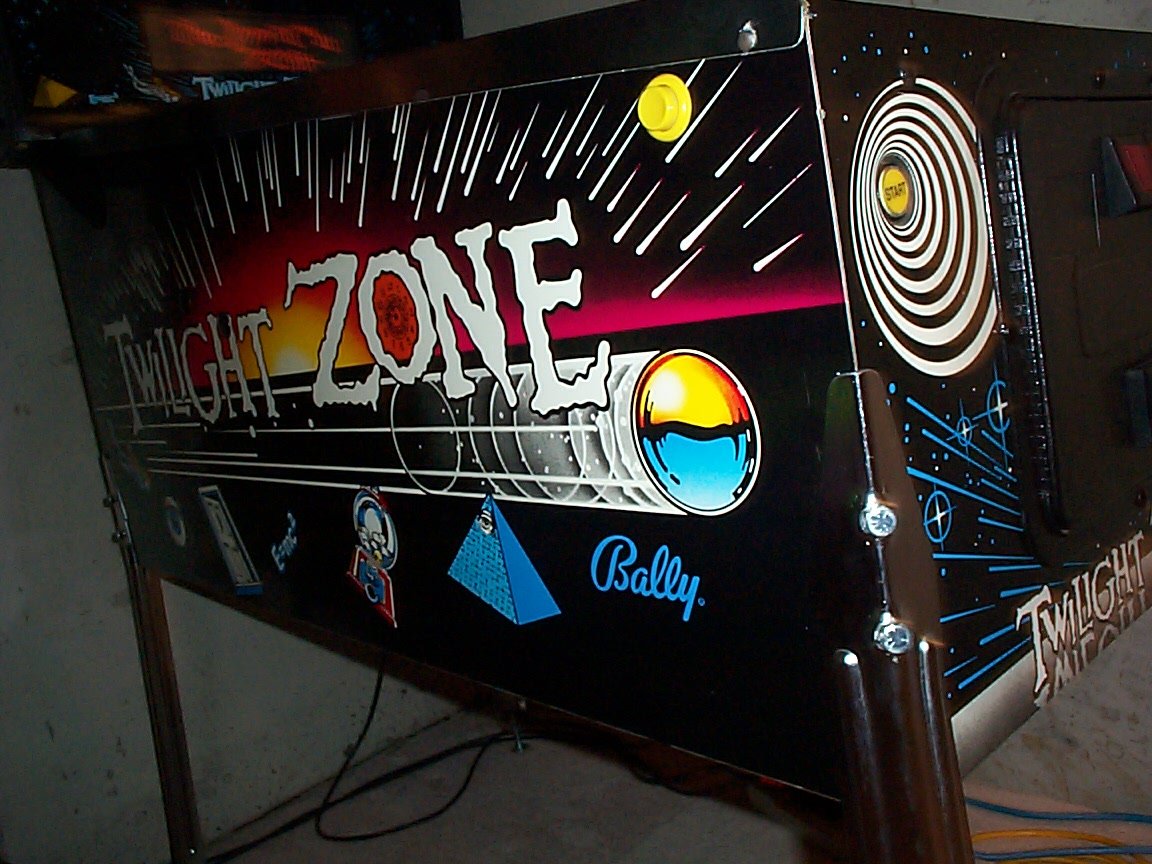
Twilight Zone Pictures!
Playfield clear coated by Bill Davis!
TZ playfield view
Another TZ playfield view
The clock
Another picture of the clock
Piano entrance
The gumball machine
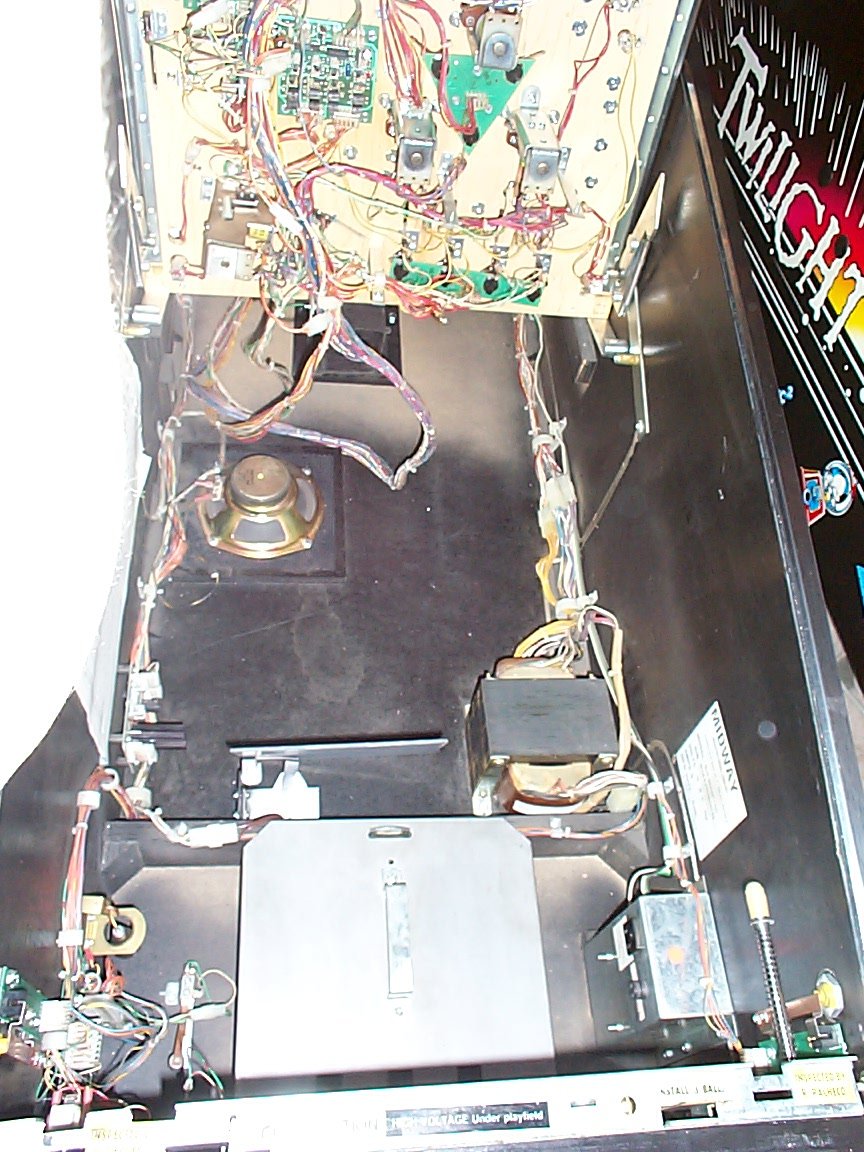
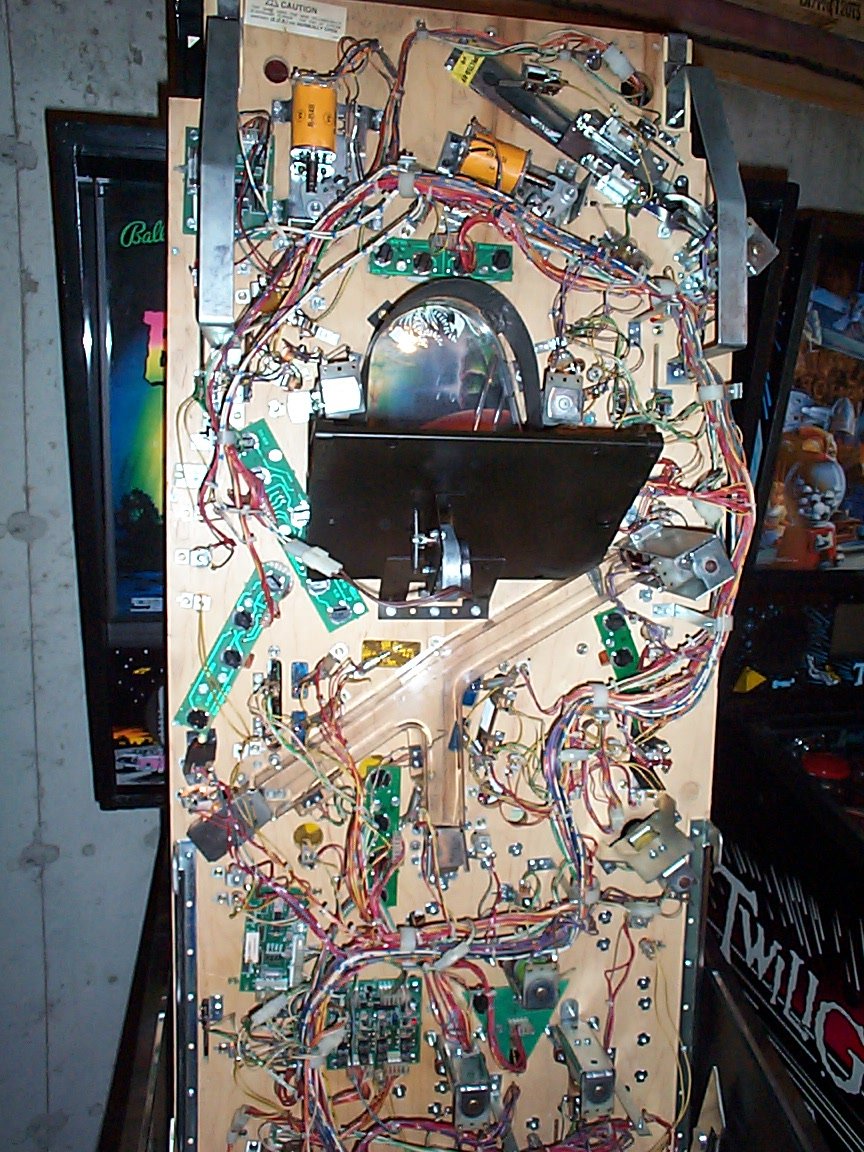
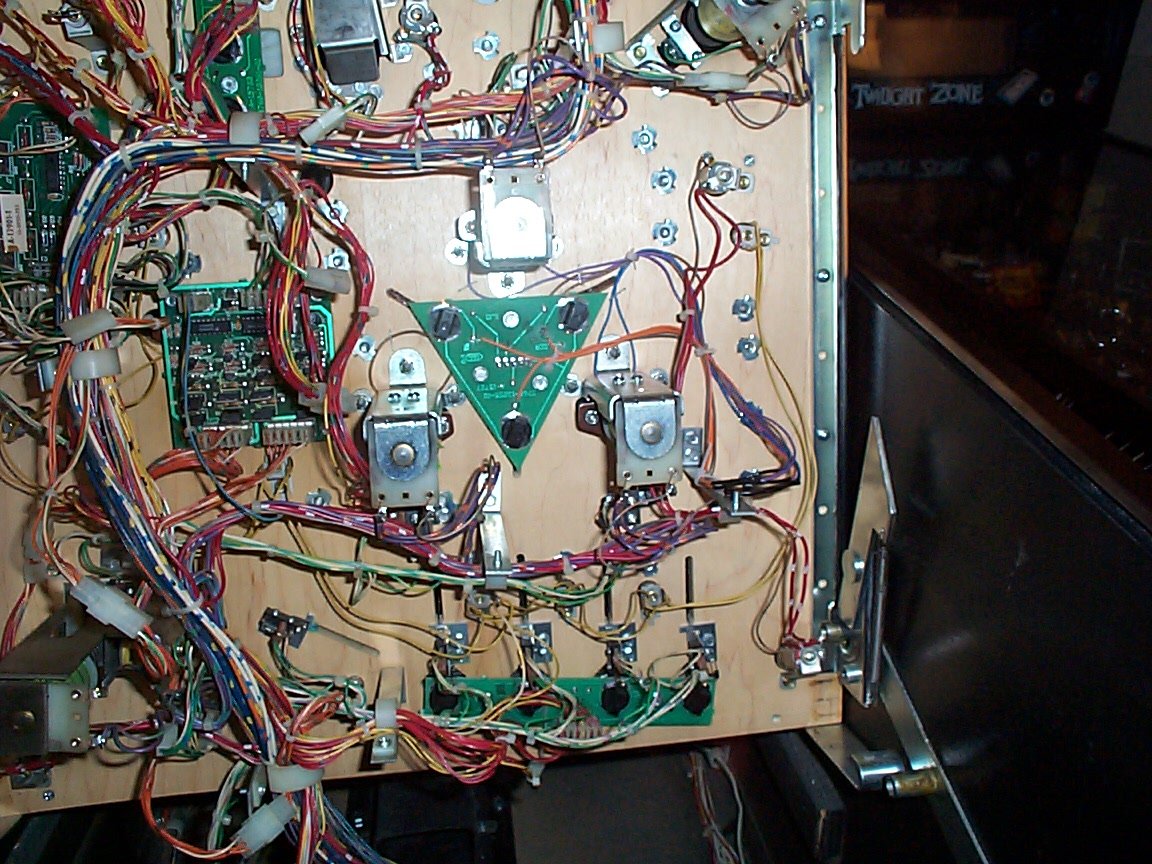
Under the playfield
In the cabinet
Mini playfield
Braced greed target
Right head
Right cabinet
Coin door, lock not installed
Left cabinet
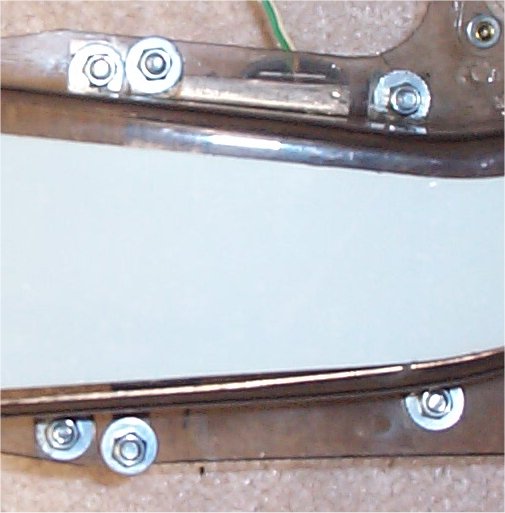
TZ ramp reinforcement pictures.
I believe that much of the cracks that form in plastic ramps are
caused by 'flexing' of the side walls when the balls hit them. Many
ramps are protected with metal flaps, but this does nothing to
prevent the outward flexing that can cause cracks in the corners.
Ramp guards and switch mounts are only held in place by tapping
screws which seem to strip loose after time. Why not kill 2 birds with
one stone, so to speak? In the pictures below, the tapping screws
on the left TZ ramp have been replaced with screws, locknuts and
washers. Not only will these parts not come loose during gameplay,
but the ramp sides do not flex, greatly reducing the chance of cracks
forming
Bottom of the ramp
Top of the ramp
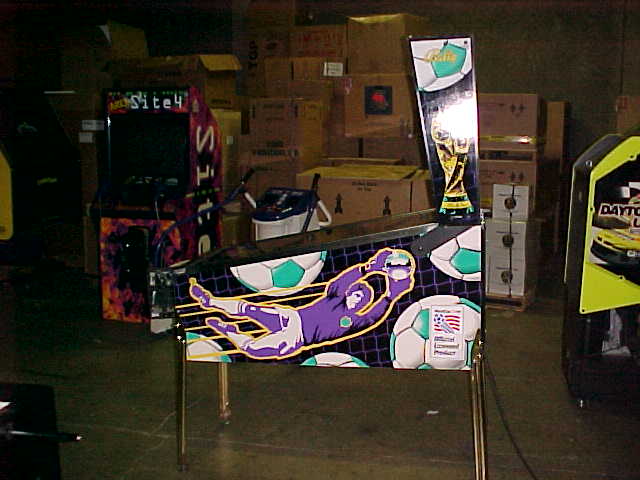
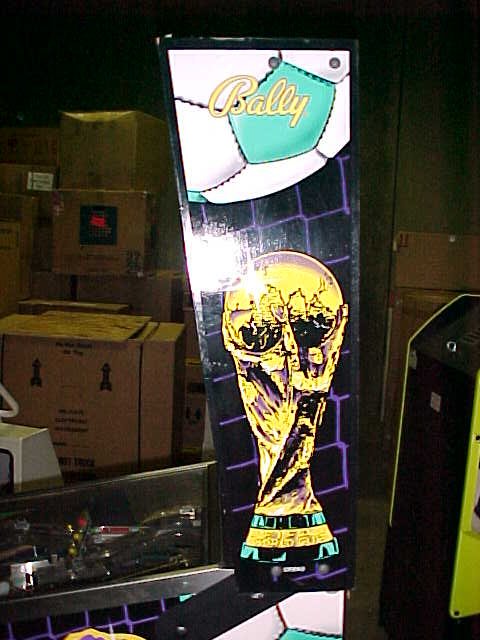
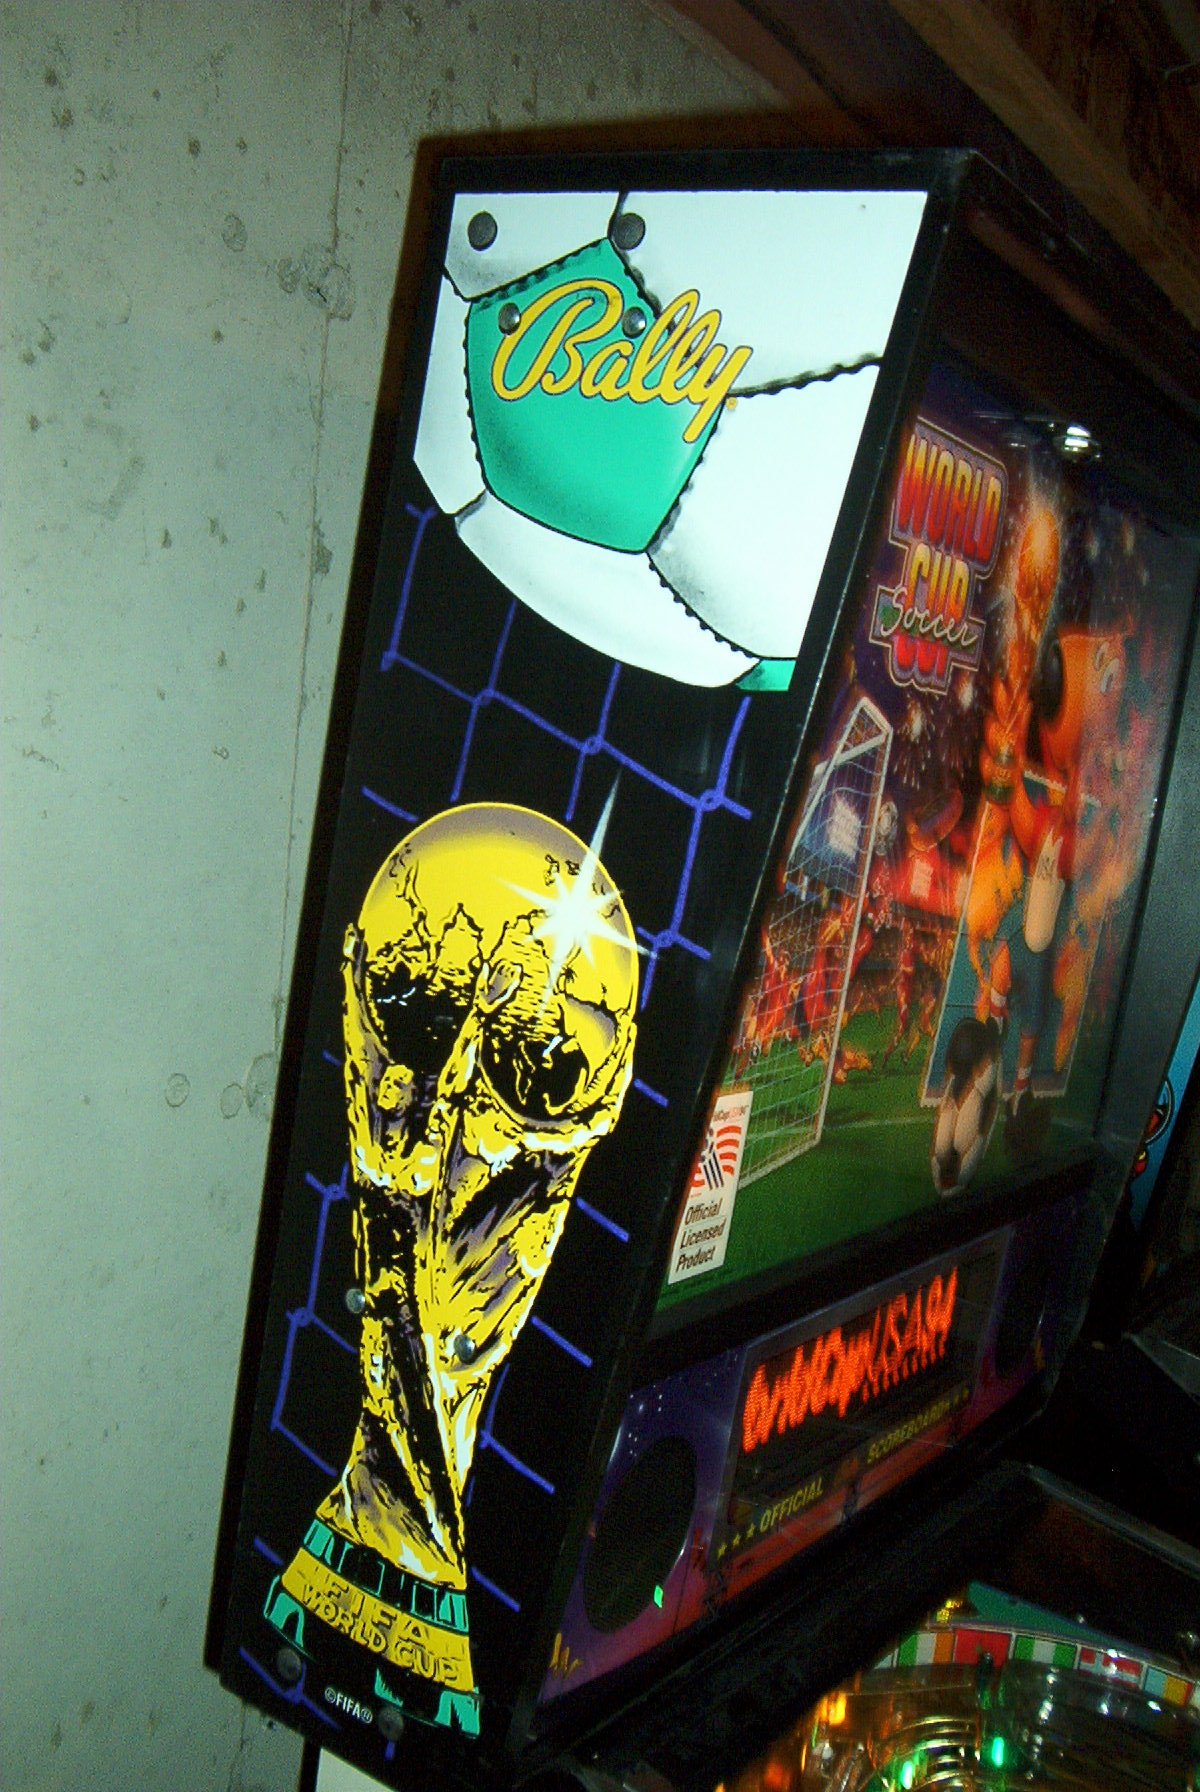
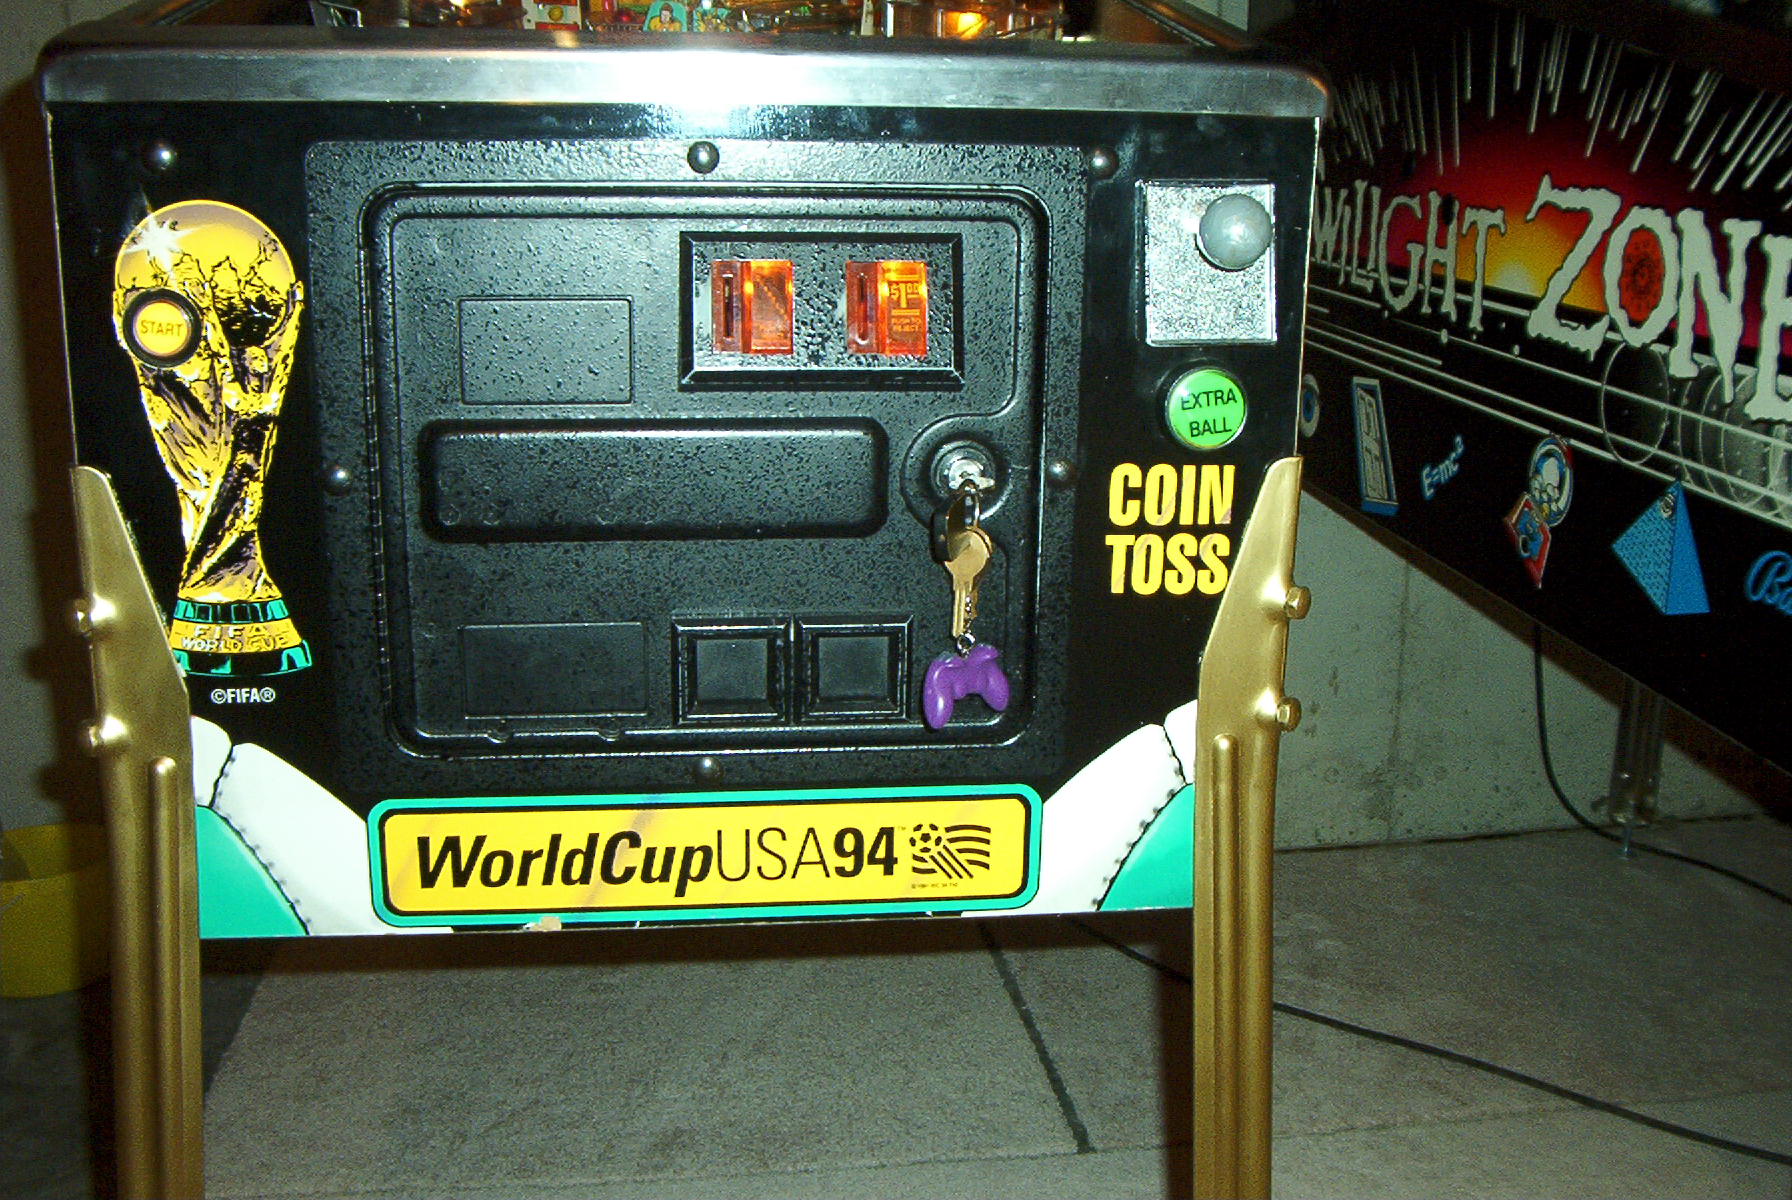
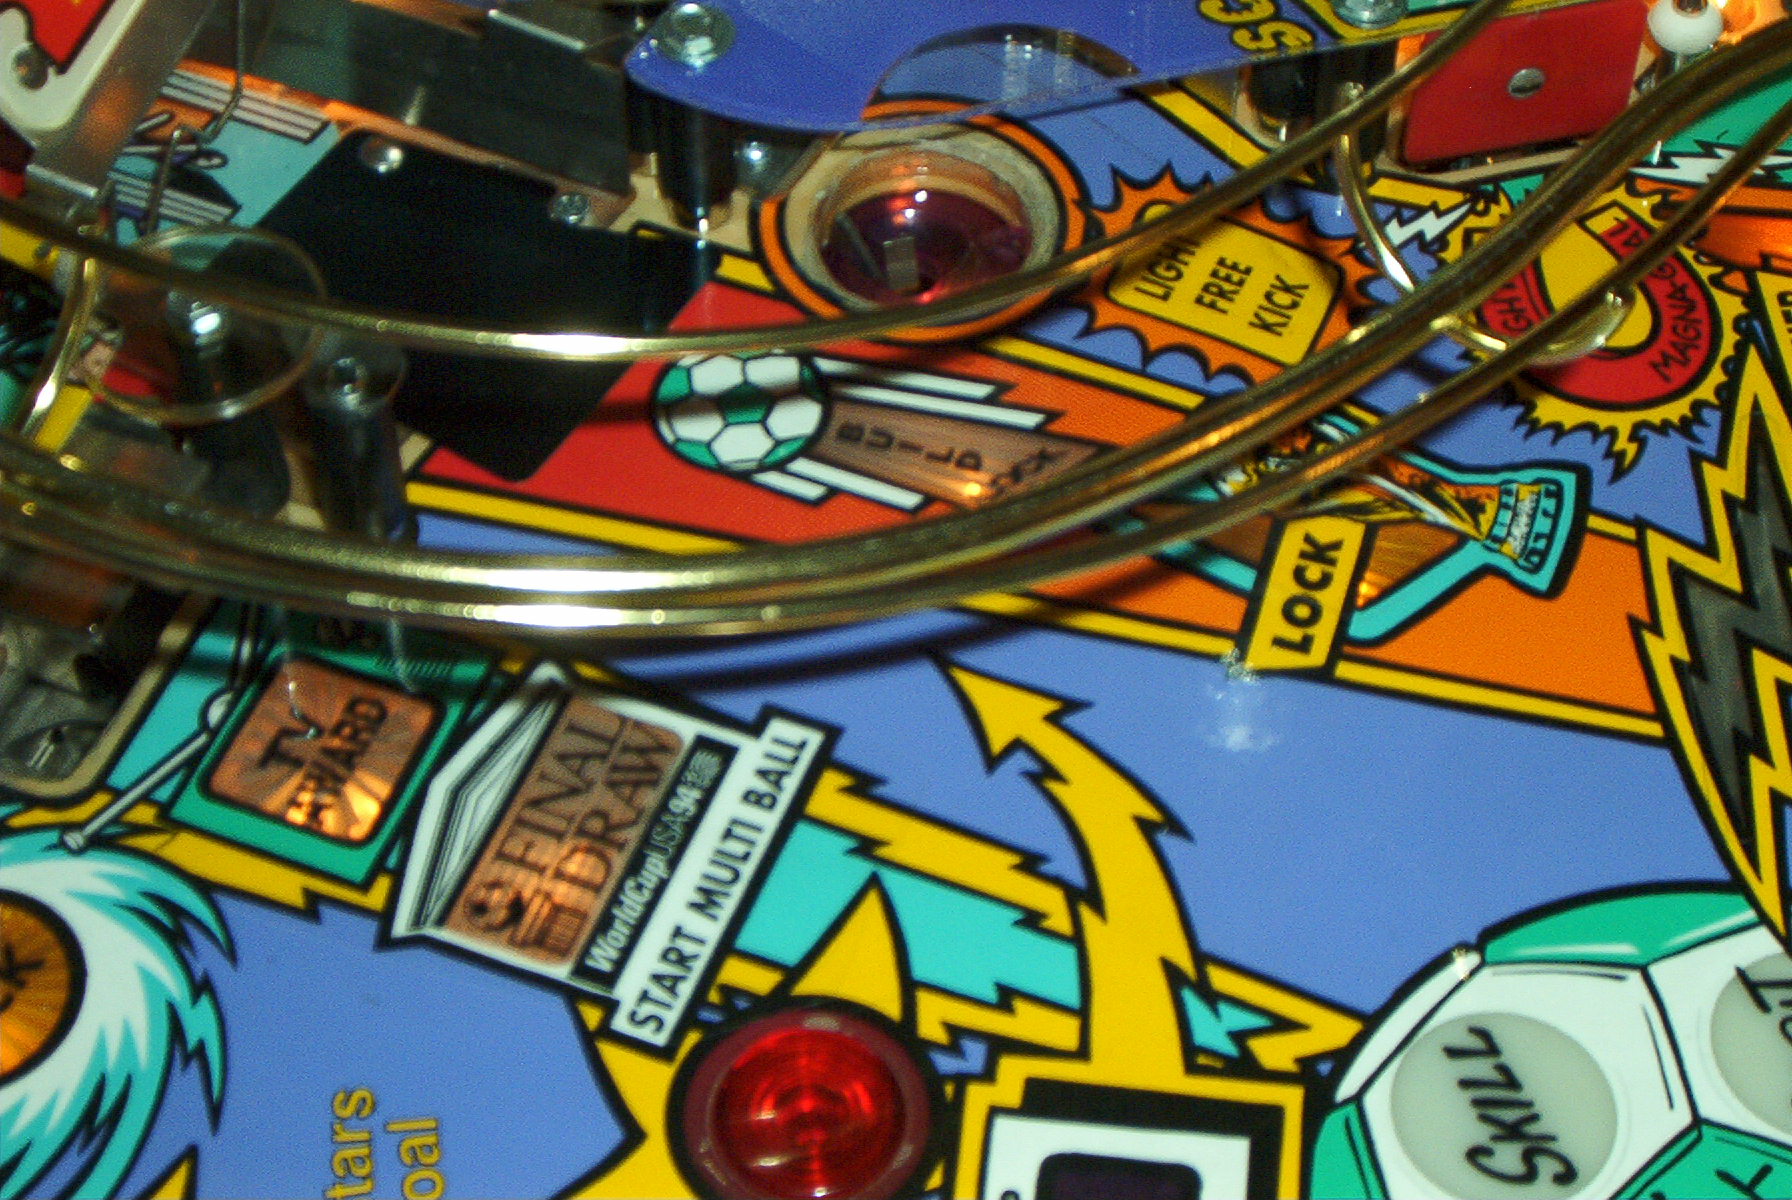
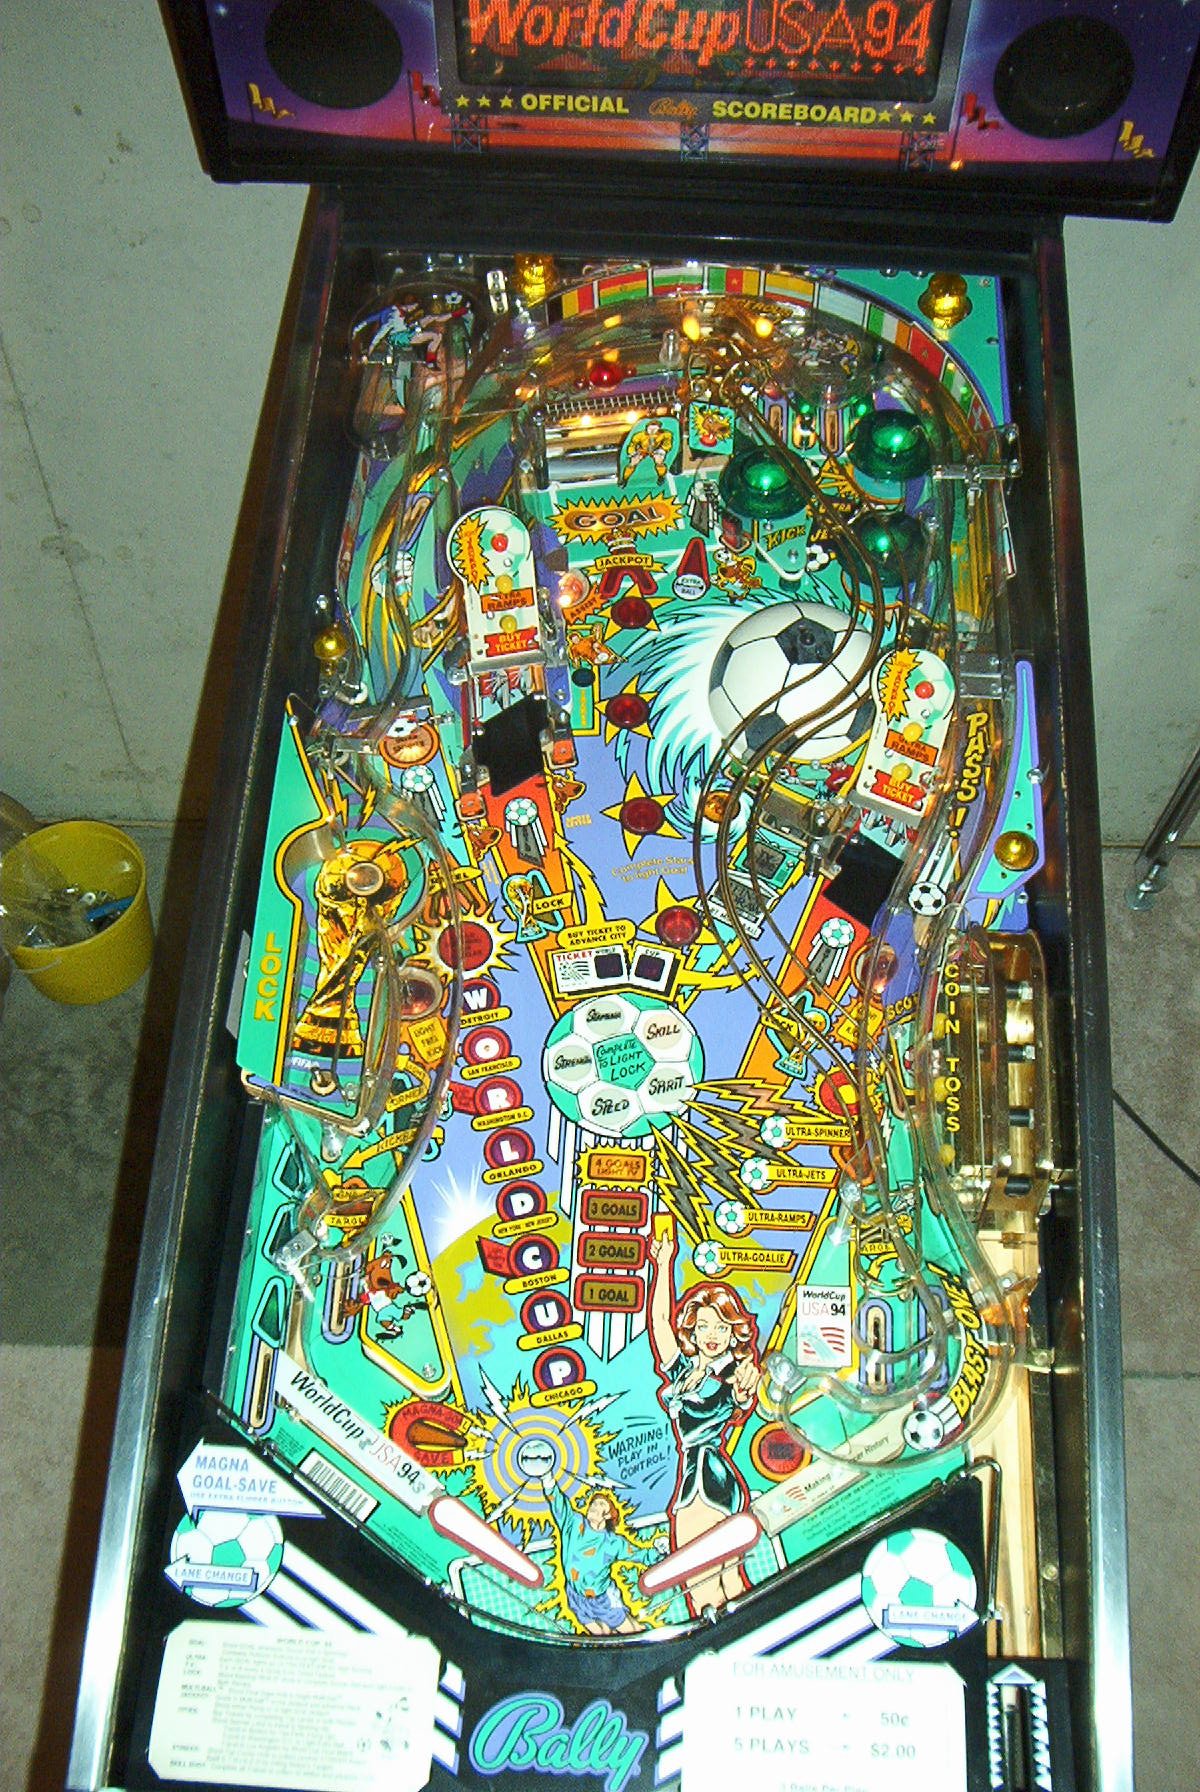
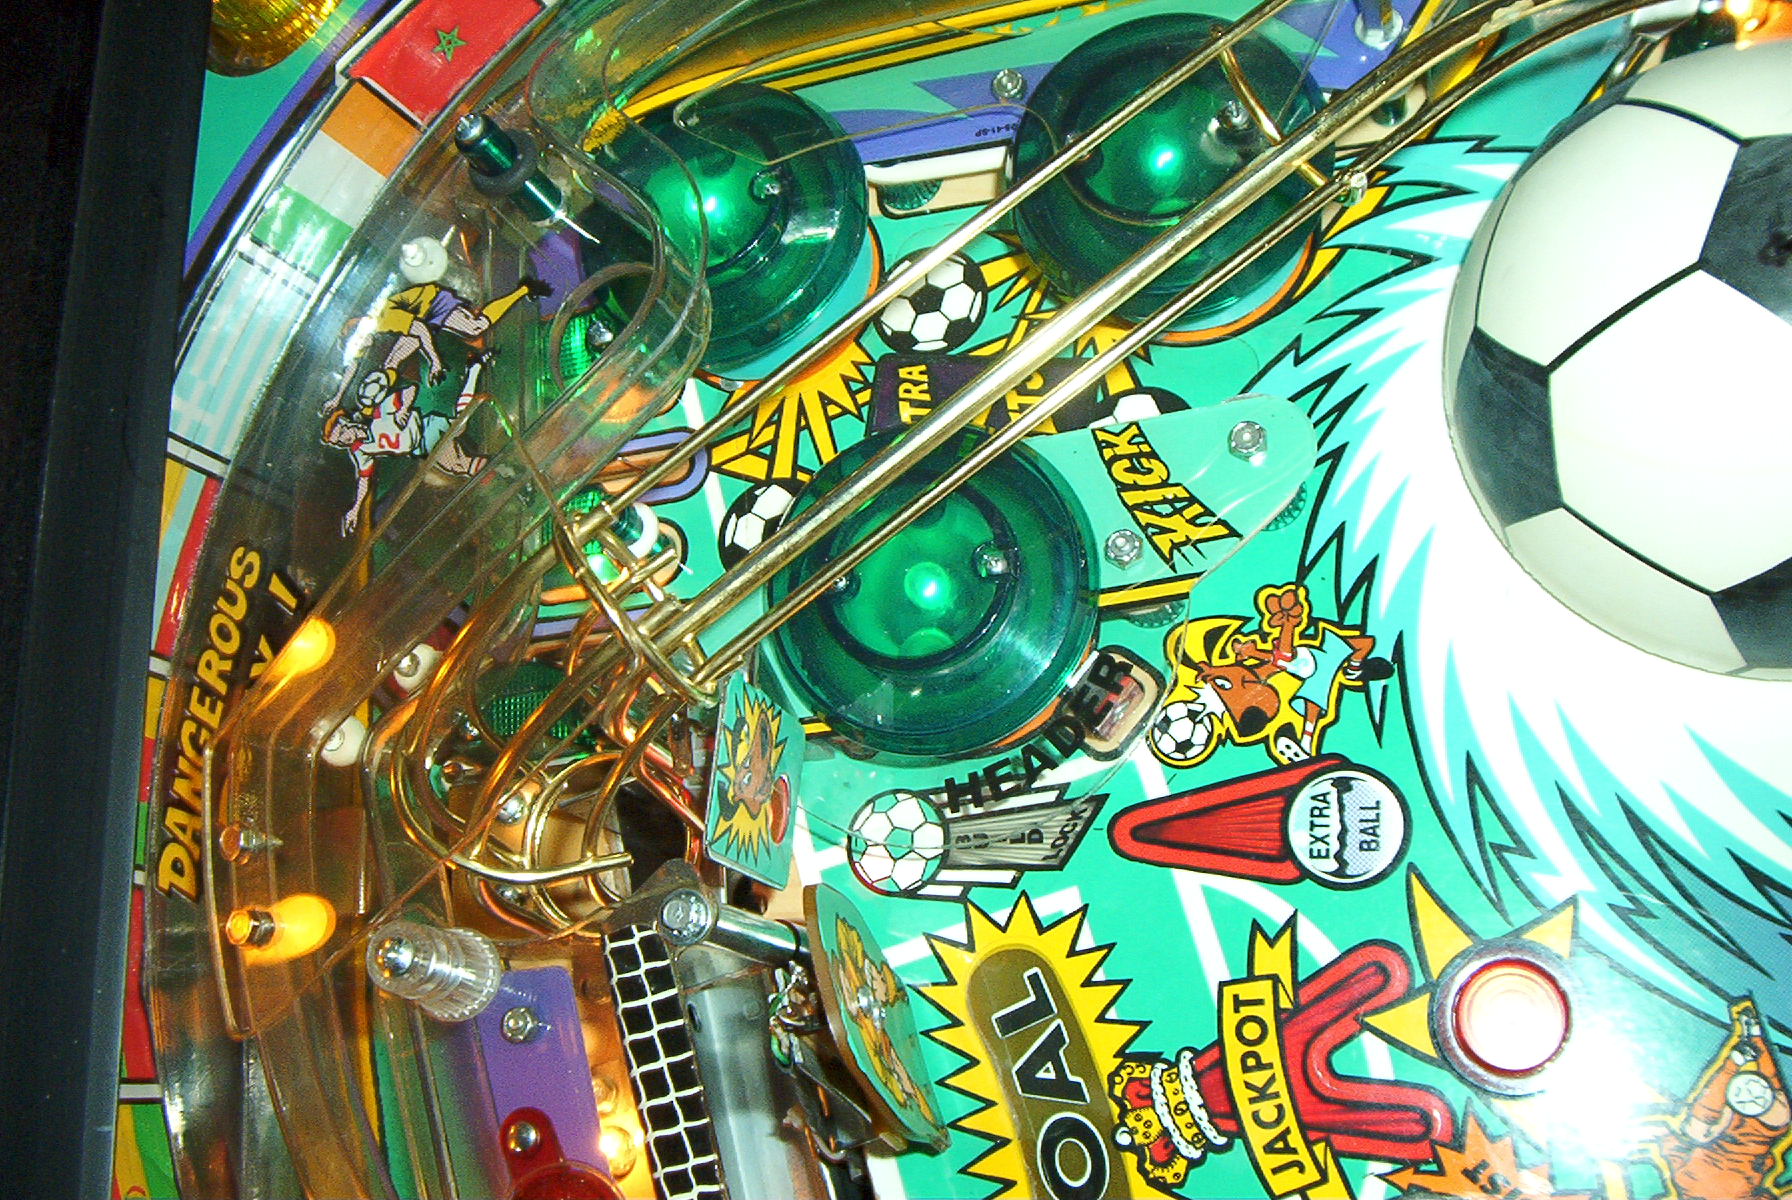
World Cup Soccer 94
Pictures received before arrival
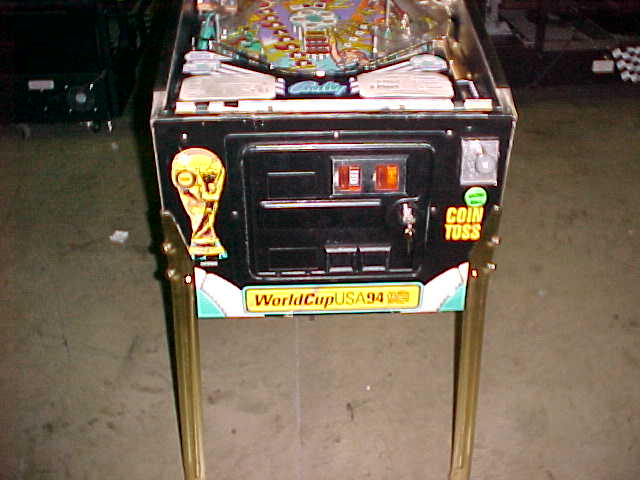
Purchased from Canadian Coin Machines in Burnaby BC
Side of cabinet Seems to be in
good shape
Side of head
Looks ok to me
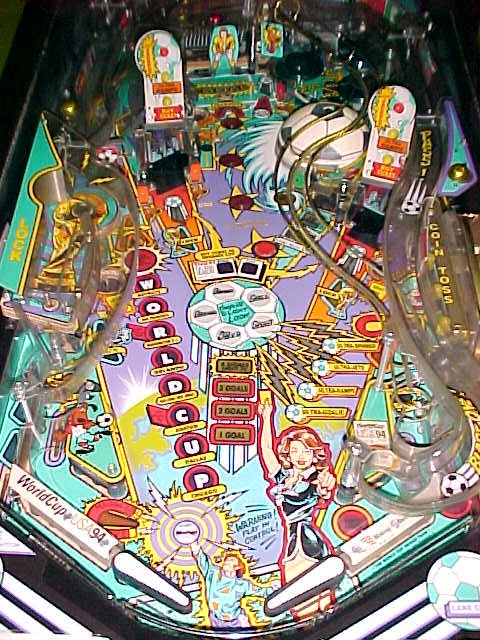
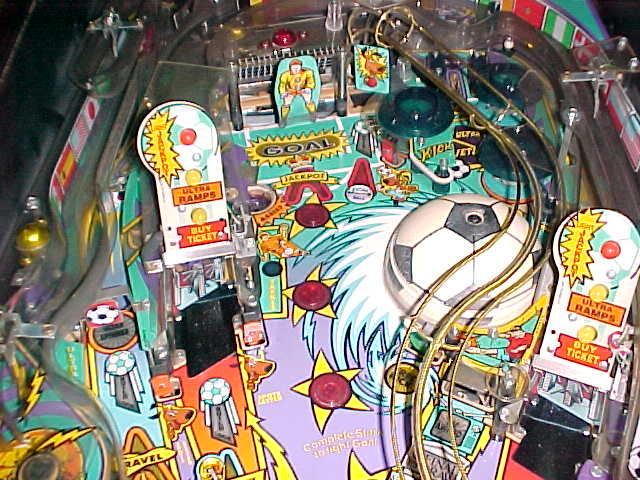
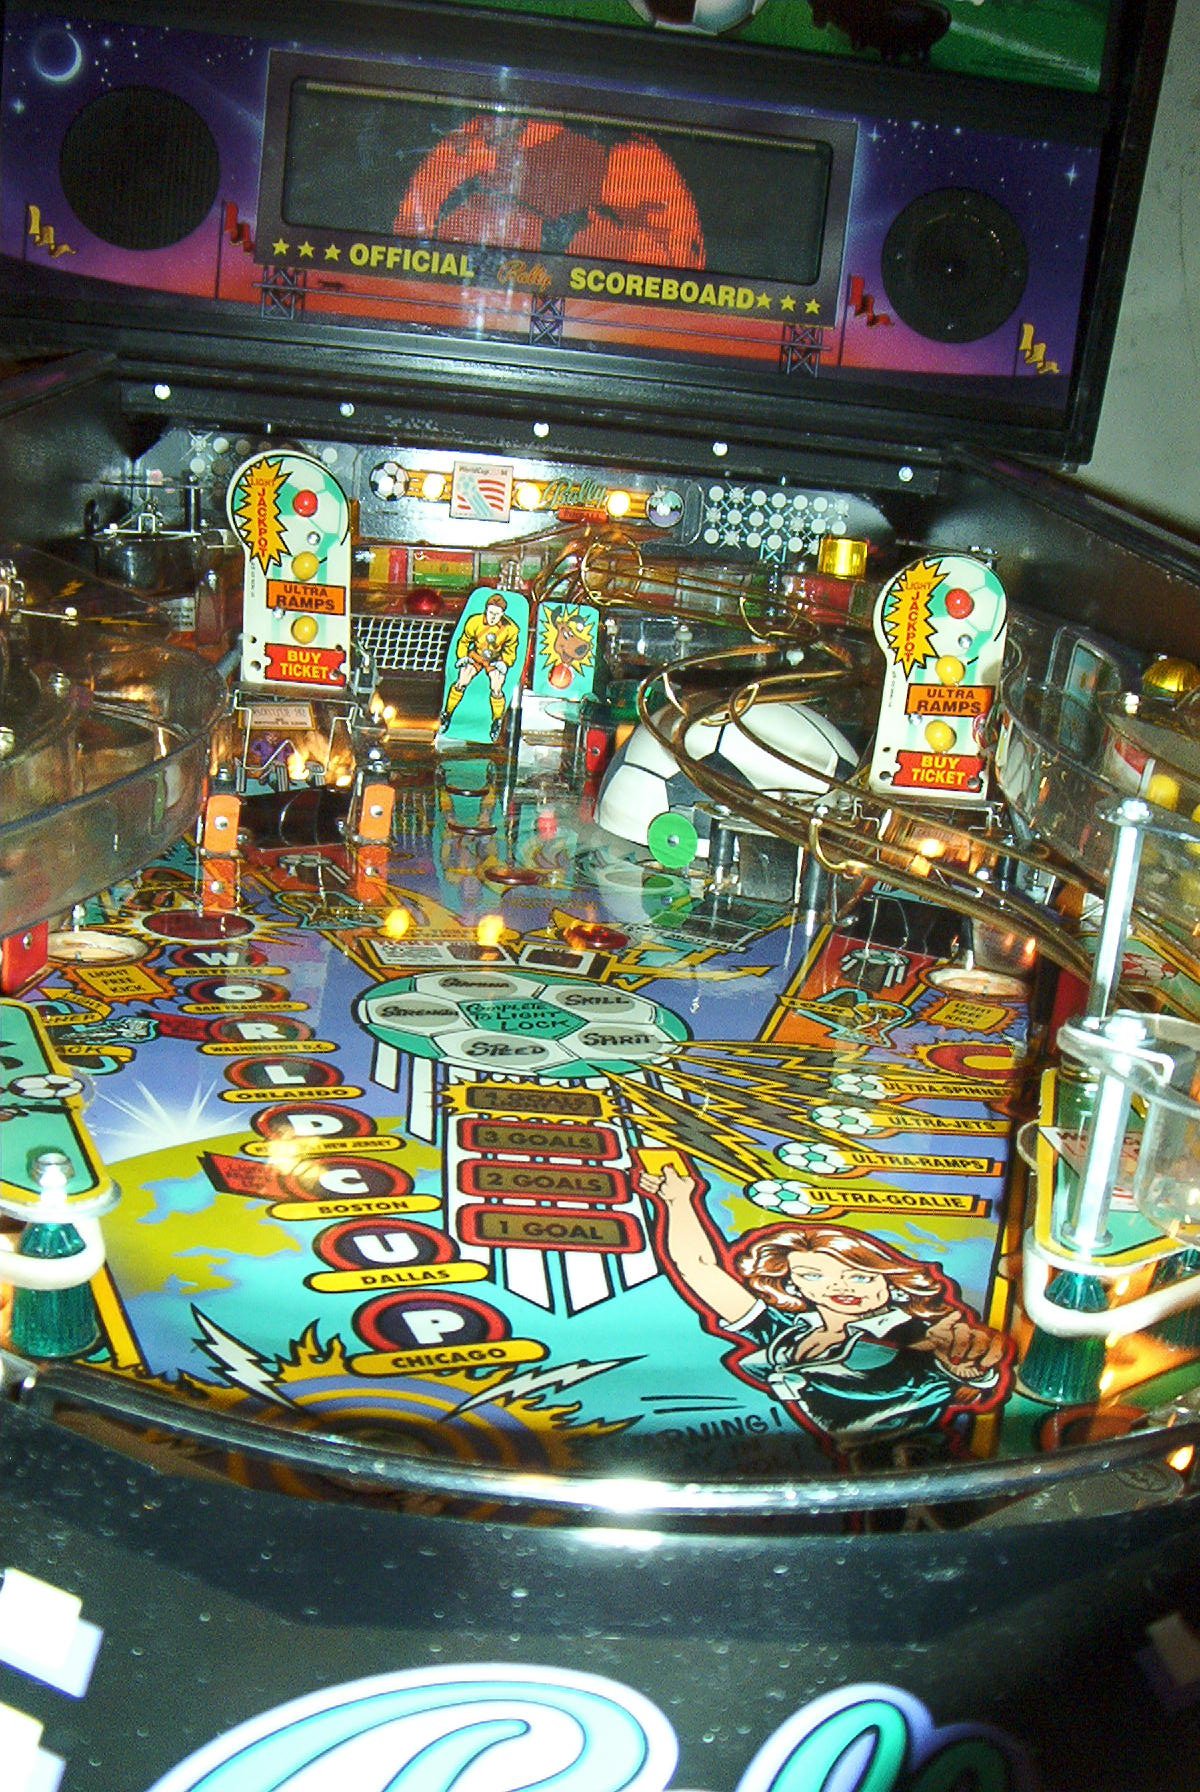
Playfield picture Somewhat dirty,
soccer ball looks gouged
Upper playfield Gouged soccer ball,
dirty, broken plastics, chipped goalie crease.
Front cabinet The legs
look MUCH better here than they were!
Lower playfield Both slings broken, left sling
missing a large piece at top
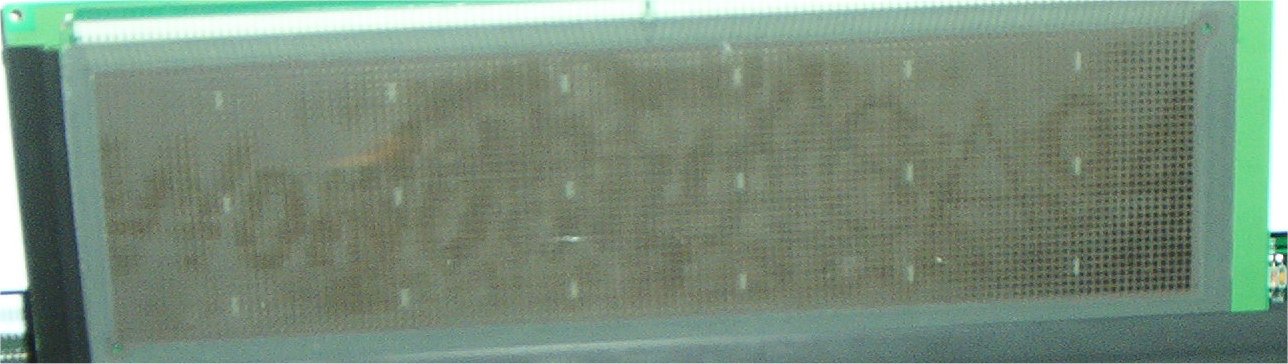
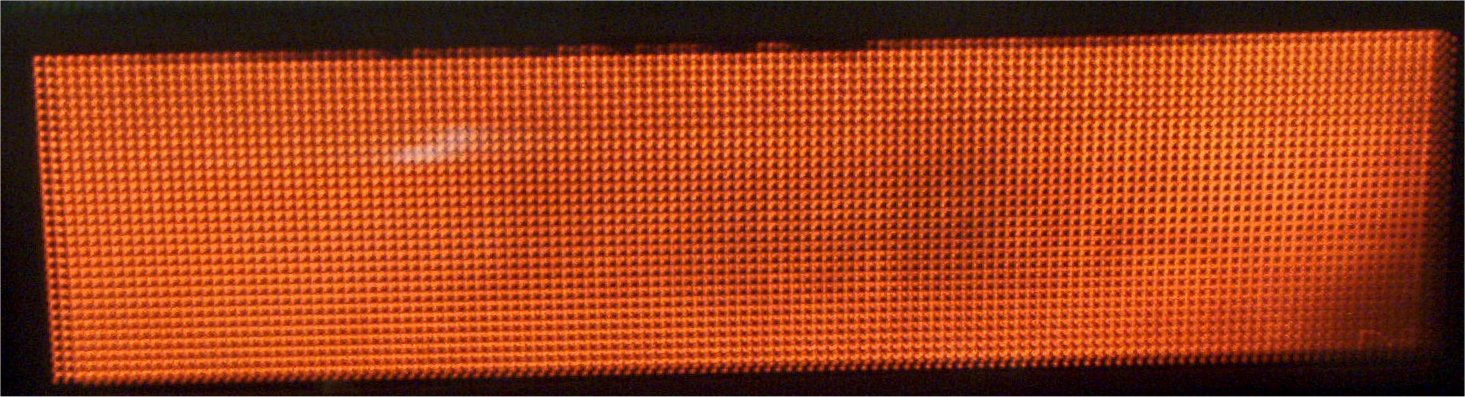
Original display Lots of burn in
Display test
Fade and burn, actually looks better now that it has sat for 6 months
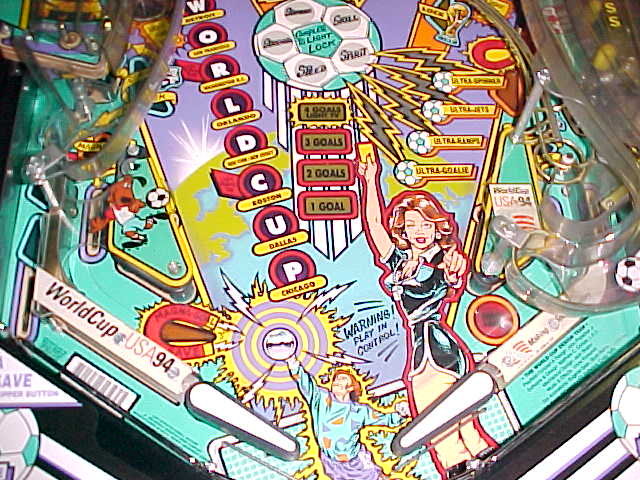
New pictures. Dozens of hours and hundreds of dollars to repair
| GI Connectors | Replaced male and female J120 and J121 connectors. |
| Inside cabinet | Cleaned out |
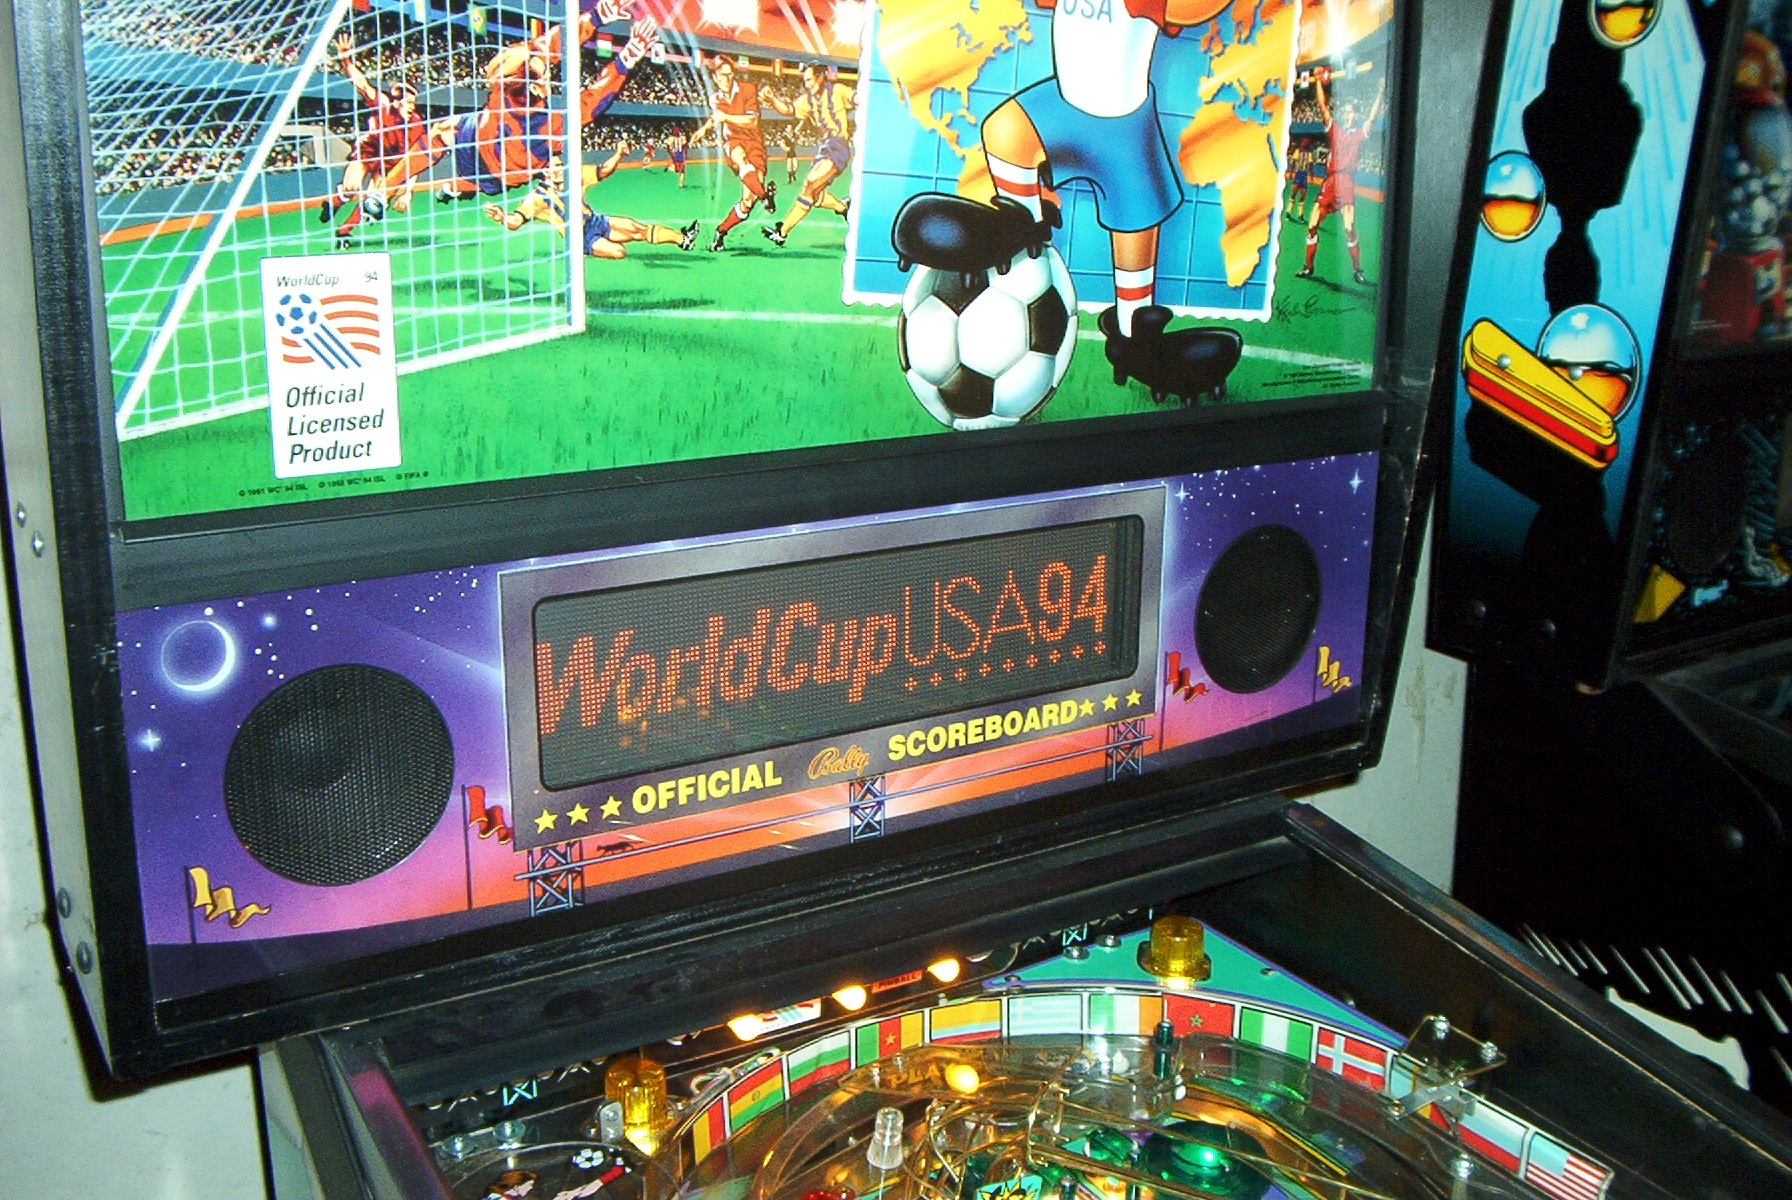
| New display | Amazing what a new display can do for a game |
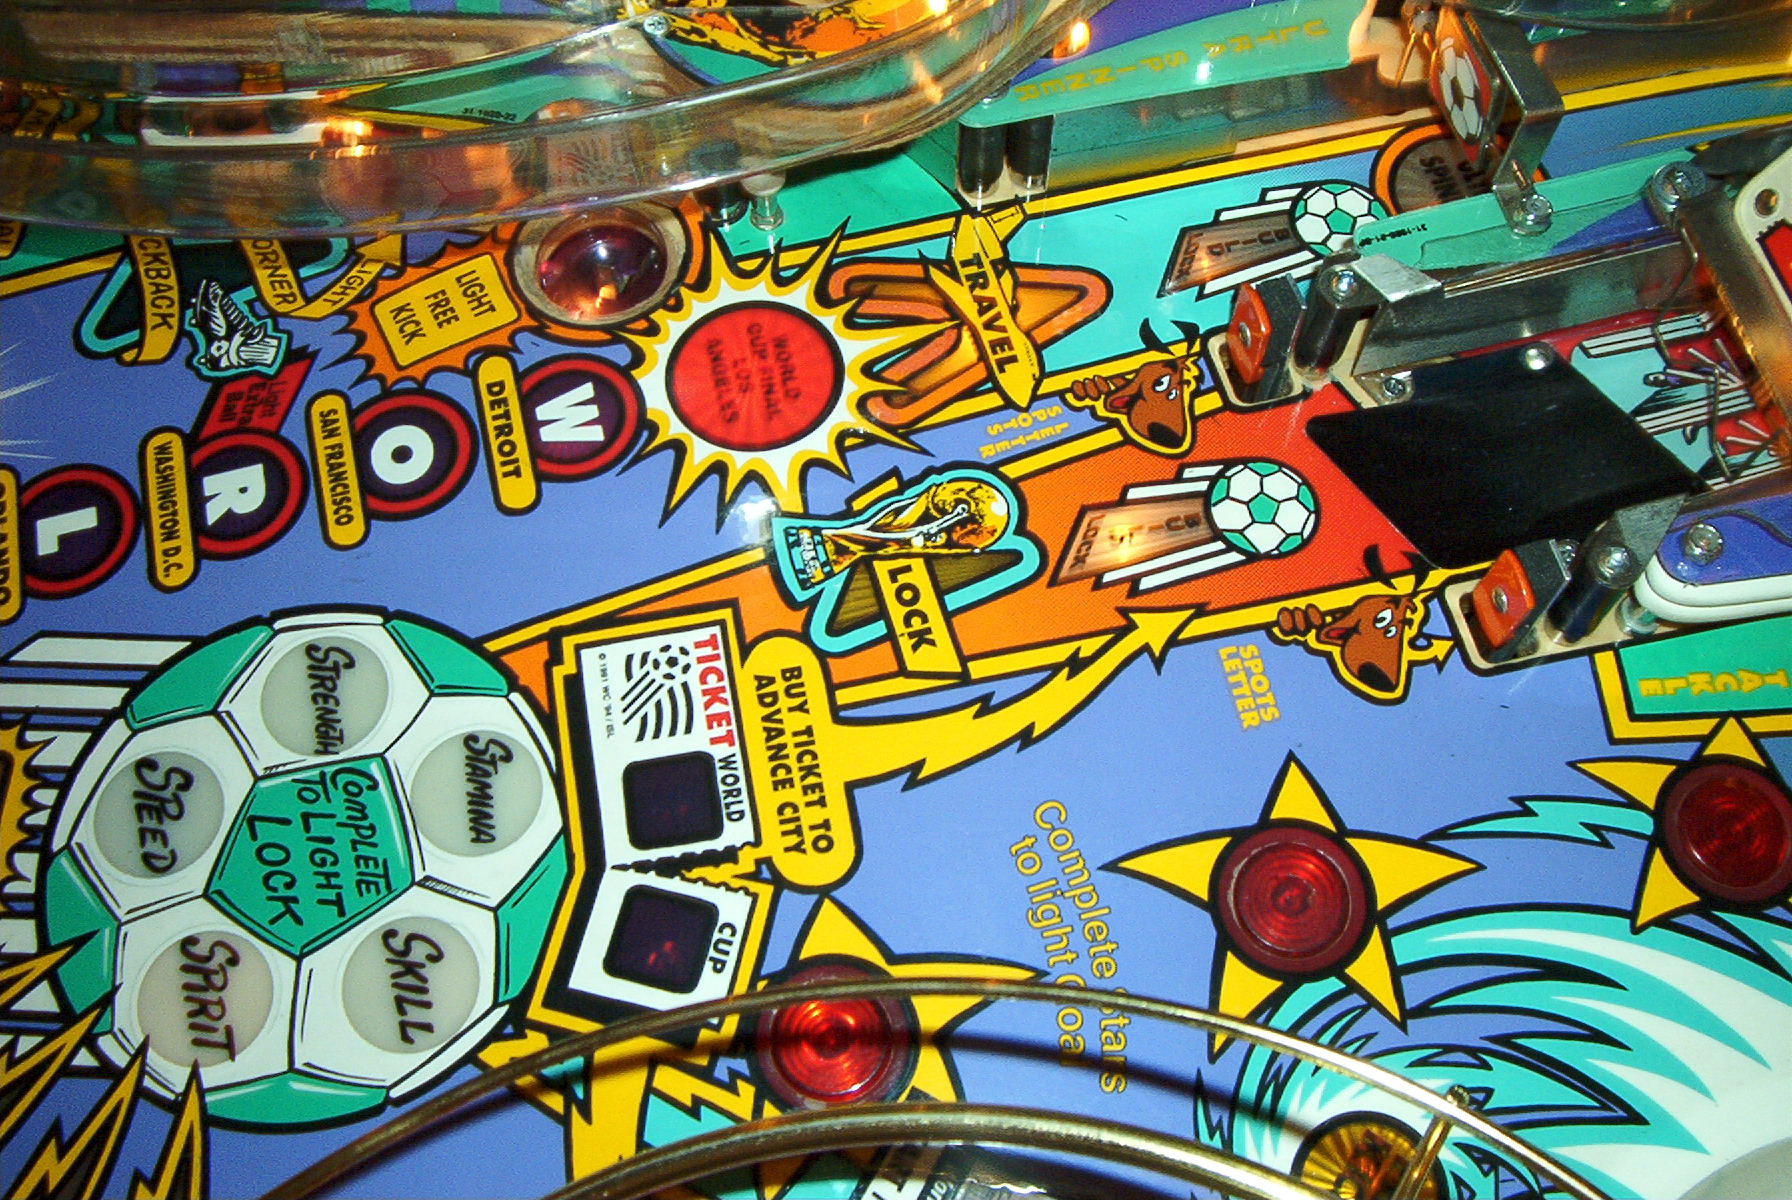
| Travel insert | Travel insert had a big chunk of orange paint missing - fixed! |
| Cabinet side | Cabinet is in excellent shape |
| New legs? | Repainted old legs, end results pretty good considering. |
| Head | Head is in excellent shape |
| Playfield low angle | Hey, I got the missing lamp board above the ramps, thanks Jason V! |
| Cabinet front | Very good, still needs a small chip repaired |
| Right saucer | Right saucer sanded, touched up and varathaned |
| Above Playfield | High shot above playfield |
| Left Saucer | Left saucer sanded, touched up and varathaned |
| Jet bumpers | A picture of the jet bumpers |
| Assist Saucer | Worn, touched up and varathaned to seal wood |
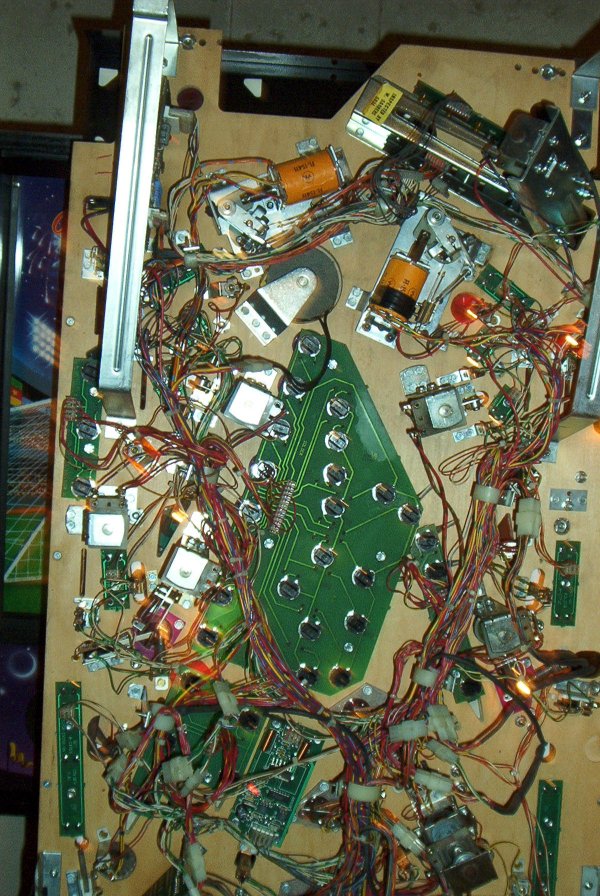
| Under playfield | Cleaned with all new flippers parts |
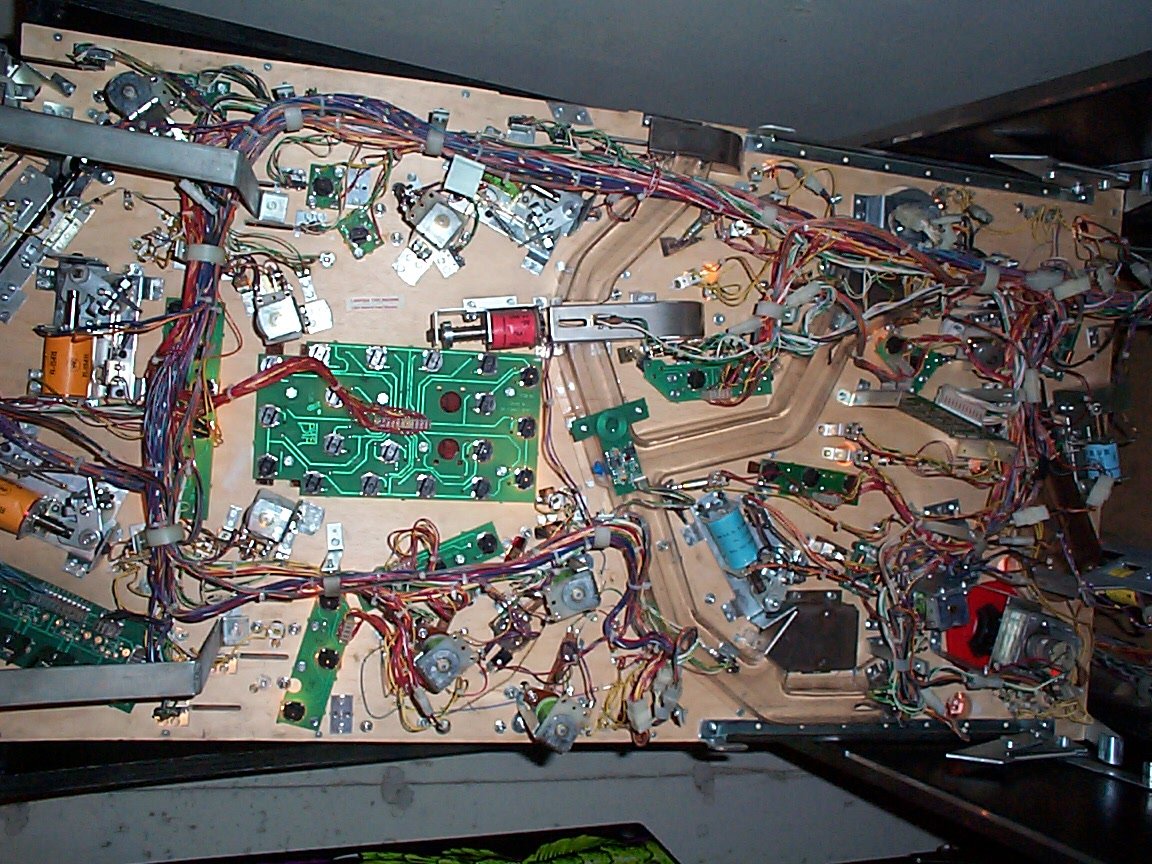
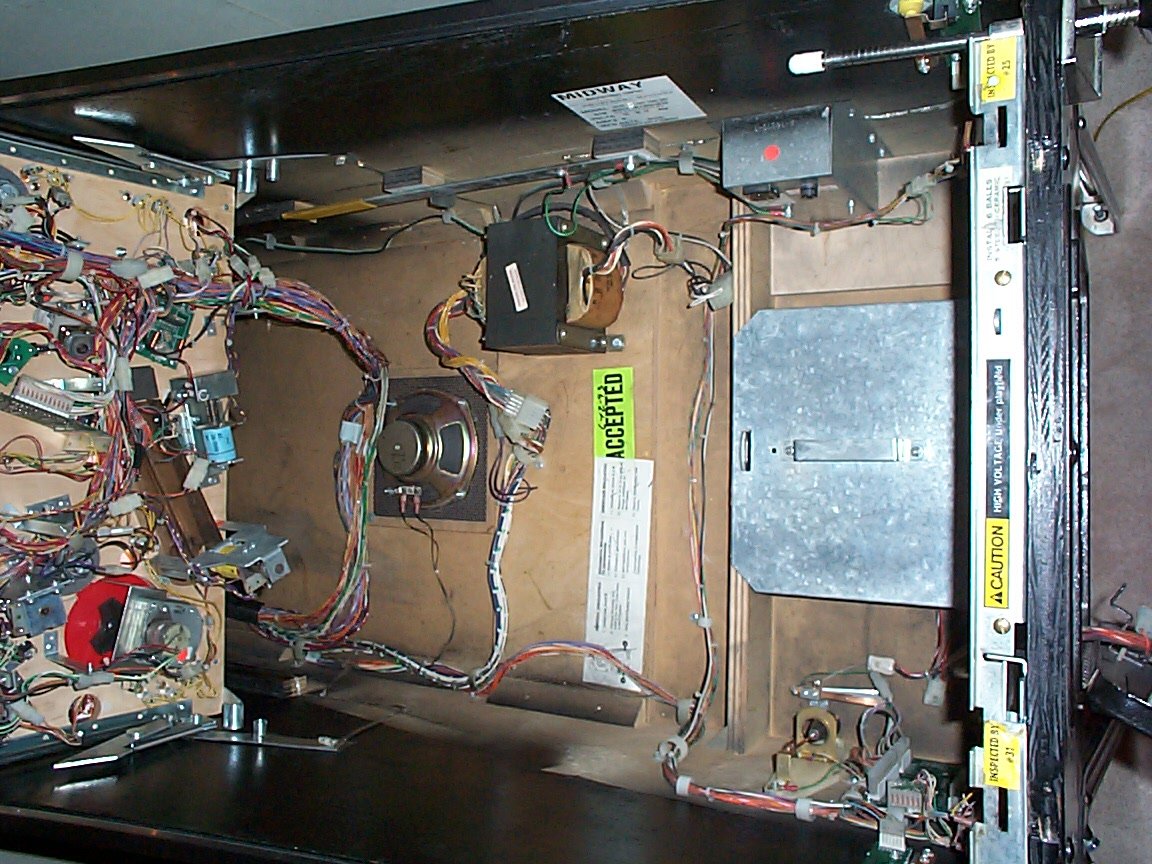
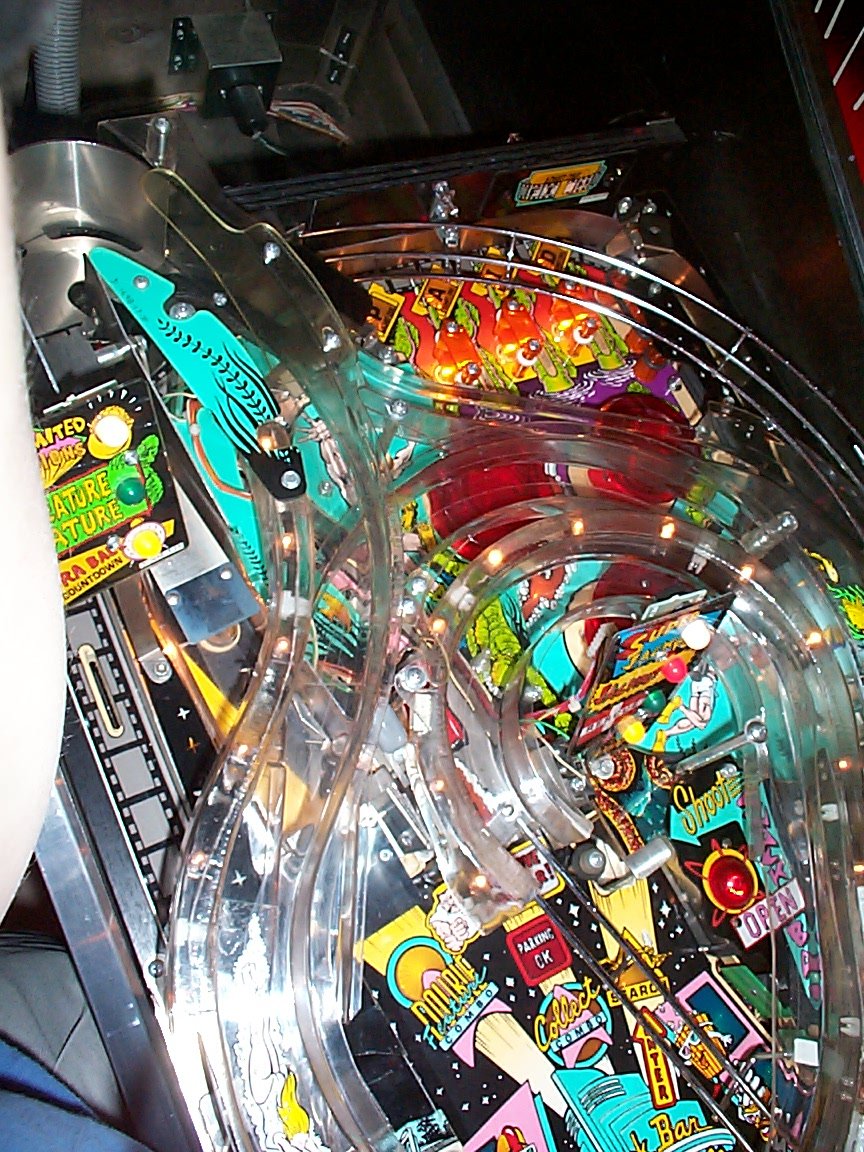
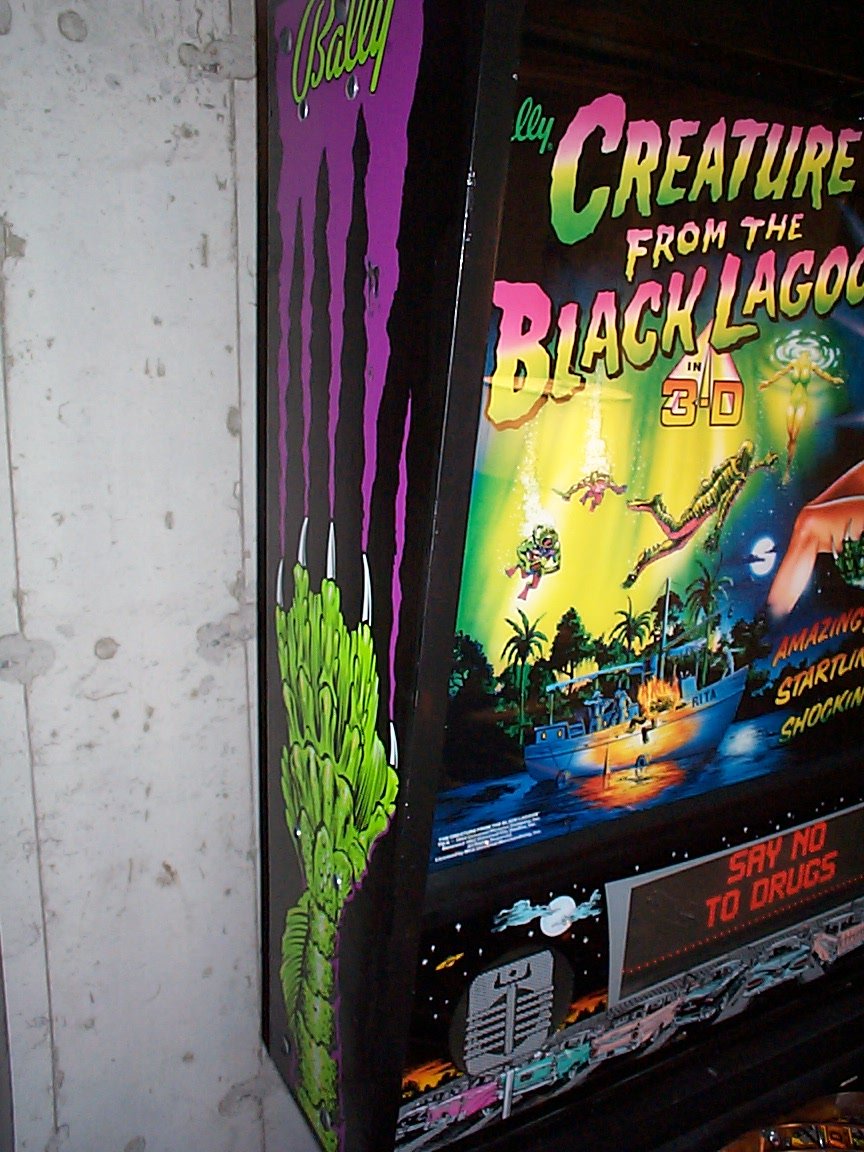
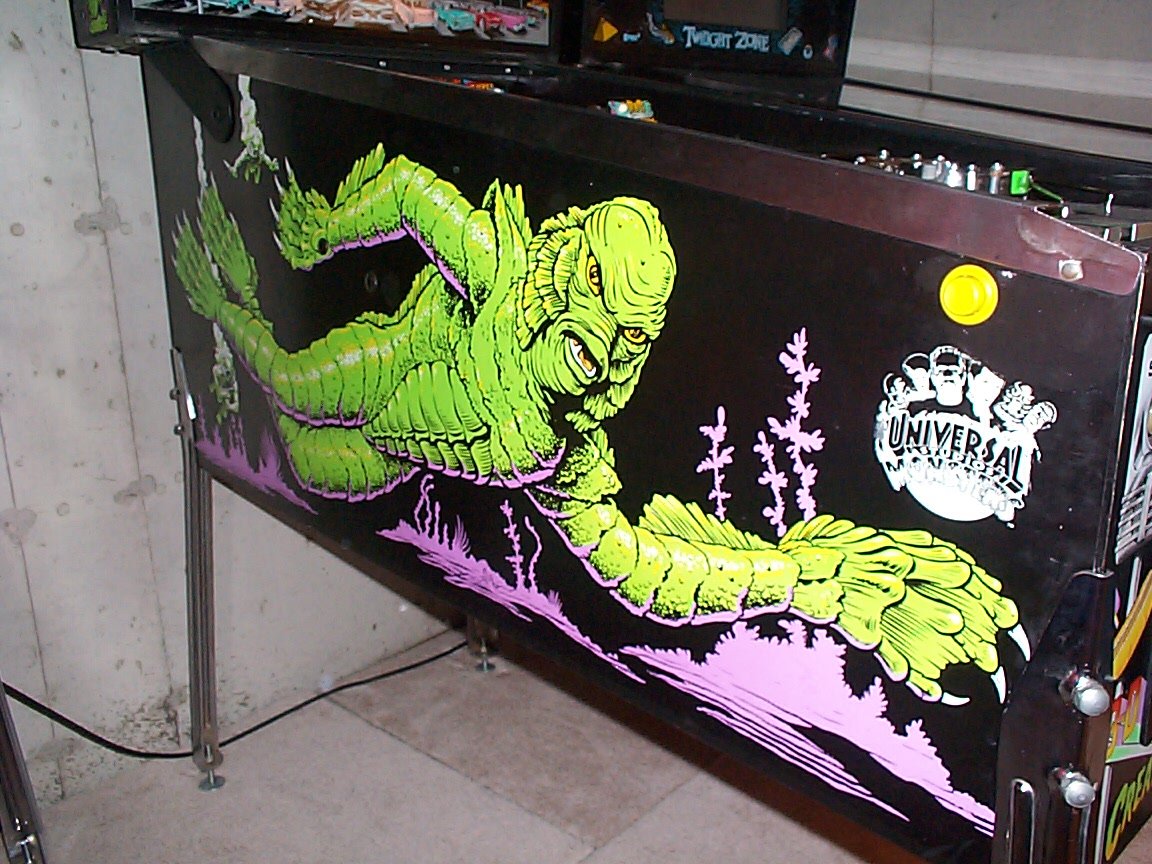
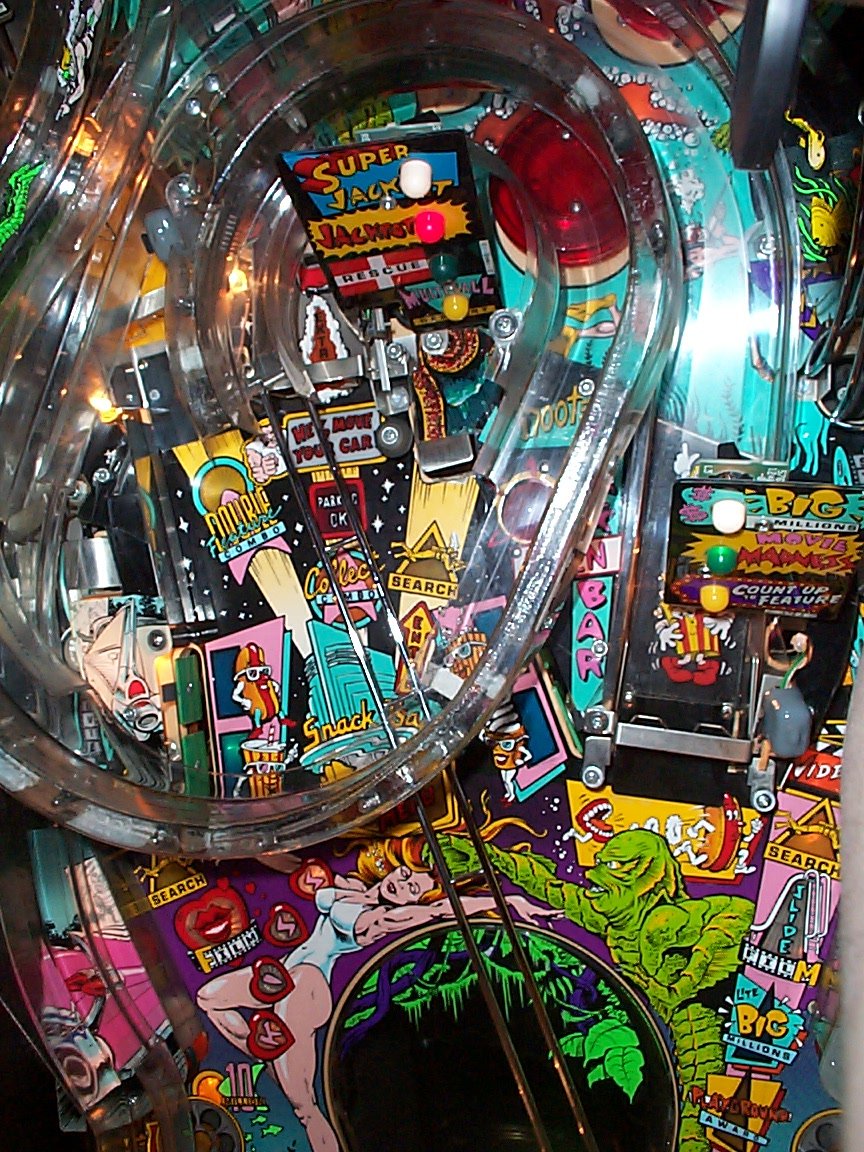
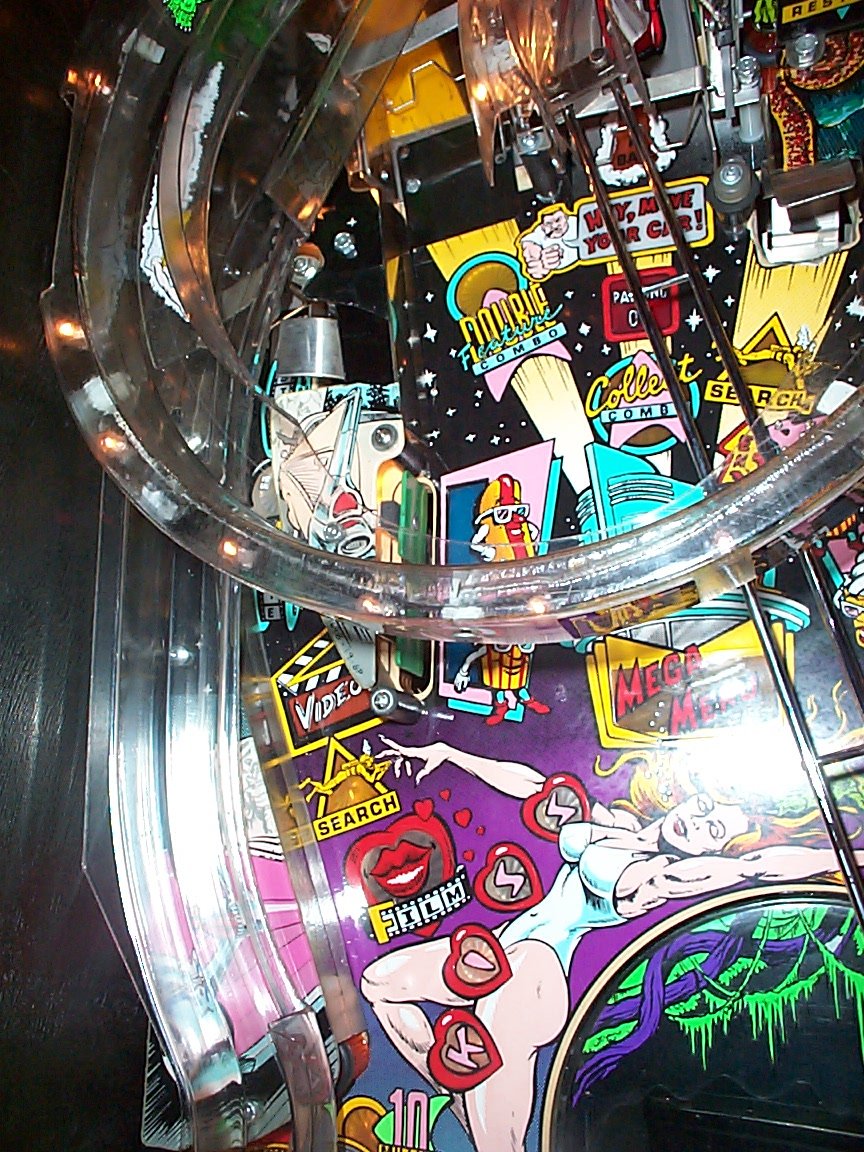
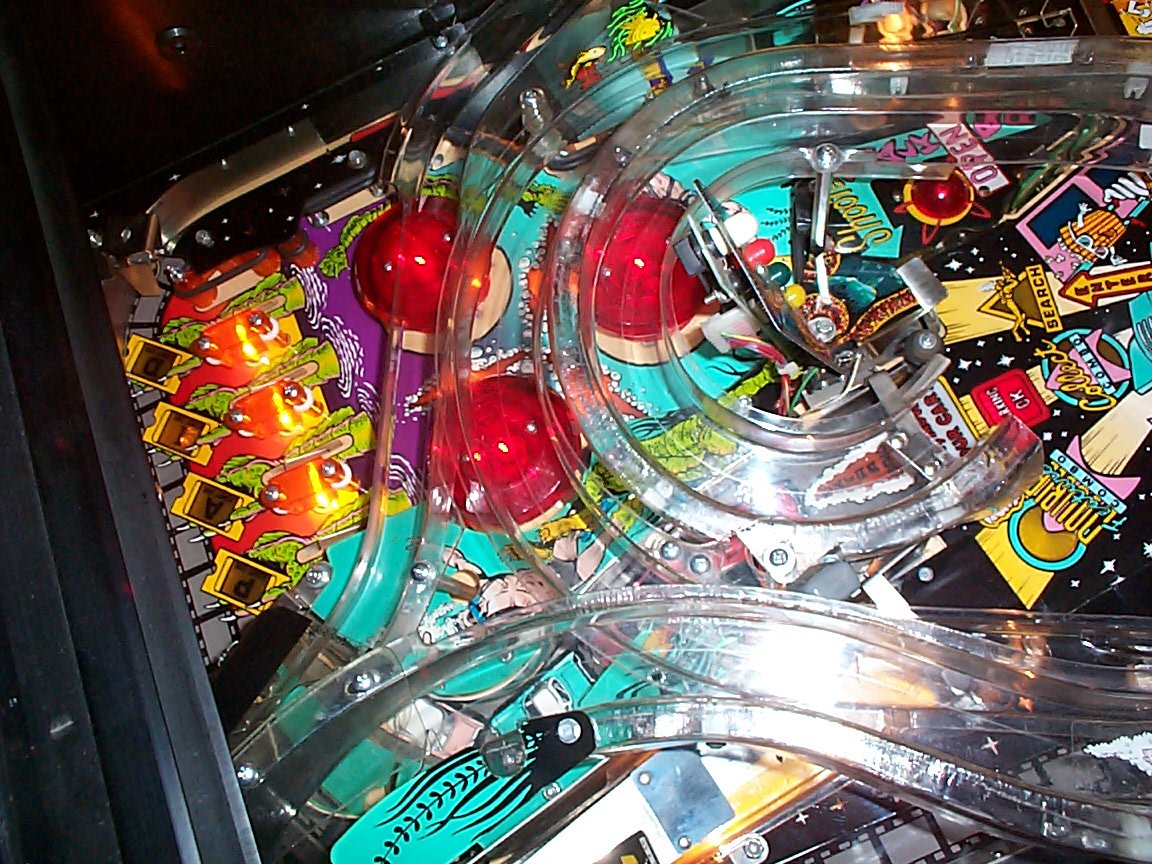
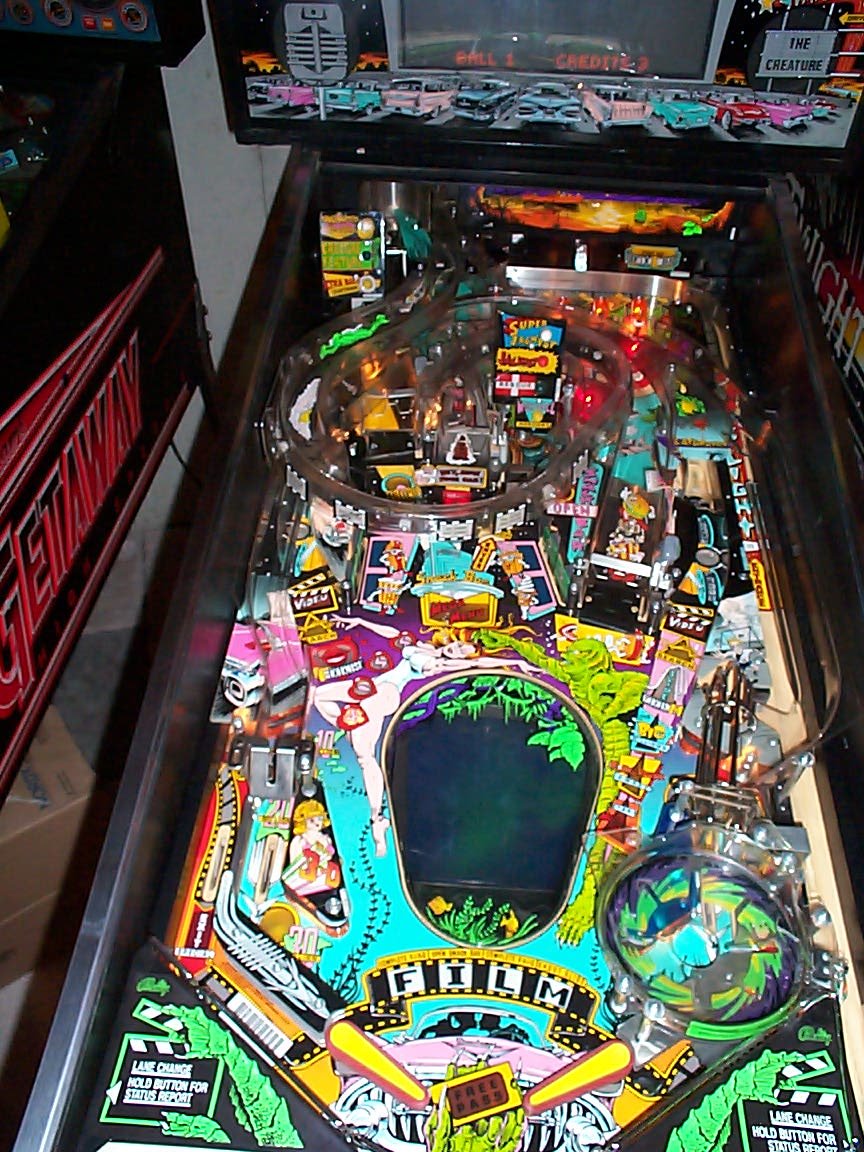
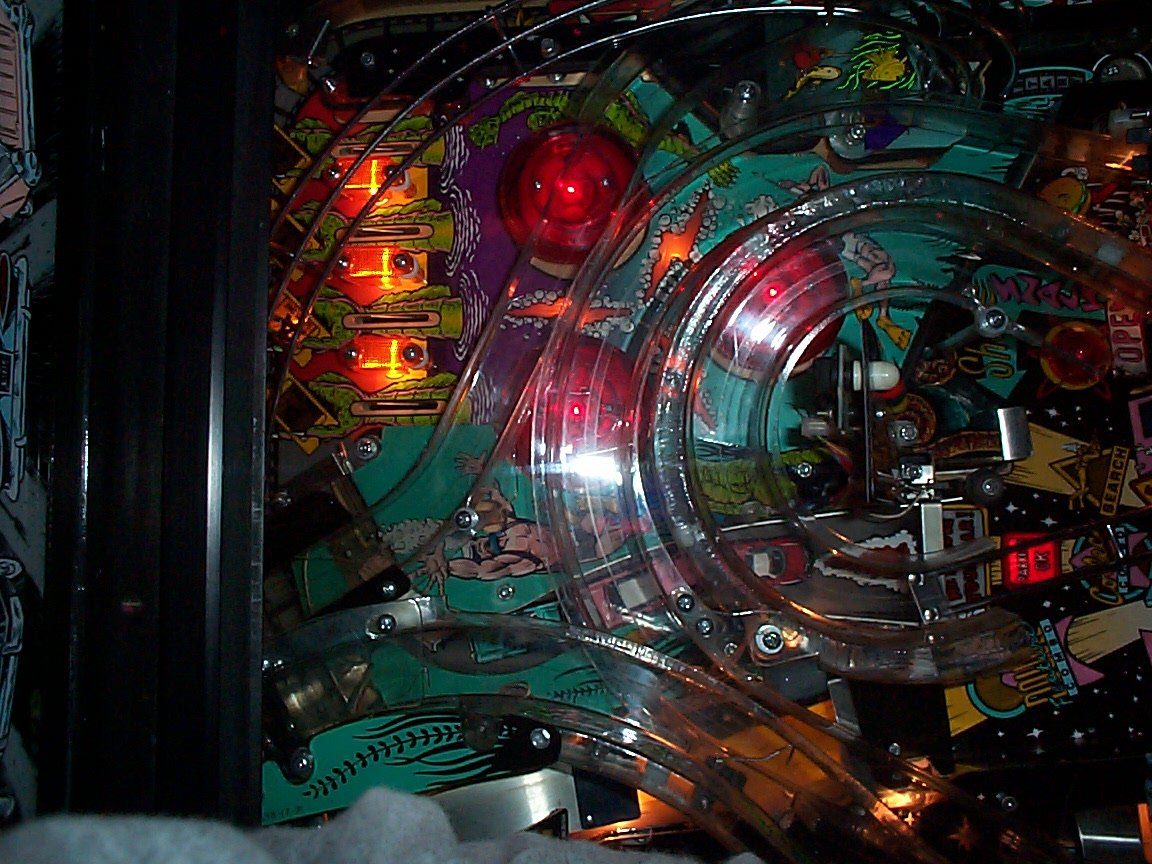
Creature From The Black Lagoon Pictures!
Close playfield view
Front cabinet
Inside cabinet
Under playfield view
Flipper view
Right head
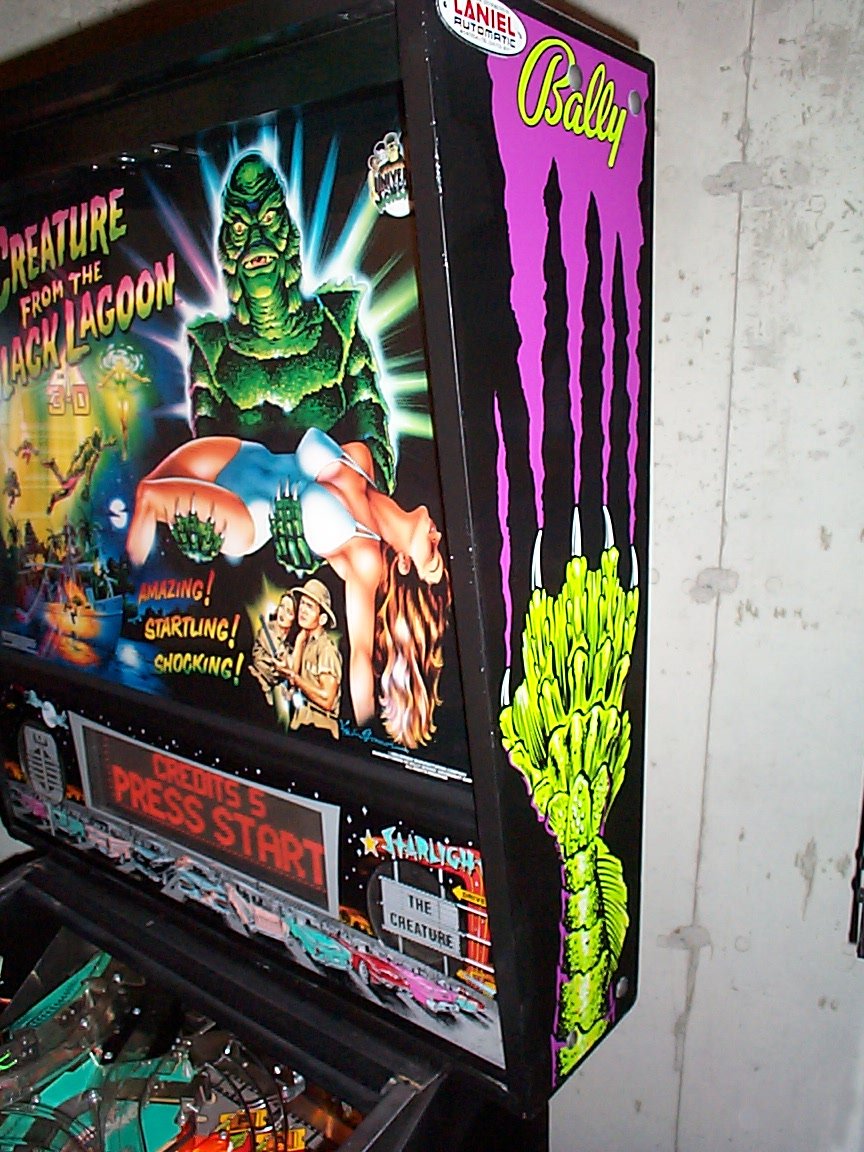
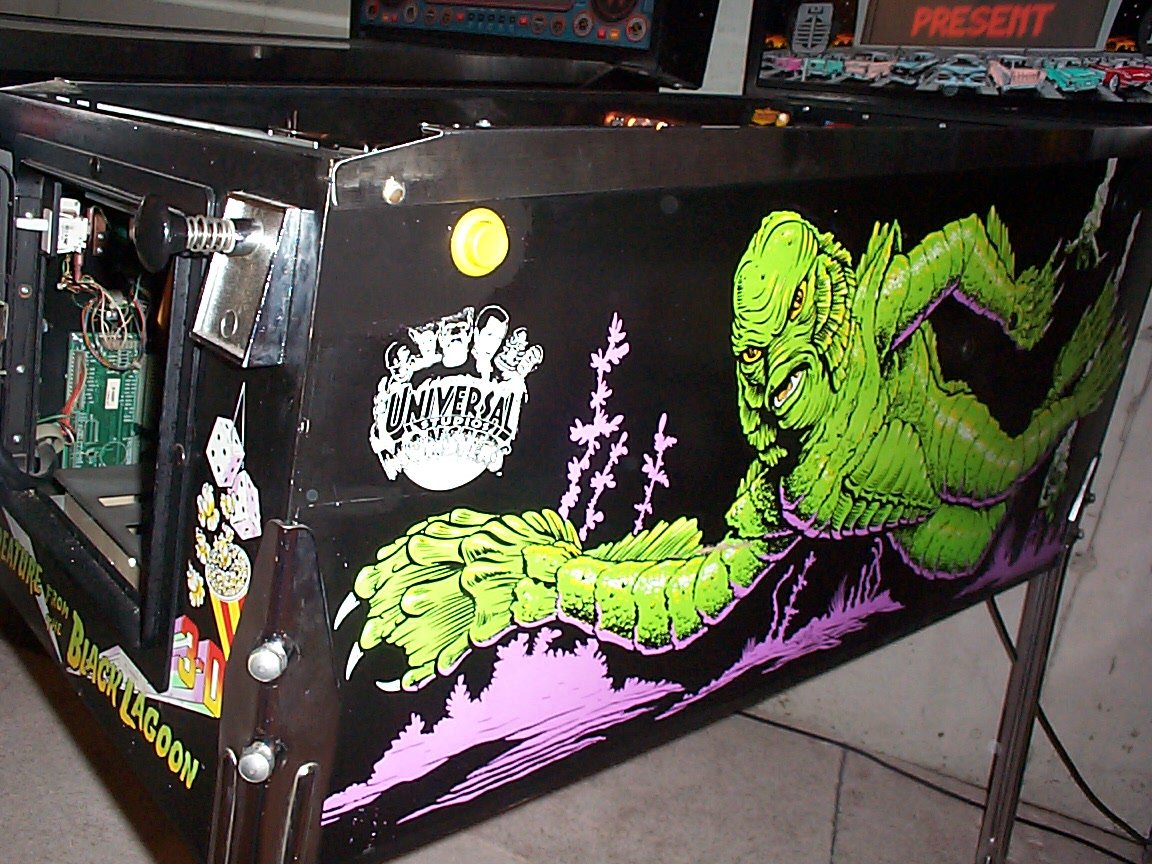
Right cabinet
Left head
Left cabinet
Above playfield
Another above playfield
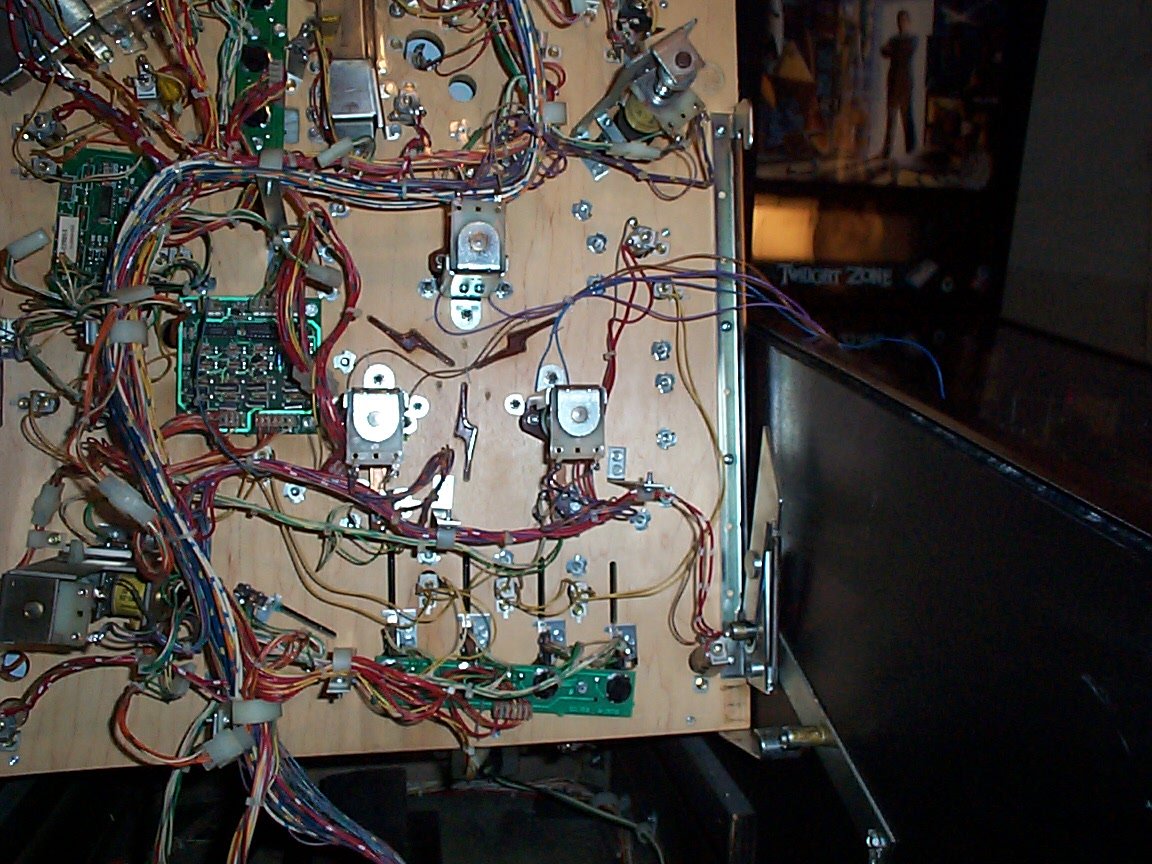
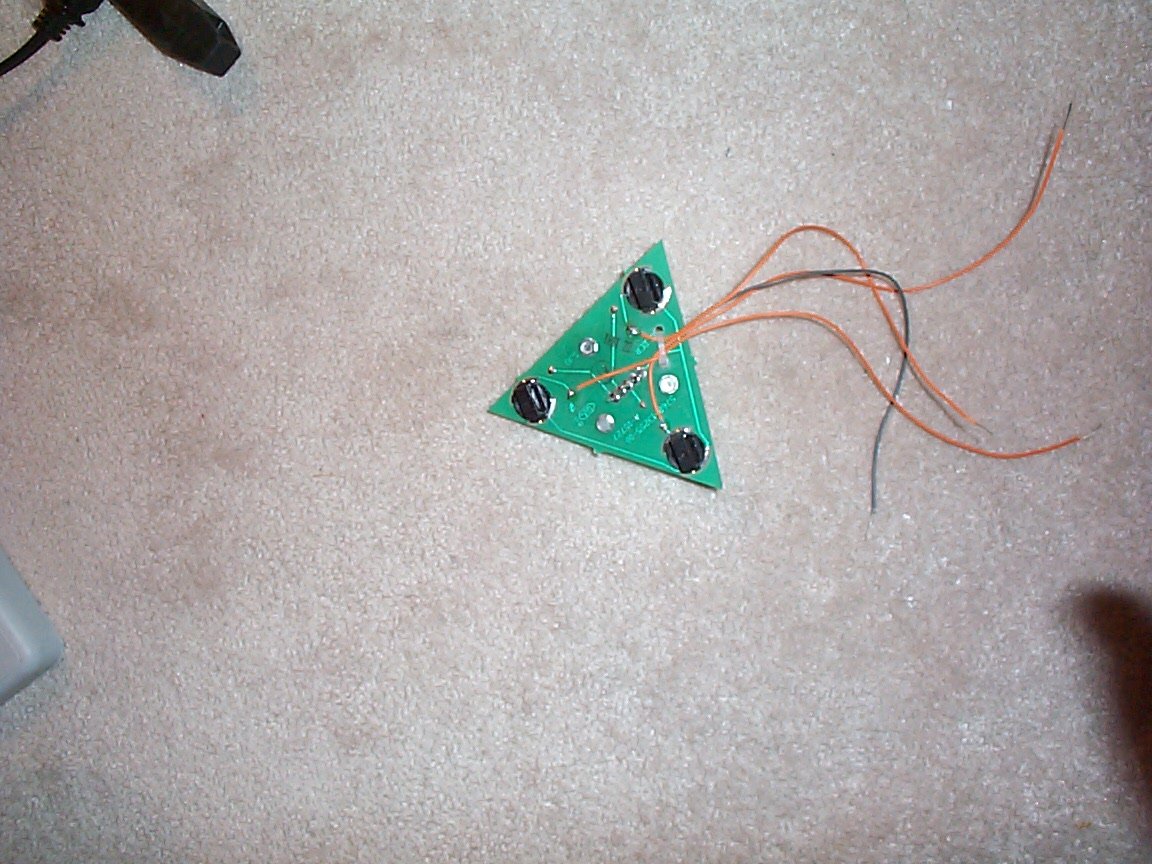
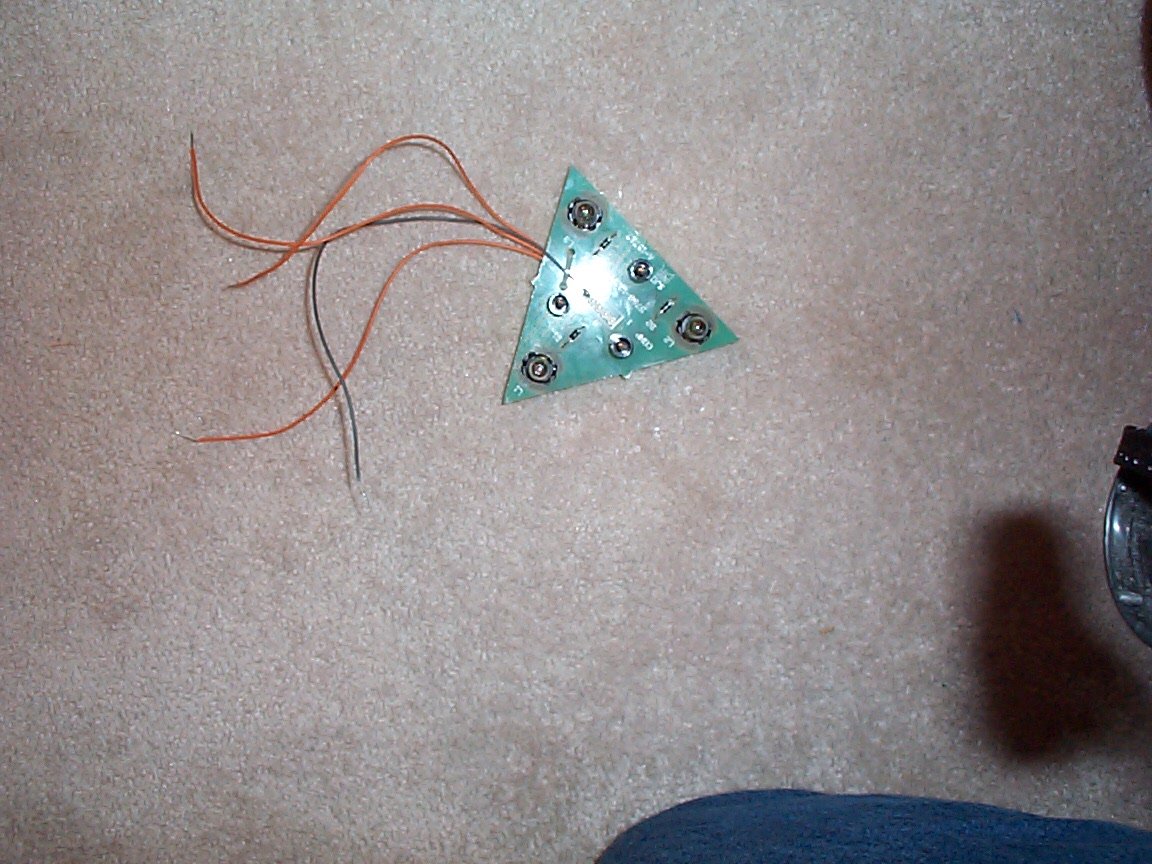
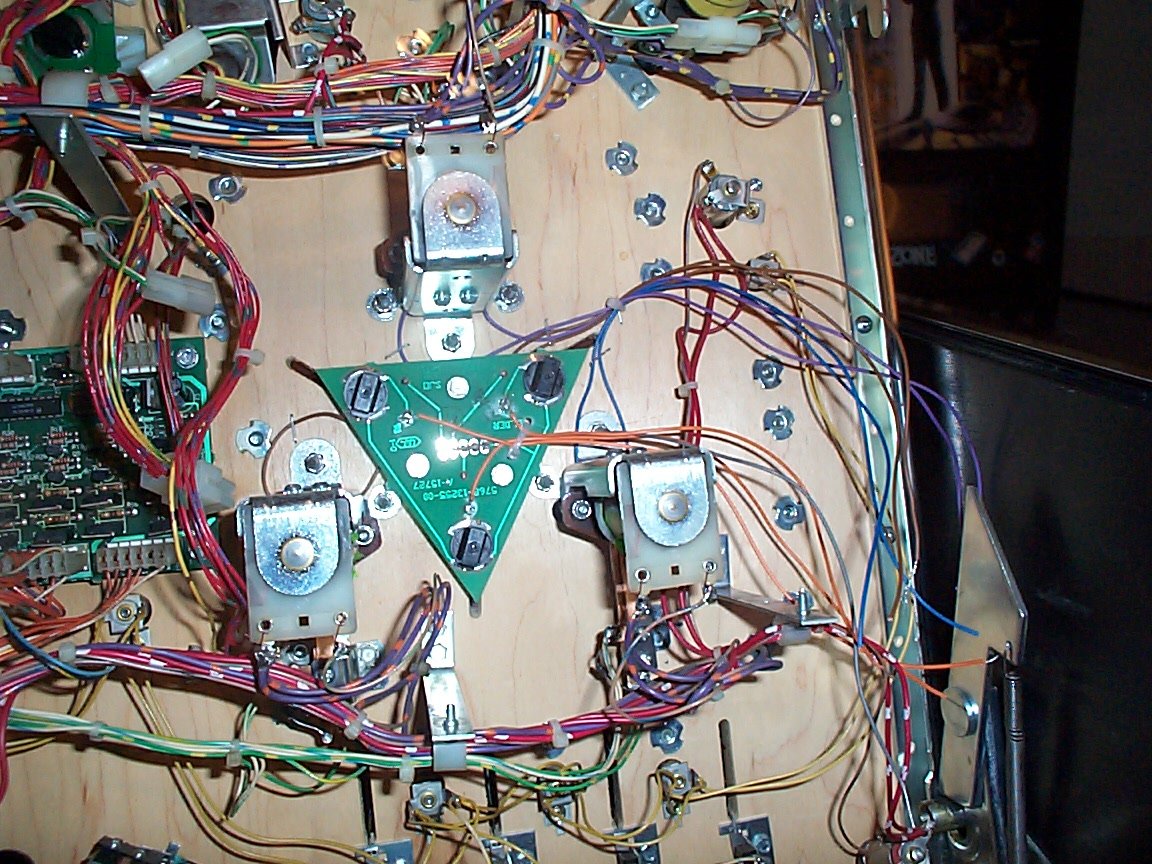
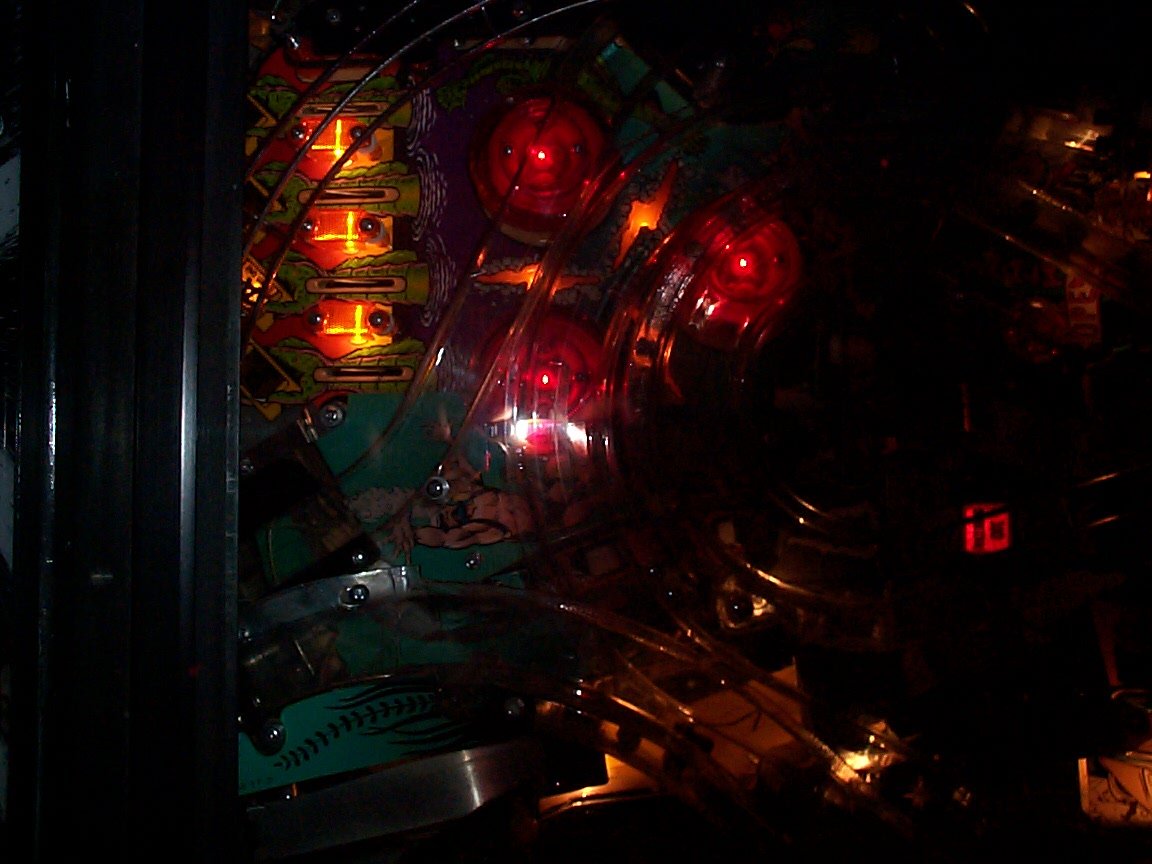
CFTBL Jet Bumper Light Wiring Pictures!
Lamp sockets installed, wiring underneath
Lamp board with return wiring installed
Lamp voltage supply wire
Lamp board installed, wires running right
Lamp board, wiring connected
Lit jet bumpers pic1
Lit jet bumpers pic2
Lit jet bumpers pic3
Lit jet bumpers pic4
Lit jet bumpers pic5
Click BACK on your browser to return after viewing any picture
...written with DOS edit...